
December 31, 2003.
Click on any image to magnify
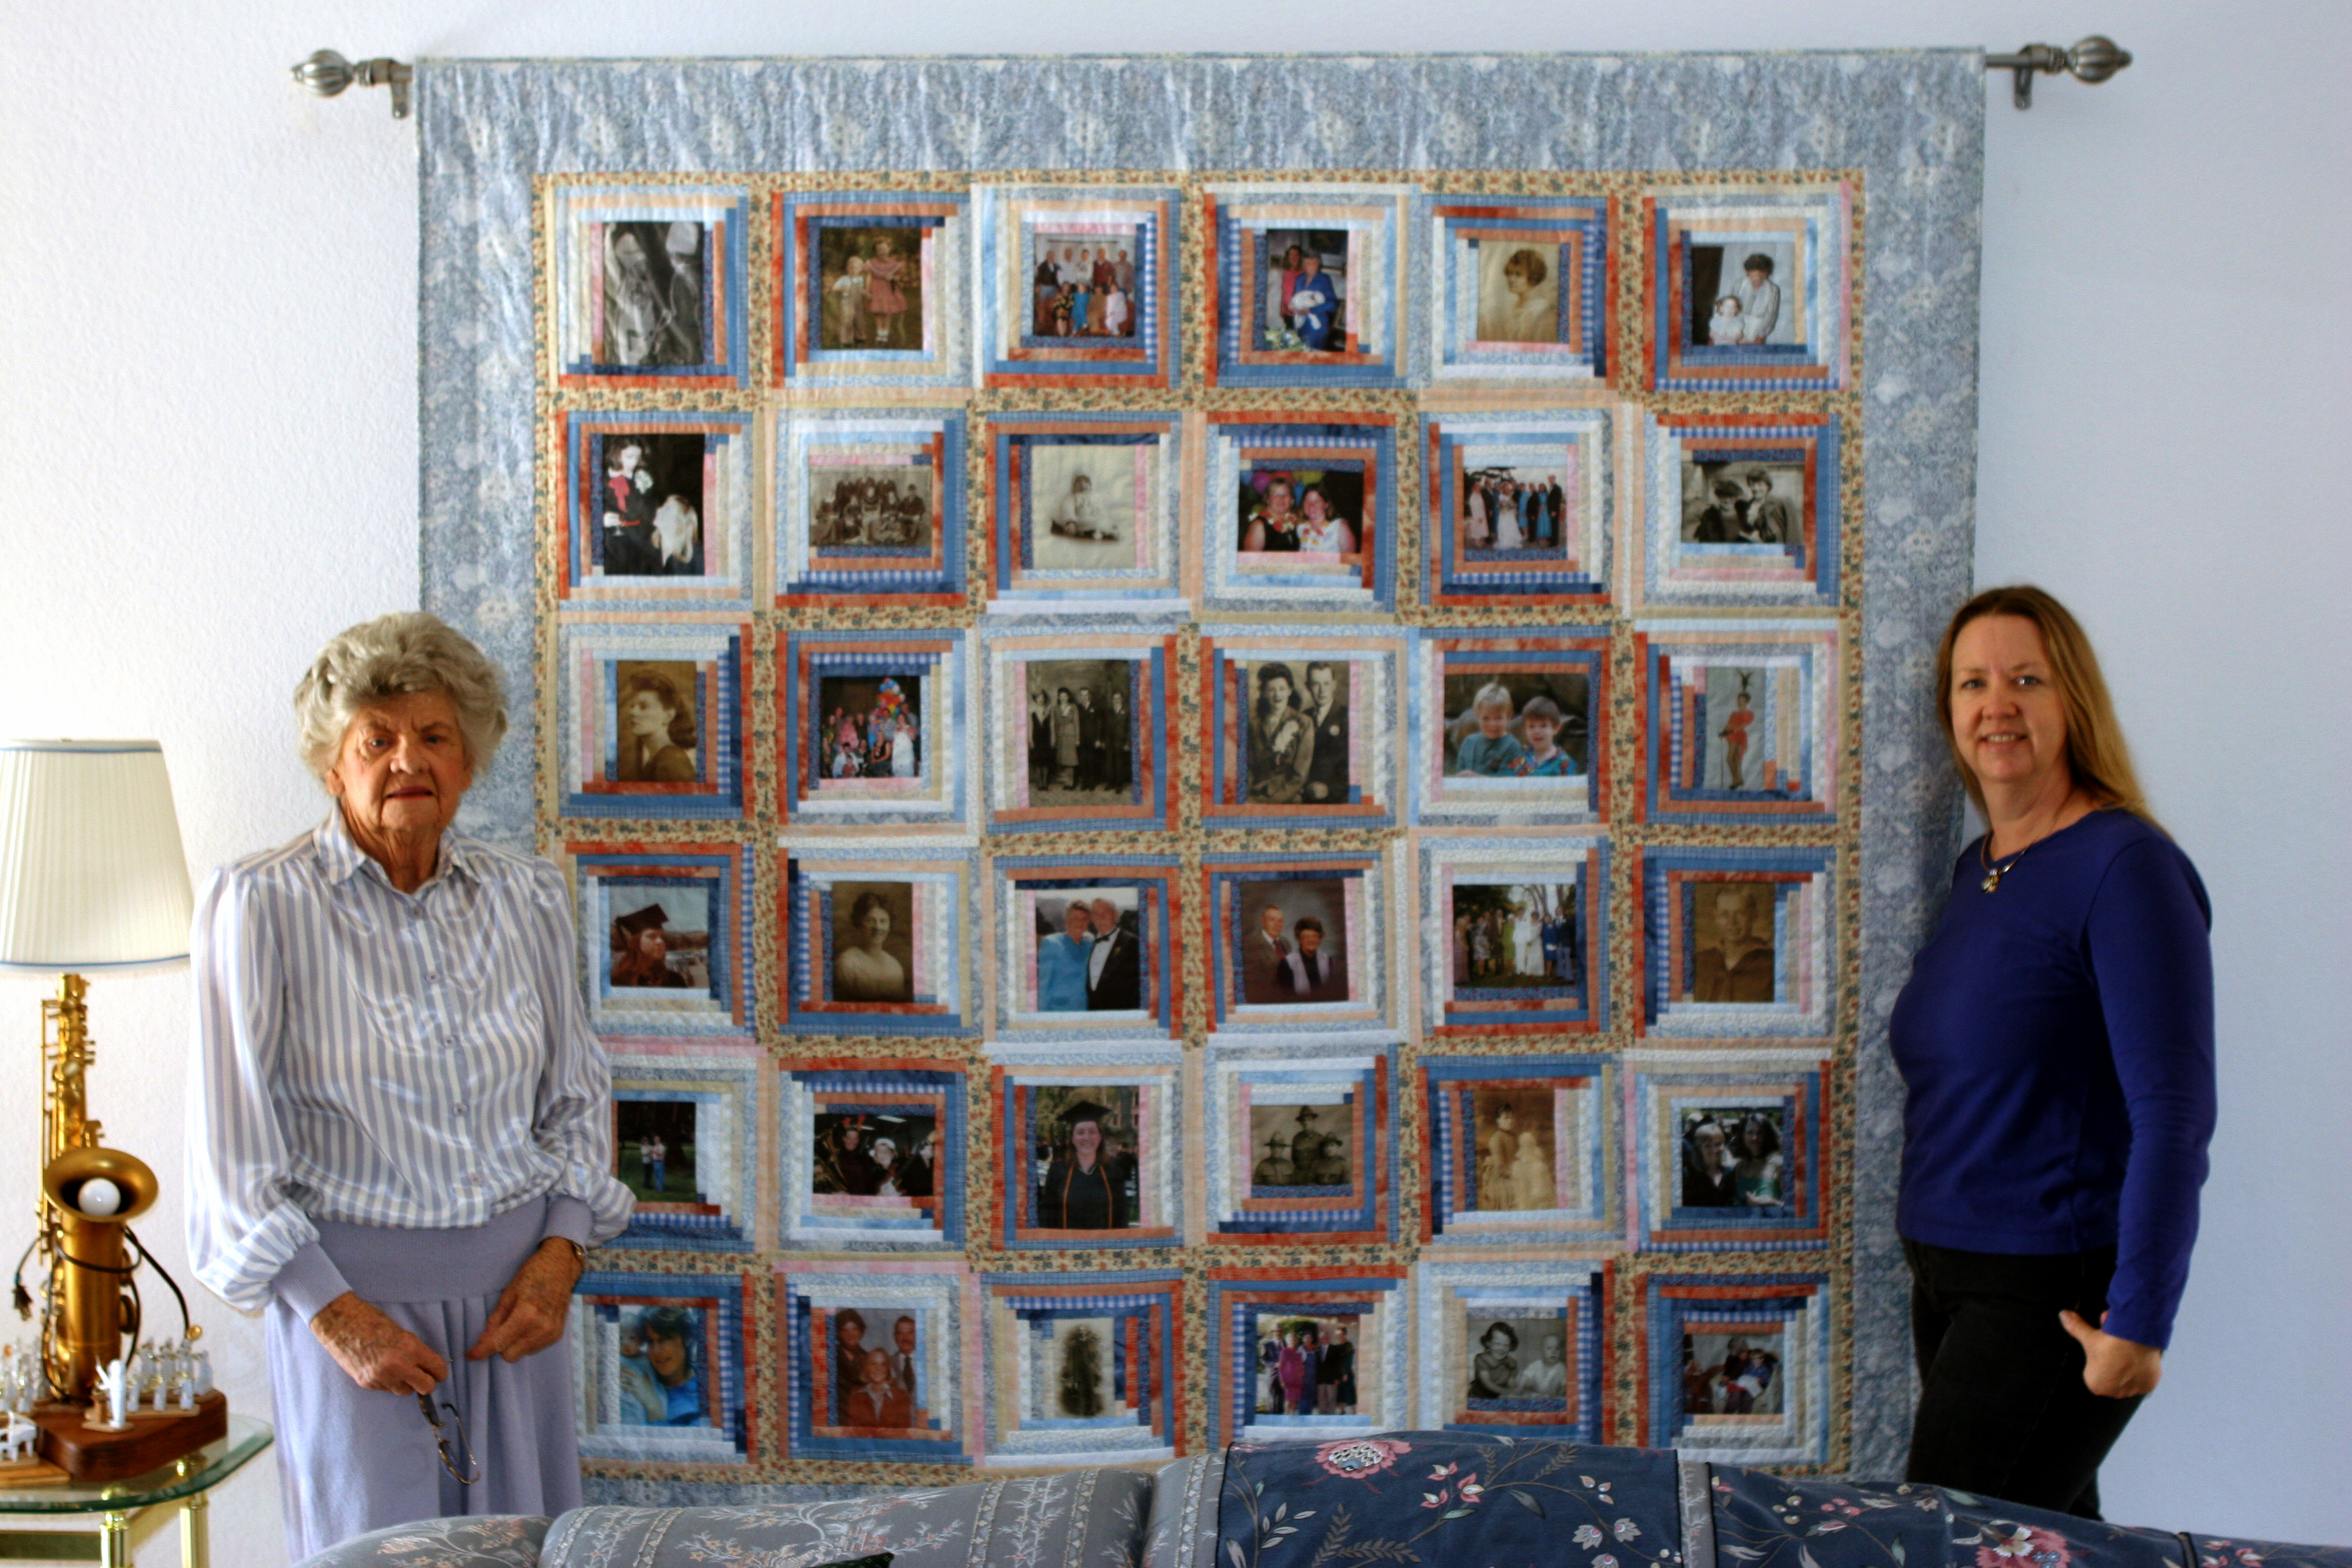
“Peg’s Generations” is the first quilt I made from beginning to end. It was an 80th birthday gift for my mother. One of my proudest moments *EVER* was my mother saying to me (upon opening the box and seeing the quilt), “This is the best gift I’ve ever received!”.
Below: “Peg’s Generations” hanging in my parent’s home. See the “sunshine and shadows”? This block arrangement is known as the “barn-raising” setting, and is specific to Log Cabin quilts.
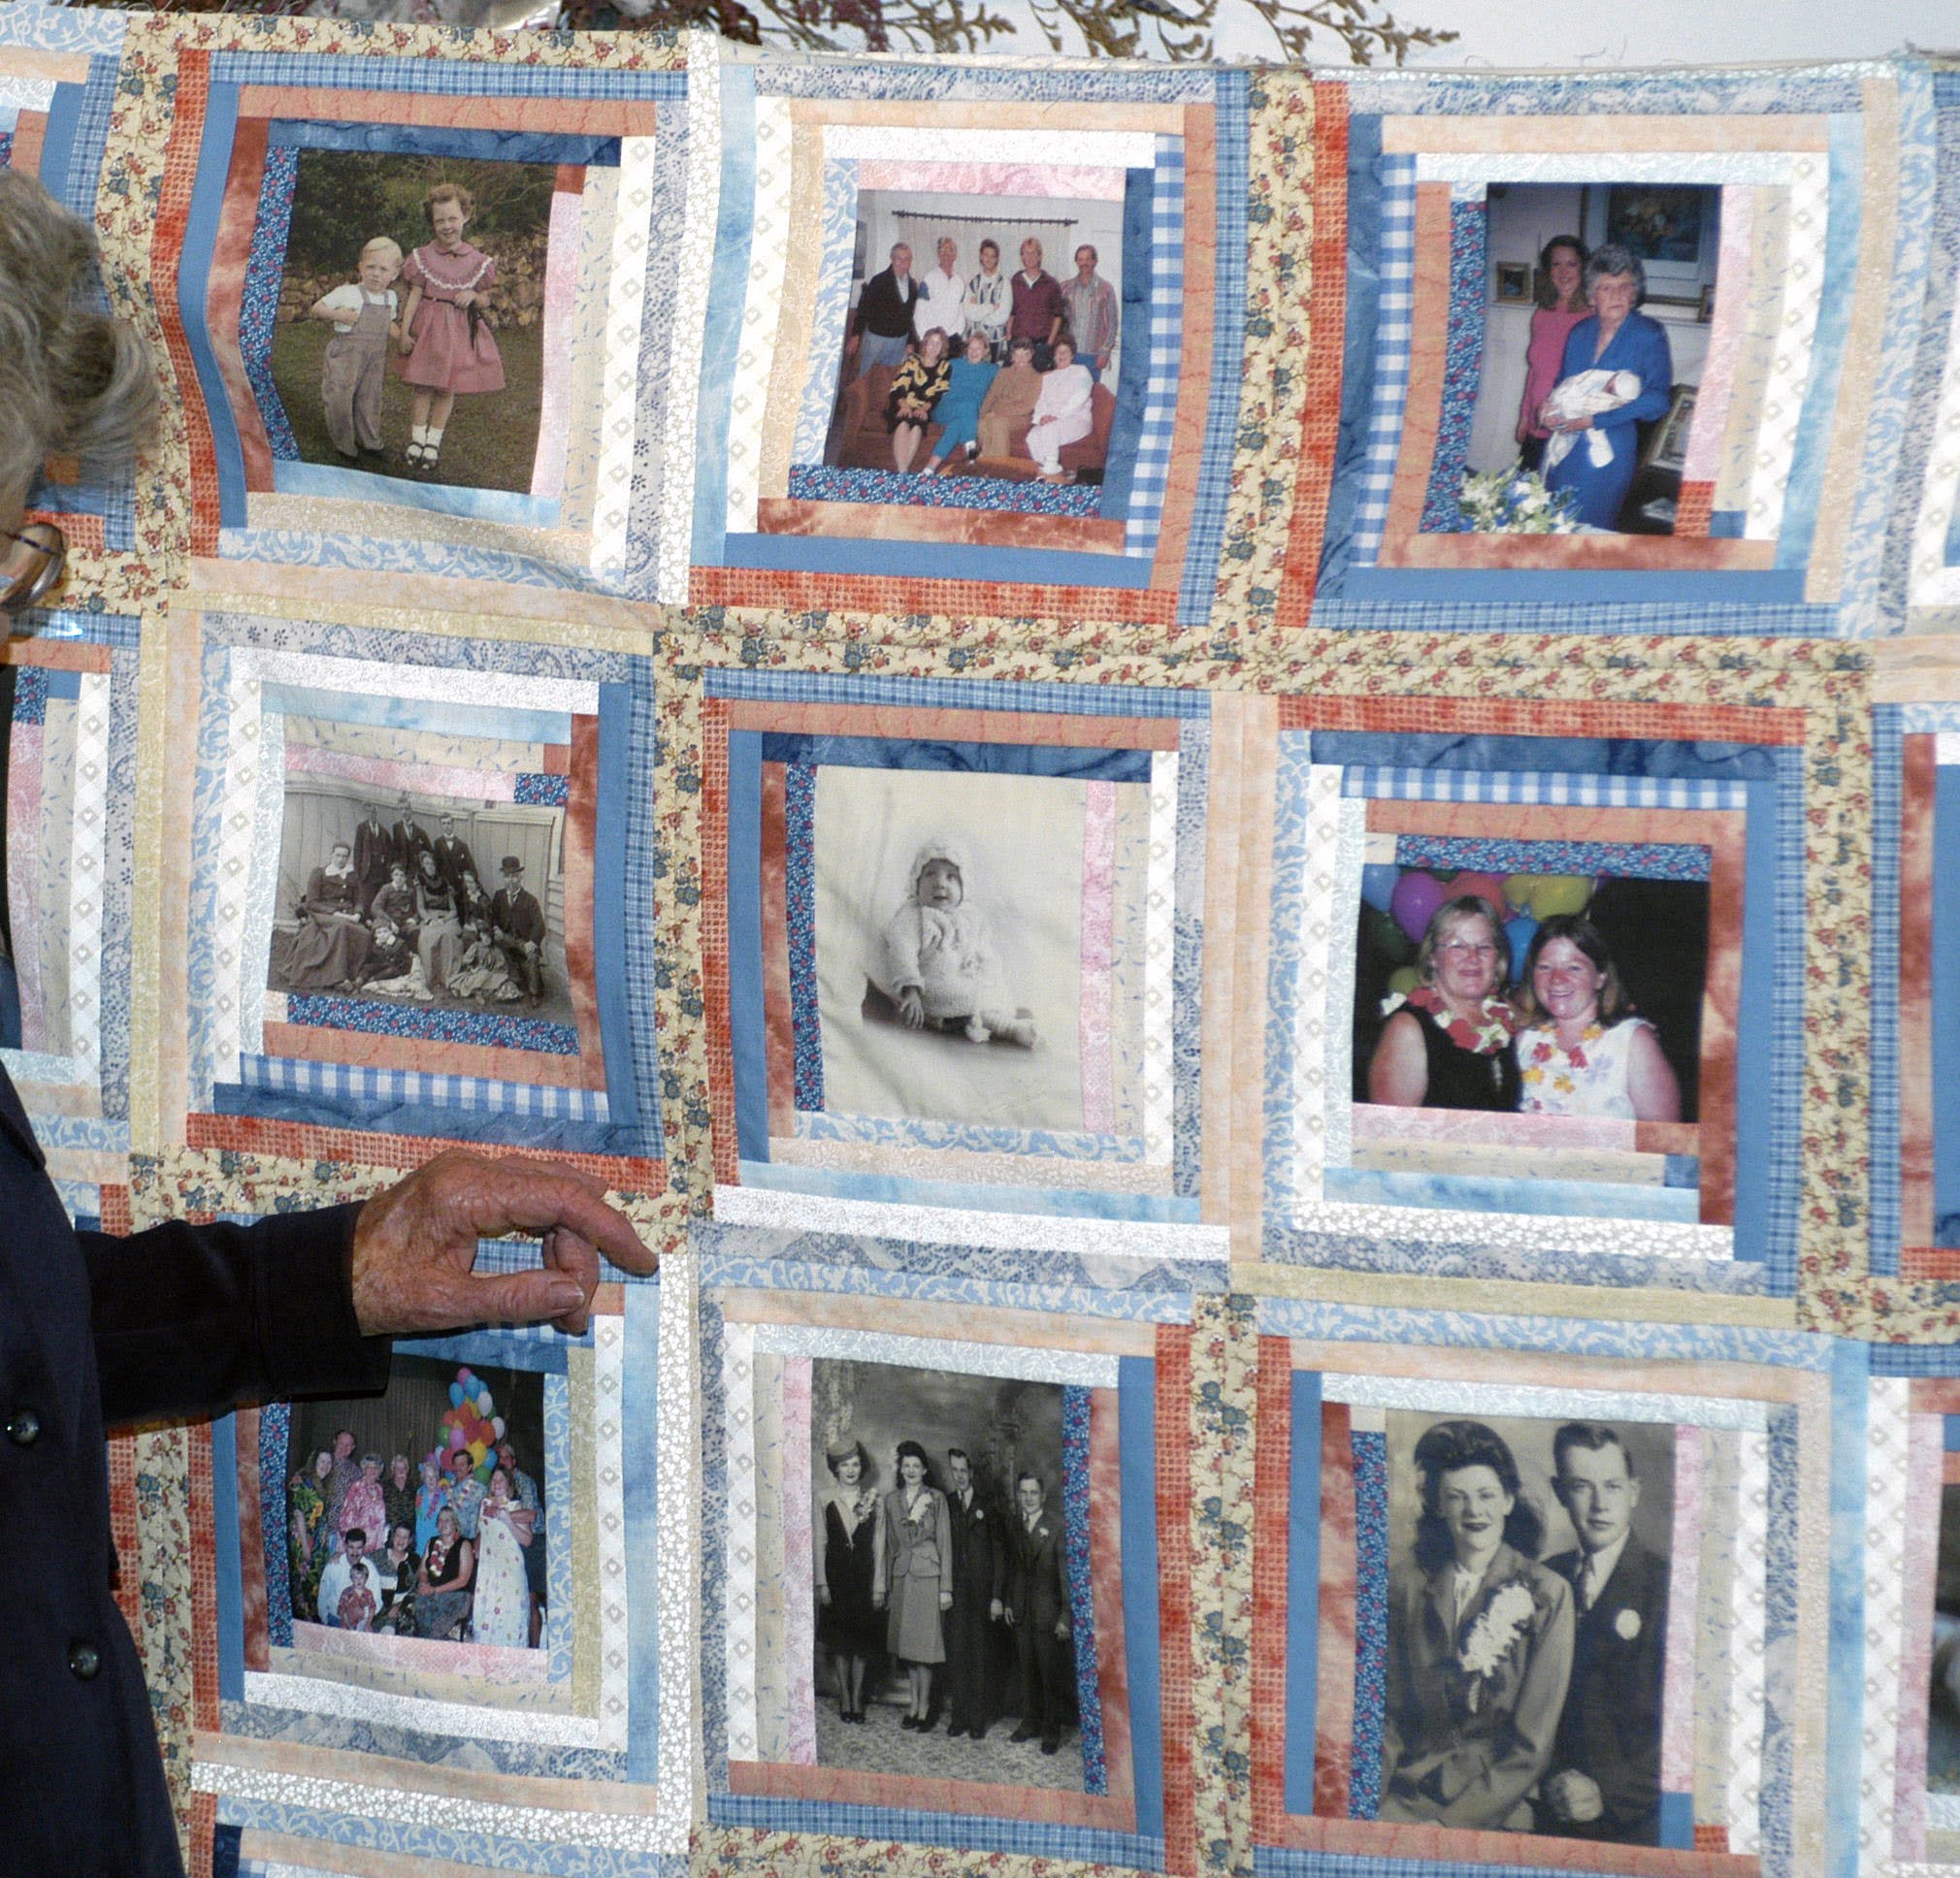
The inspiration for this quilt was my mother’s large box of old photographs. Some photos date back to the 1860’s and were taken using a camera with (what looks like) an accordion on the front and cape on the back! The people in these older photos had frozen expressions because that’s what you had to do back then – freeze – for 30 seconds or more! Other, newer, photos were included, scanned into our trusty scanner/printer, and “voila!”, the project was born.
For info on how to make a photo quilt, I turned to TV. My hero (really, EVERYONE’s quilting hero), Alex Anderson, host of “Simply Quilts”, featured Jean Ray Laury and Sandy Bonsib on two different shows demonstrating how to make quilts incorporating photo images. I later purchased “The Photo Transfer Handbook” by Jean Ray Laury, and “Quilting your Memories” by Sandy Bonsib for reference. Both books mentioned “Creating Scrapbook Quilts” by Ami Simms, and “Imagery on Fabric” by Jean Ray Laury – check these other books out if you are are planning a photo quilt of your own.
Since there was an assortment of photo sizes, I needed a flexible pattern/quilt layout. The project, “It’s a Great Life” by Jan Krentz, featured in “The Photo Transfer Handbook”, is made of “Log Cabin” style blocks and was my guide for my mother’s quilt. Making Log Cabin blocks with the digital image as the center (or “chimney”) allowed me to use photos that were either squares or rectangles (in landscape OR portrait orientations) together – all I needed to do was to use the right number of “logs” to get to my desired finished block size of 12 inches square.
But how did I put the photos on the fabric, you ask…
First, I photoshopped the digital images to make them clear and crisp. I fixed color, erased writing that was on a few of the images, and, in one case, added part of an arm (!). Once the images were cleaned up, I adjusted the size of each image to be a standard photo size (such as, 5X5, 4X6, 8X10). Any small images, such as 3 1/2 X 5 were enlarged them to 4X6 so I wouldn’t have to add so many “logs”. Once the digital images were at the desired size, I printed them on paper to proofread the edits and to confirm the final image size (SIDEBAR: Did you know that sometimes printers print an image either larger or smaller than what you thought? ) .
Next, I turned to “Printed Treasures” Inkjet Printable Fabric by Dritz to put my photos on fabric. It wasn’t the most cost-effective method, but the directions were easy to follow. Iron-on transfers could have been used, but the finished images feel like plastic not fabric (um… no thanks). Alternatively, I could have made my own printable fabric sheets following the directions in “The Photo Transfer Handbook” to save money. However, I had a deadline, so “Printed Treasures” it was! I printed images one at a time, feeding the fabric sheets into the printer carefully and checking for stray pieces of fabric (…didn’t want to jam the printer..). I cleaned the printer of fabric fuzz, then exhaled. Yay!, I thought, I can do this!
Because I was trying to create a “Barn-Raising” setting (e.g. the concentric “sunshine and shadows” circles effect seen above), I had to determine the exact placement of each picture so I would know where to add my light or dark “logs”. Considerations were:
- An even distribution of group pictures vs single portraits;
- A variety of old and new photos; and that
- Persons in multiple photos were distributed over the entire quilt.
After heat setting the images into the fabric and trimming off excess fabric, it was on to piecing. One inch wide fabric strips – the “logs” – were added, Log Cabin style, keeping in mind the location of each photo image. I also was very careful with the placement of key fabrics – a beige fabric with blue and peach flowers held a primary location in the center of the quilt. Later I was glad that I spent so much time putting that fabric in the middle – it was the color “glue” that bound all the other fabrics together! As I mentioned, I used 1-inch logs which resulted in 1/2 inch of each log showing; If I were making this quilt today, i would use larger logs (2 inches wide, at least) to make the project go more quickly. Seeing the end result with the light and dark areas on the final top was worth it!
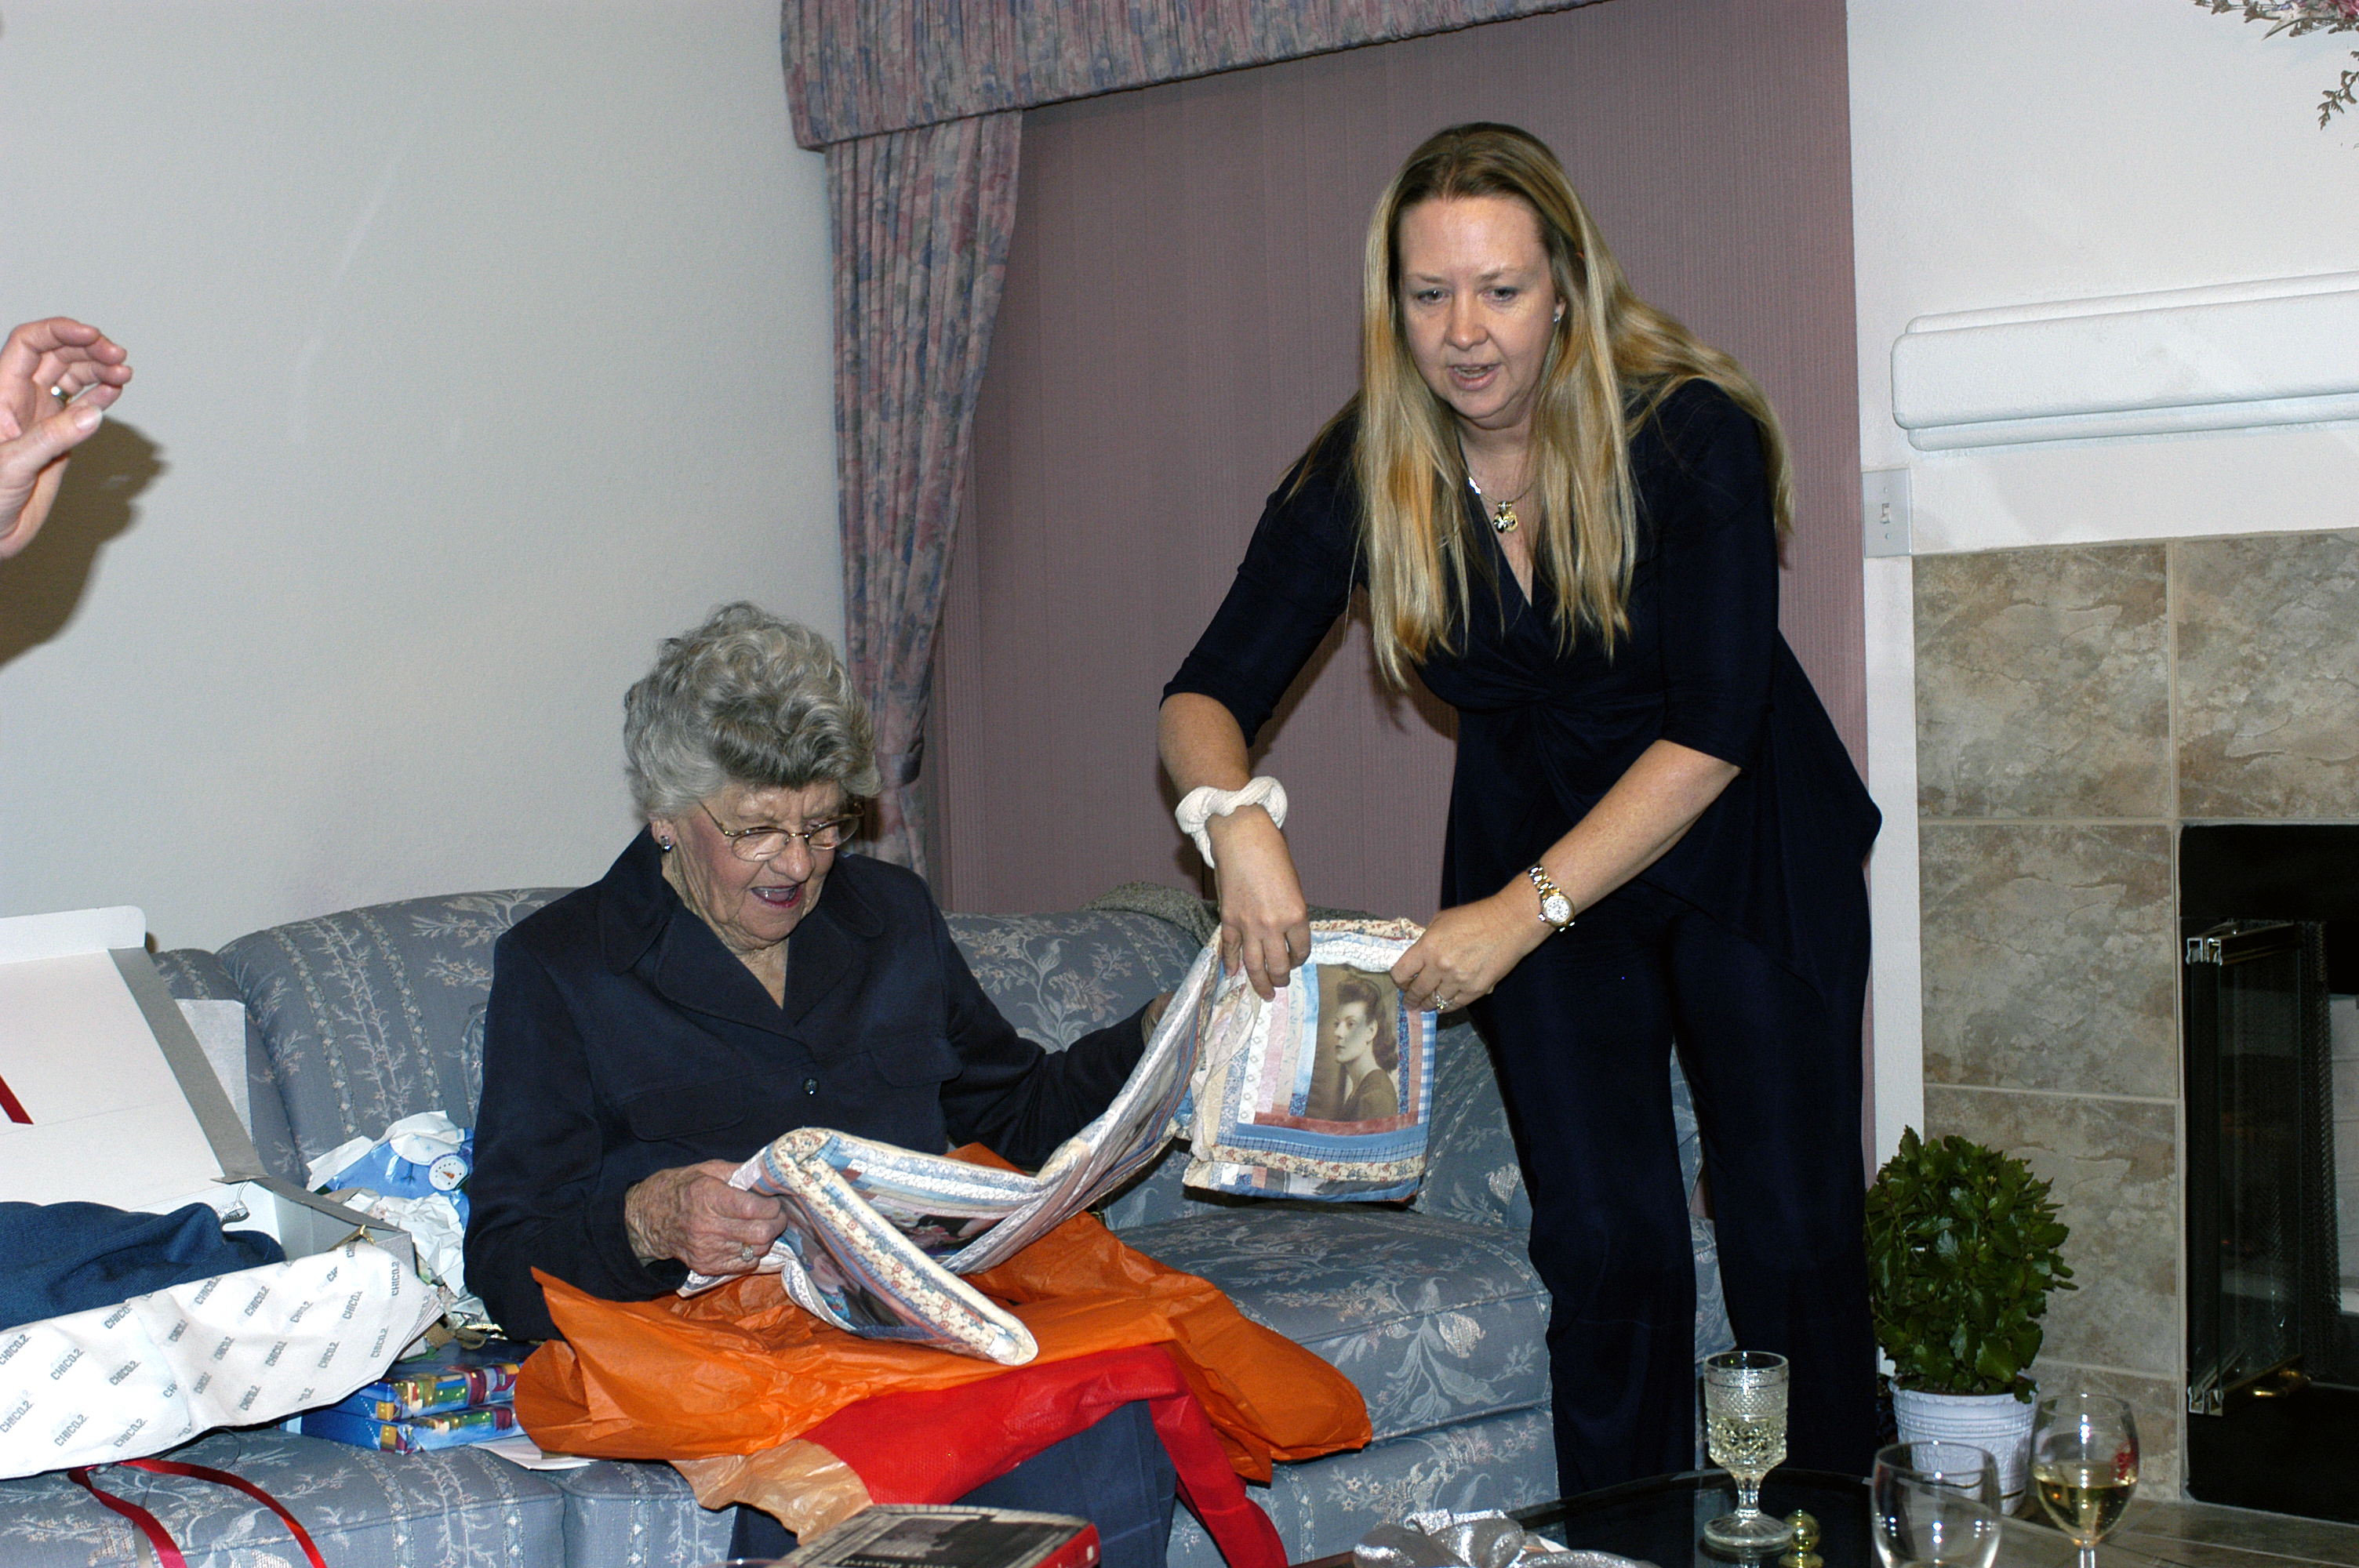
Since I spent so much time sewing all those logs, I ran out of time to complete the quilt by Mom’s birthday. At least I finished the quilt top in time to present it for her birthday! Here she is admiring her gift and reminiscing about the past:
Summary:
Inspiration: Mom’s large box of antique family photographs
Pattern: “It’s a great life” by Jan Krentz, featured in “The Photo Transfer Handbook” by Jean Ray Laury
Special Materials needed: “Printed Treasures” Inkjet Printable Fabric by Dritz, or Iron-on transfers
Special Skills required: Adobe Photoshop or knowledge of other digital image editing software.
Additional Resources:
Alex Anderson’s TV show “Simply Quilts”, featuring Jean Ray Laury and Sandy Bonsib
“Quilting your Memories” by Sandy Bonsib


Leave a comment