
December 26, 2015
July 20, 2015.
Work in progress…
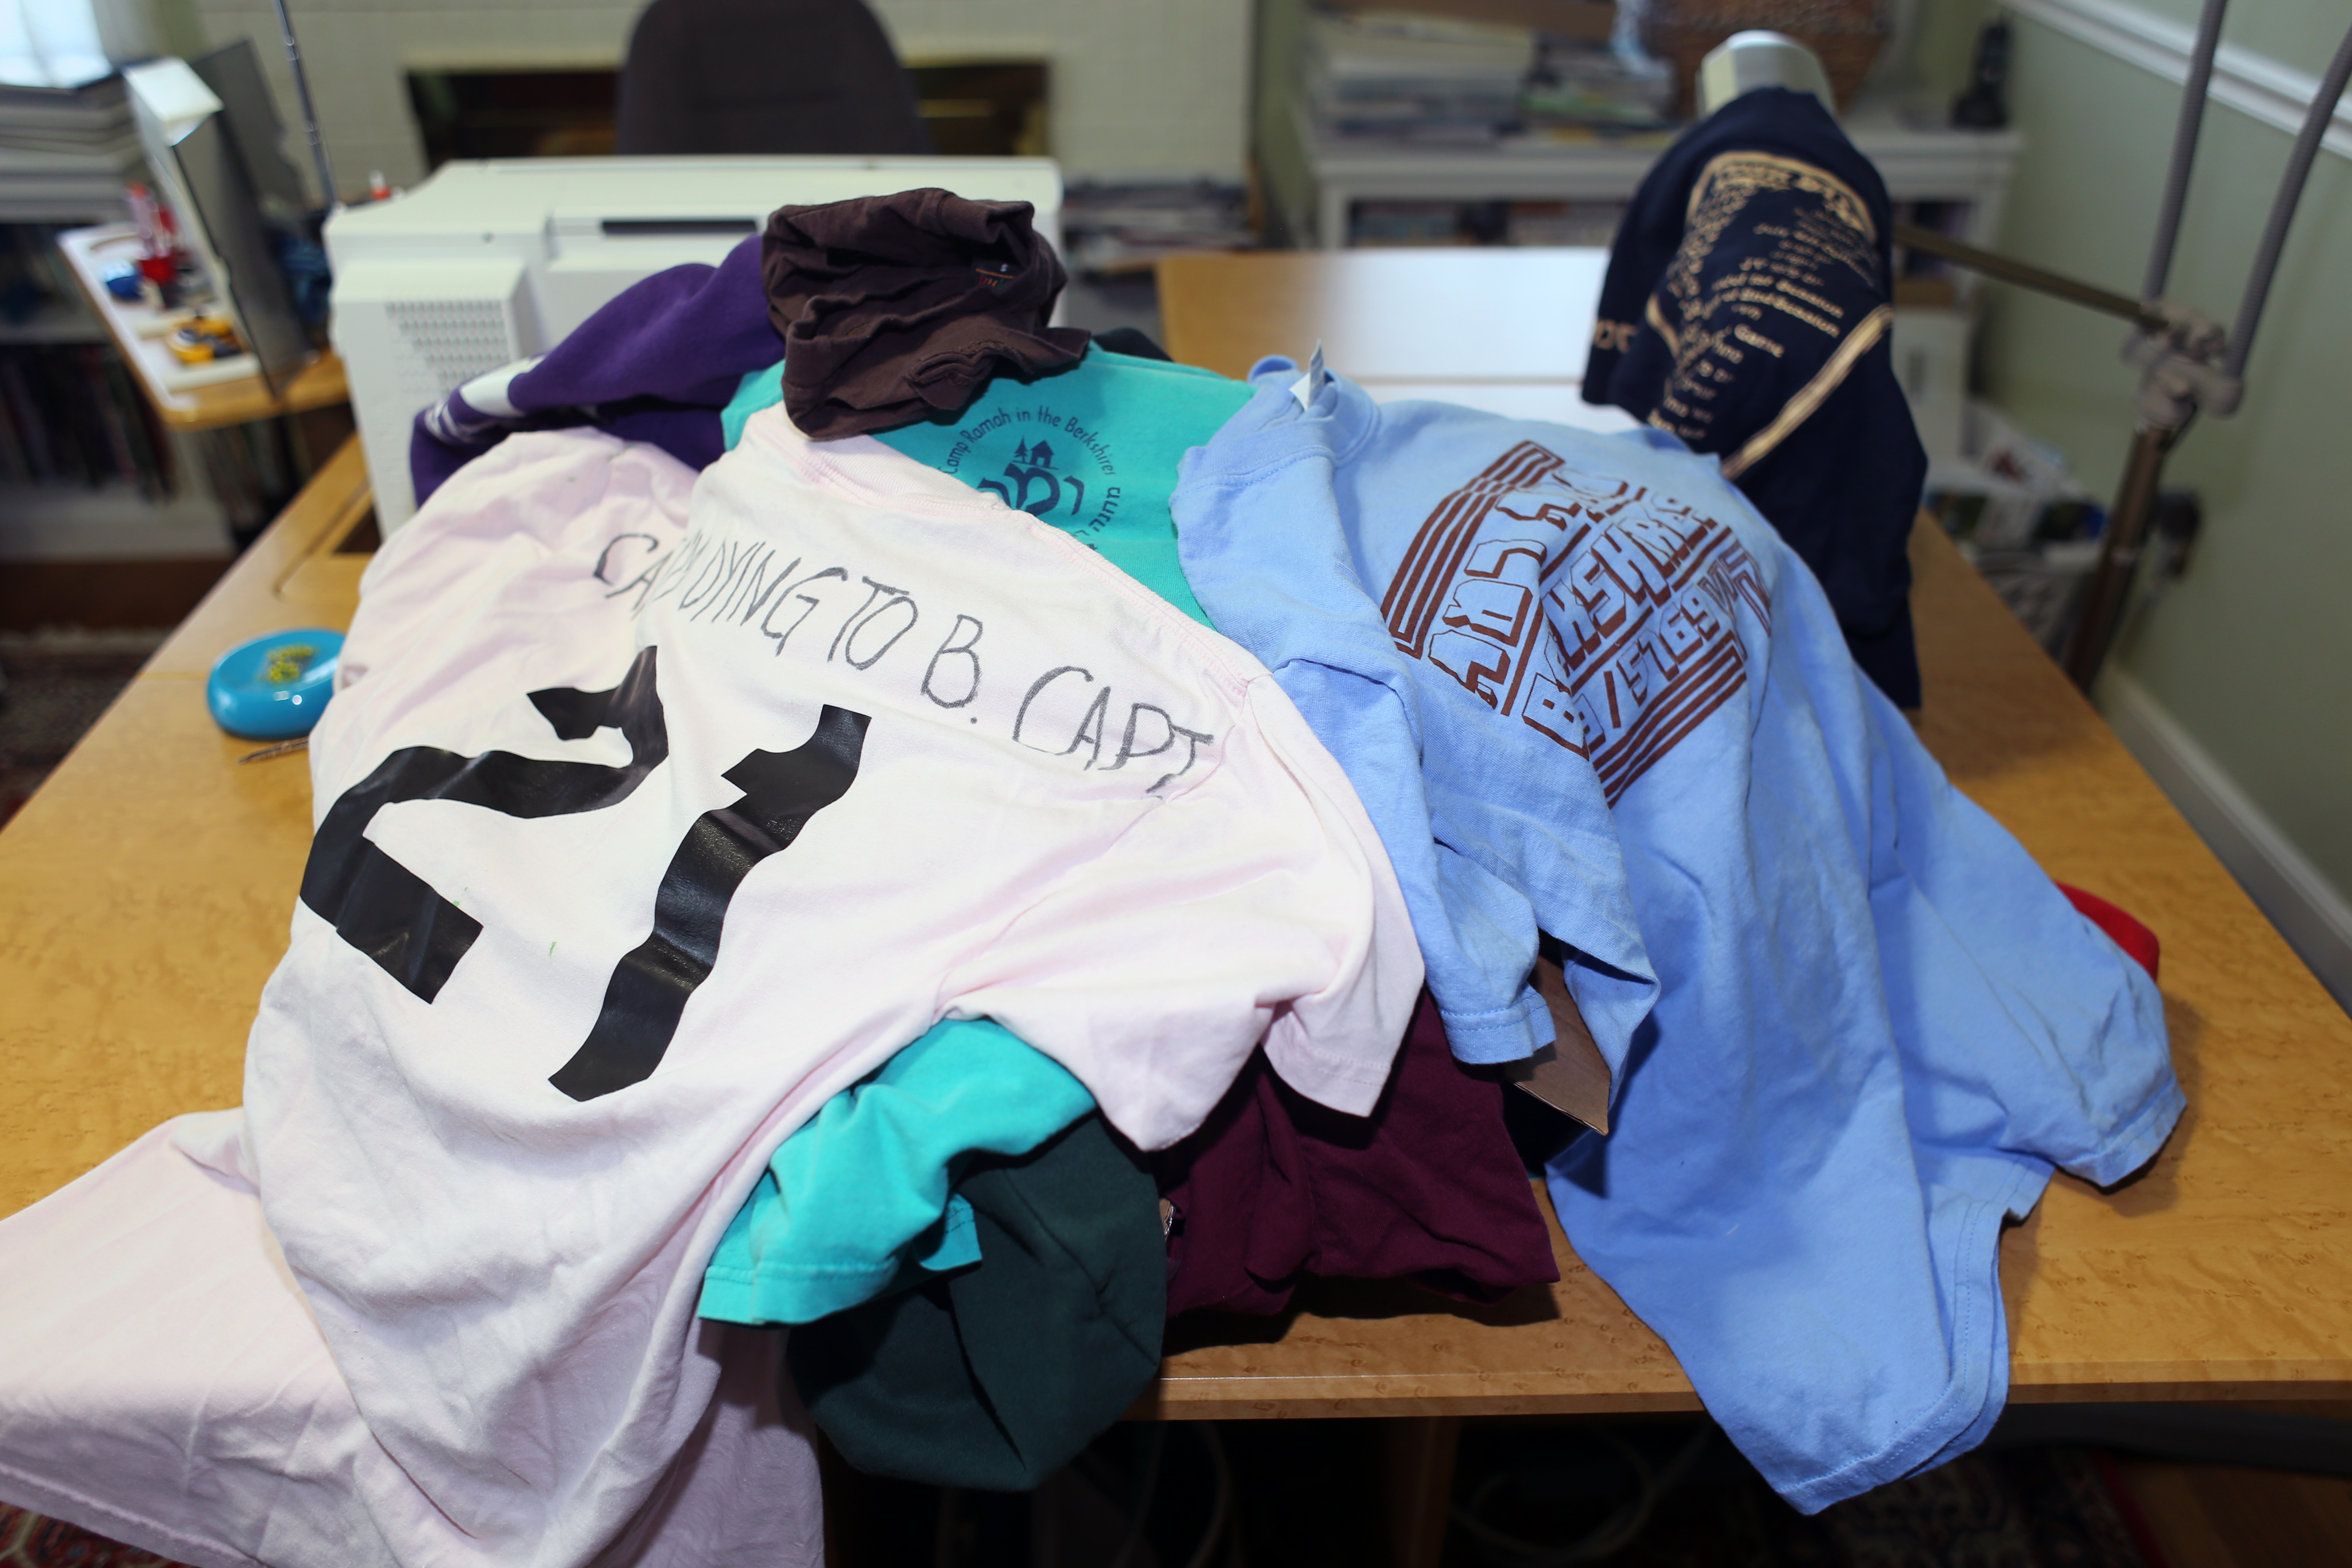
My niece has spent probably the last decade of summers at Camp Ramah and collected T-shirts, sweatshirts, jerseys, etc. to prove that she had a blast!
The shipment of shirts arrived! Let the games begin!
The Process:
Before I began cutting up shirts, I asked my niece to think about the following so that the finished quilt met her expectations:
1) Which were her favorite shirts? Most of her shirts had both front and back logos (SO MANY LOGOS!), so I asked her to identify her favorites, to make sure they make it onto the quilt. She wanted as many logos as possible incorporated into the quilt – I will try to make that happen.
2) What size quilt would she like? Based on the number of shirts received, making a queen sized quilt might be possible, and that’s what she wants.
3) What style – meaning – did she want lots of sashing (extra fabric), little, or none? We sent her a web link with many examples. If possible, she wants no sashing, or little sashing – just her logos!
4) What color scheme (if any)? Her shirts were many colors, which, will be a trick to arrange. However, she wants as little sashing as possible (or none). We will have to choose a backing fabric and a binding so I will wait until the quilt top is assembled before selecting fabric. Often, after a quilt top is finished, an obvious color choice presents itself. Camp Ramah’s colors are green and blue, and a majority of her shirts are these colors, so it’s likely that we can find a fabric that works (yay! more fabric shopping!)
5) Do she want a particular fabric theme for any added fabric? My niece looked at some sample fabrics that I had: Sounds like she might like a batik fabric with geometric or swirls. No flowers !
6) How many fabrics can I add to the quilt? In the case of this quilt, my niece wants to highlight the t-shirt logos on the quilt top, so I won’t be adding extra fabric.
Okay, looks like I can start cutting!!!
July 23, 2015
Cutting out the t-shirt logos that have such sentimental value can be an emotional experience, especially when you are cutting up your own keepsakes. However, these were not my clothes! I used precision equipment and tender loving care in this step:
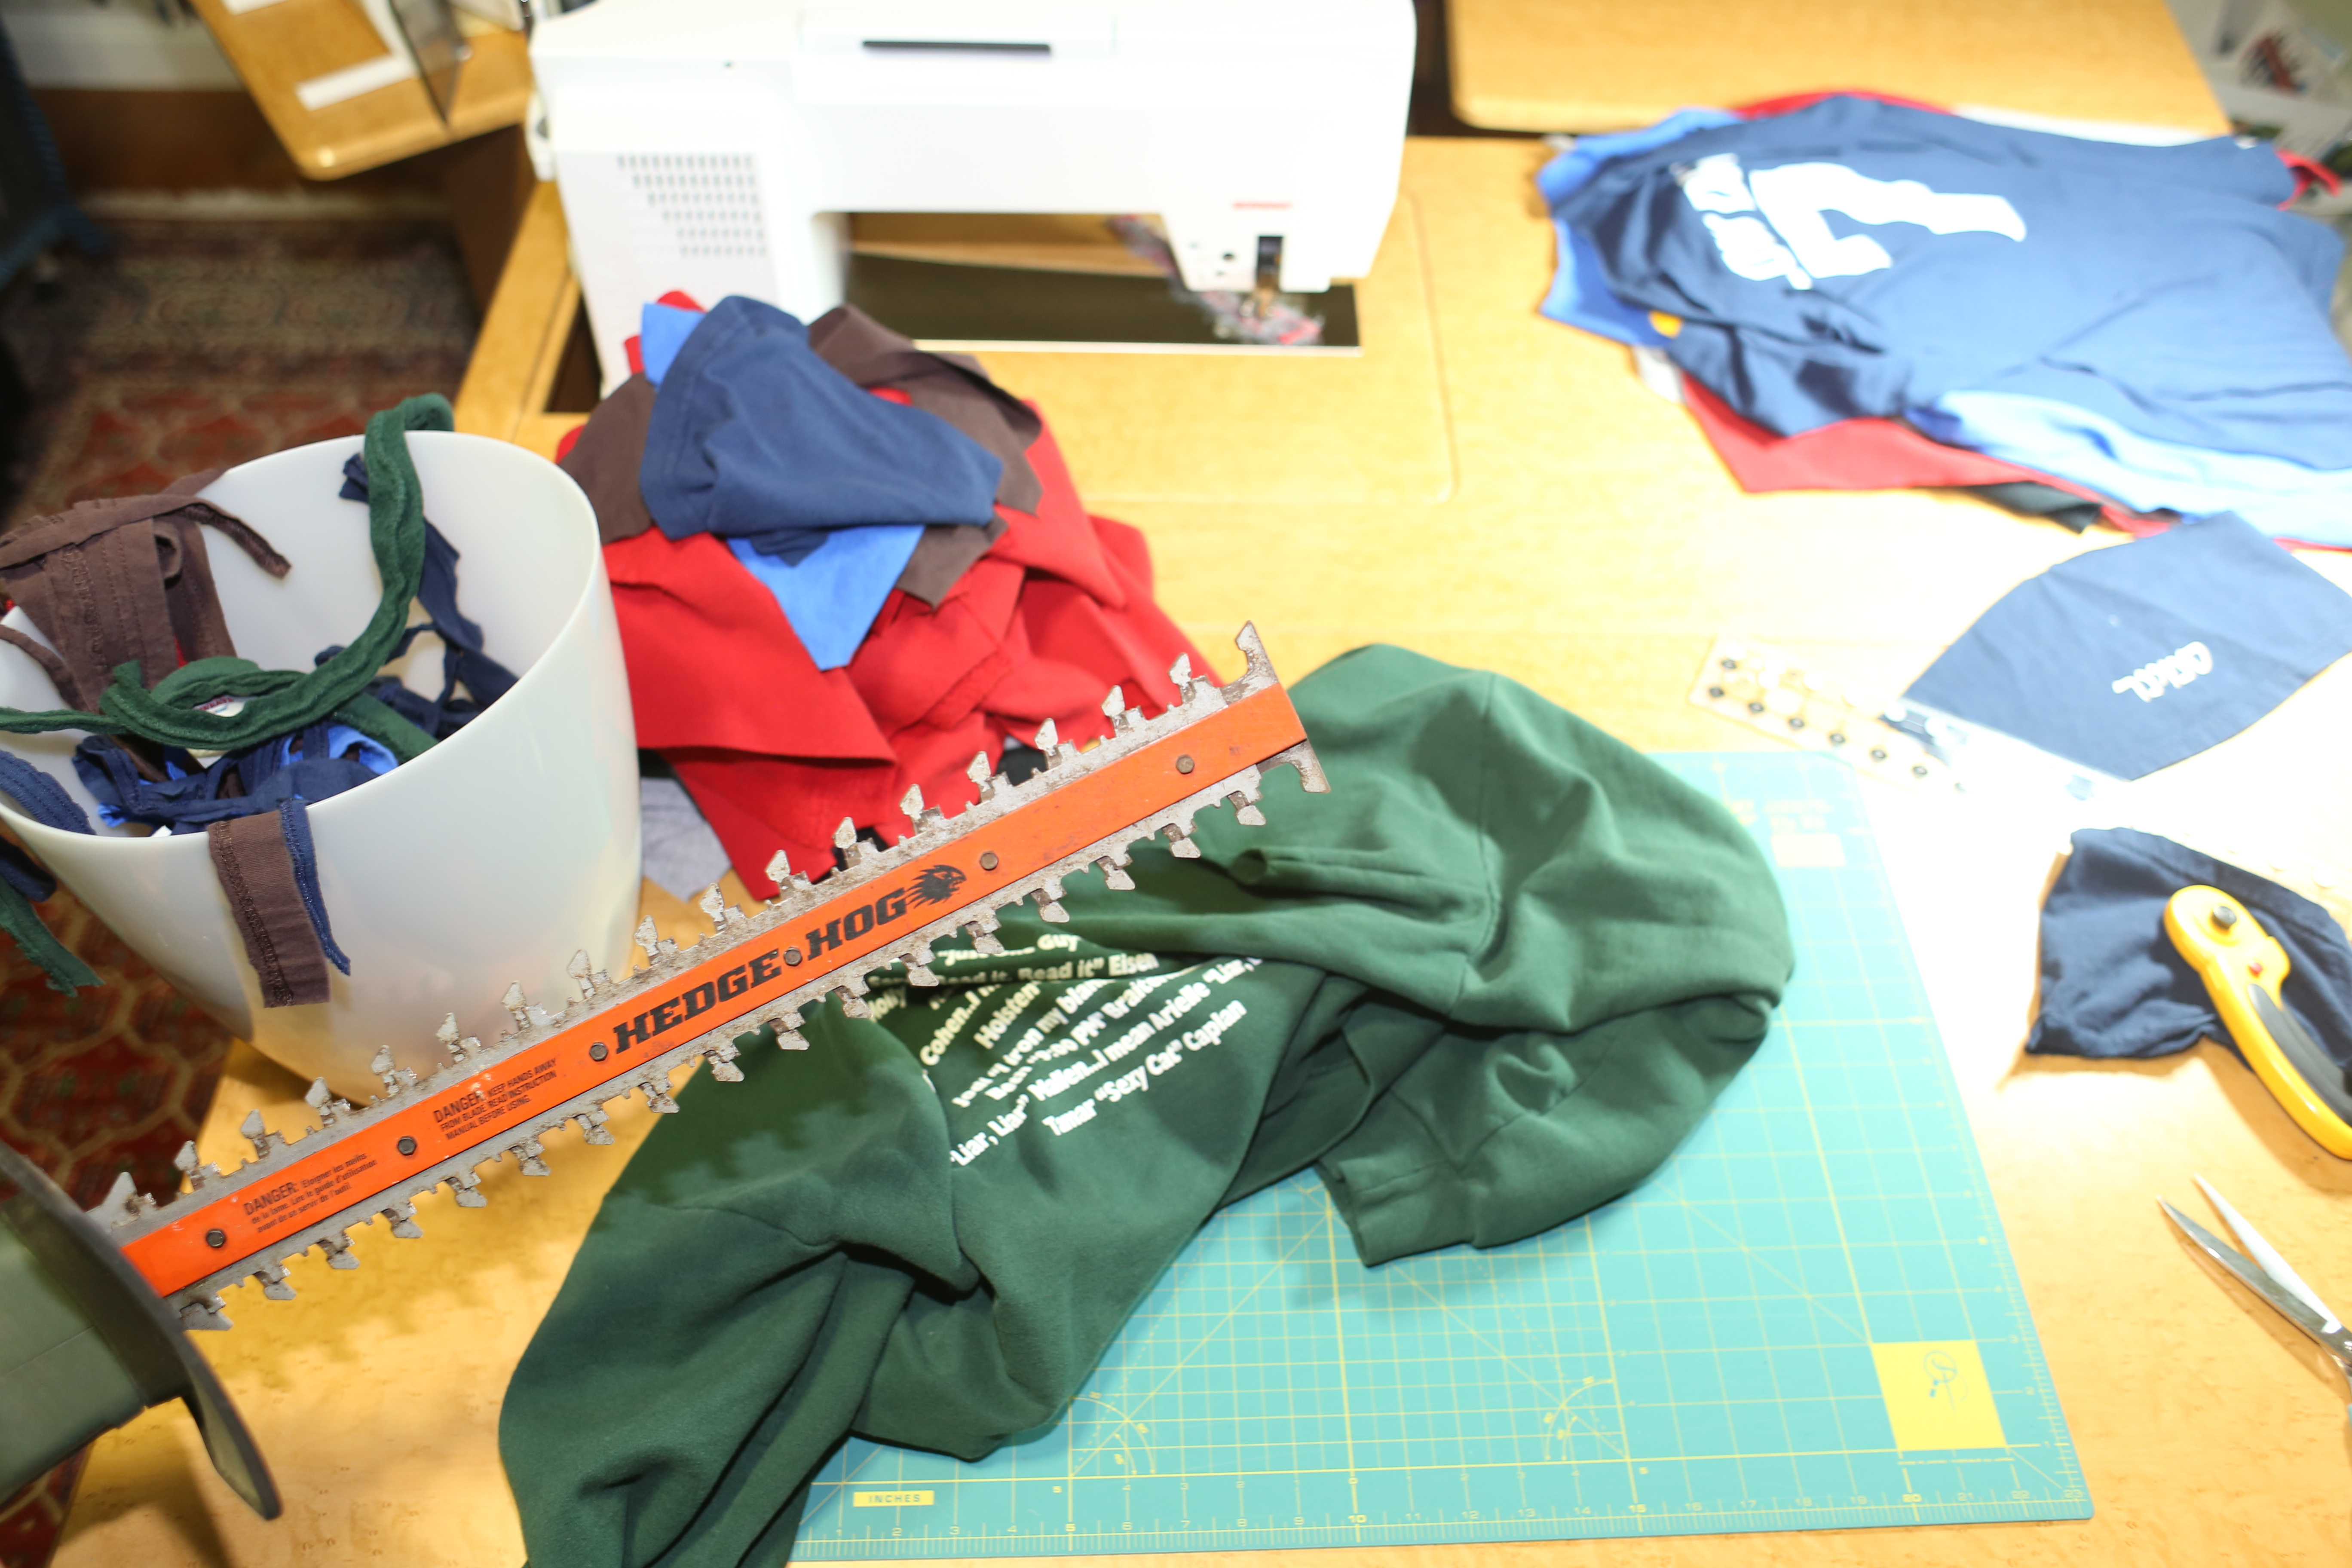
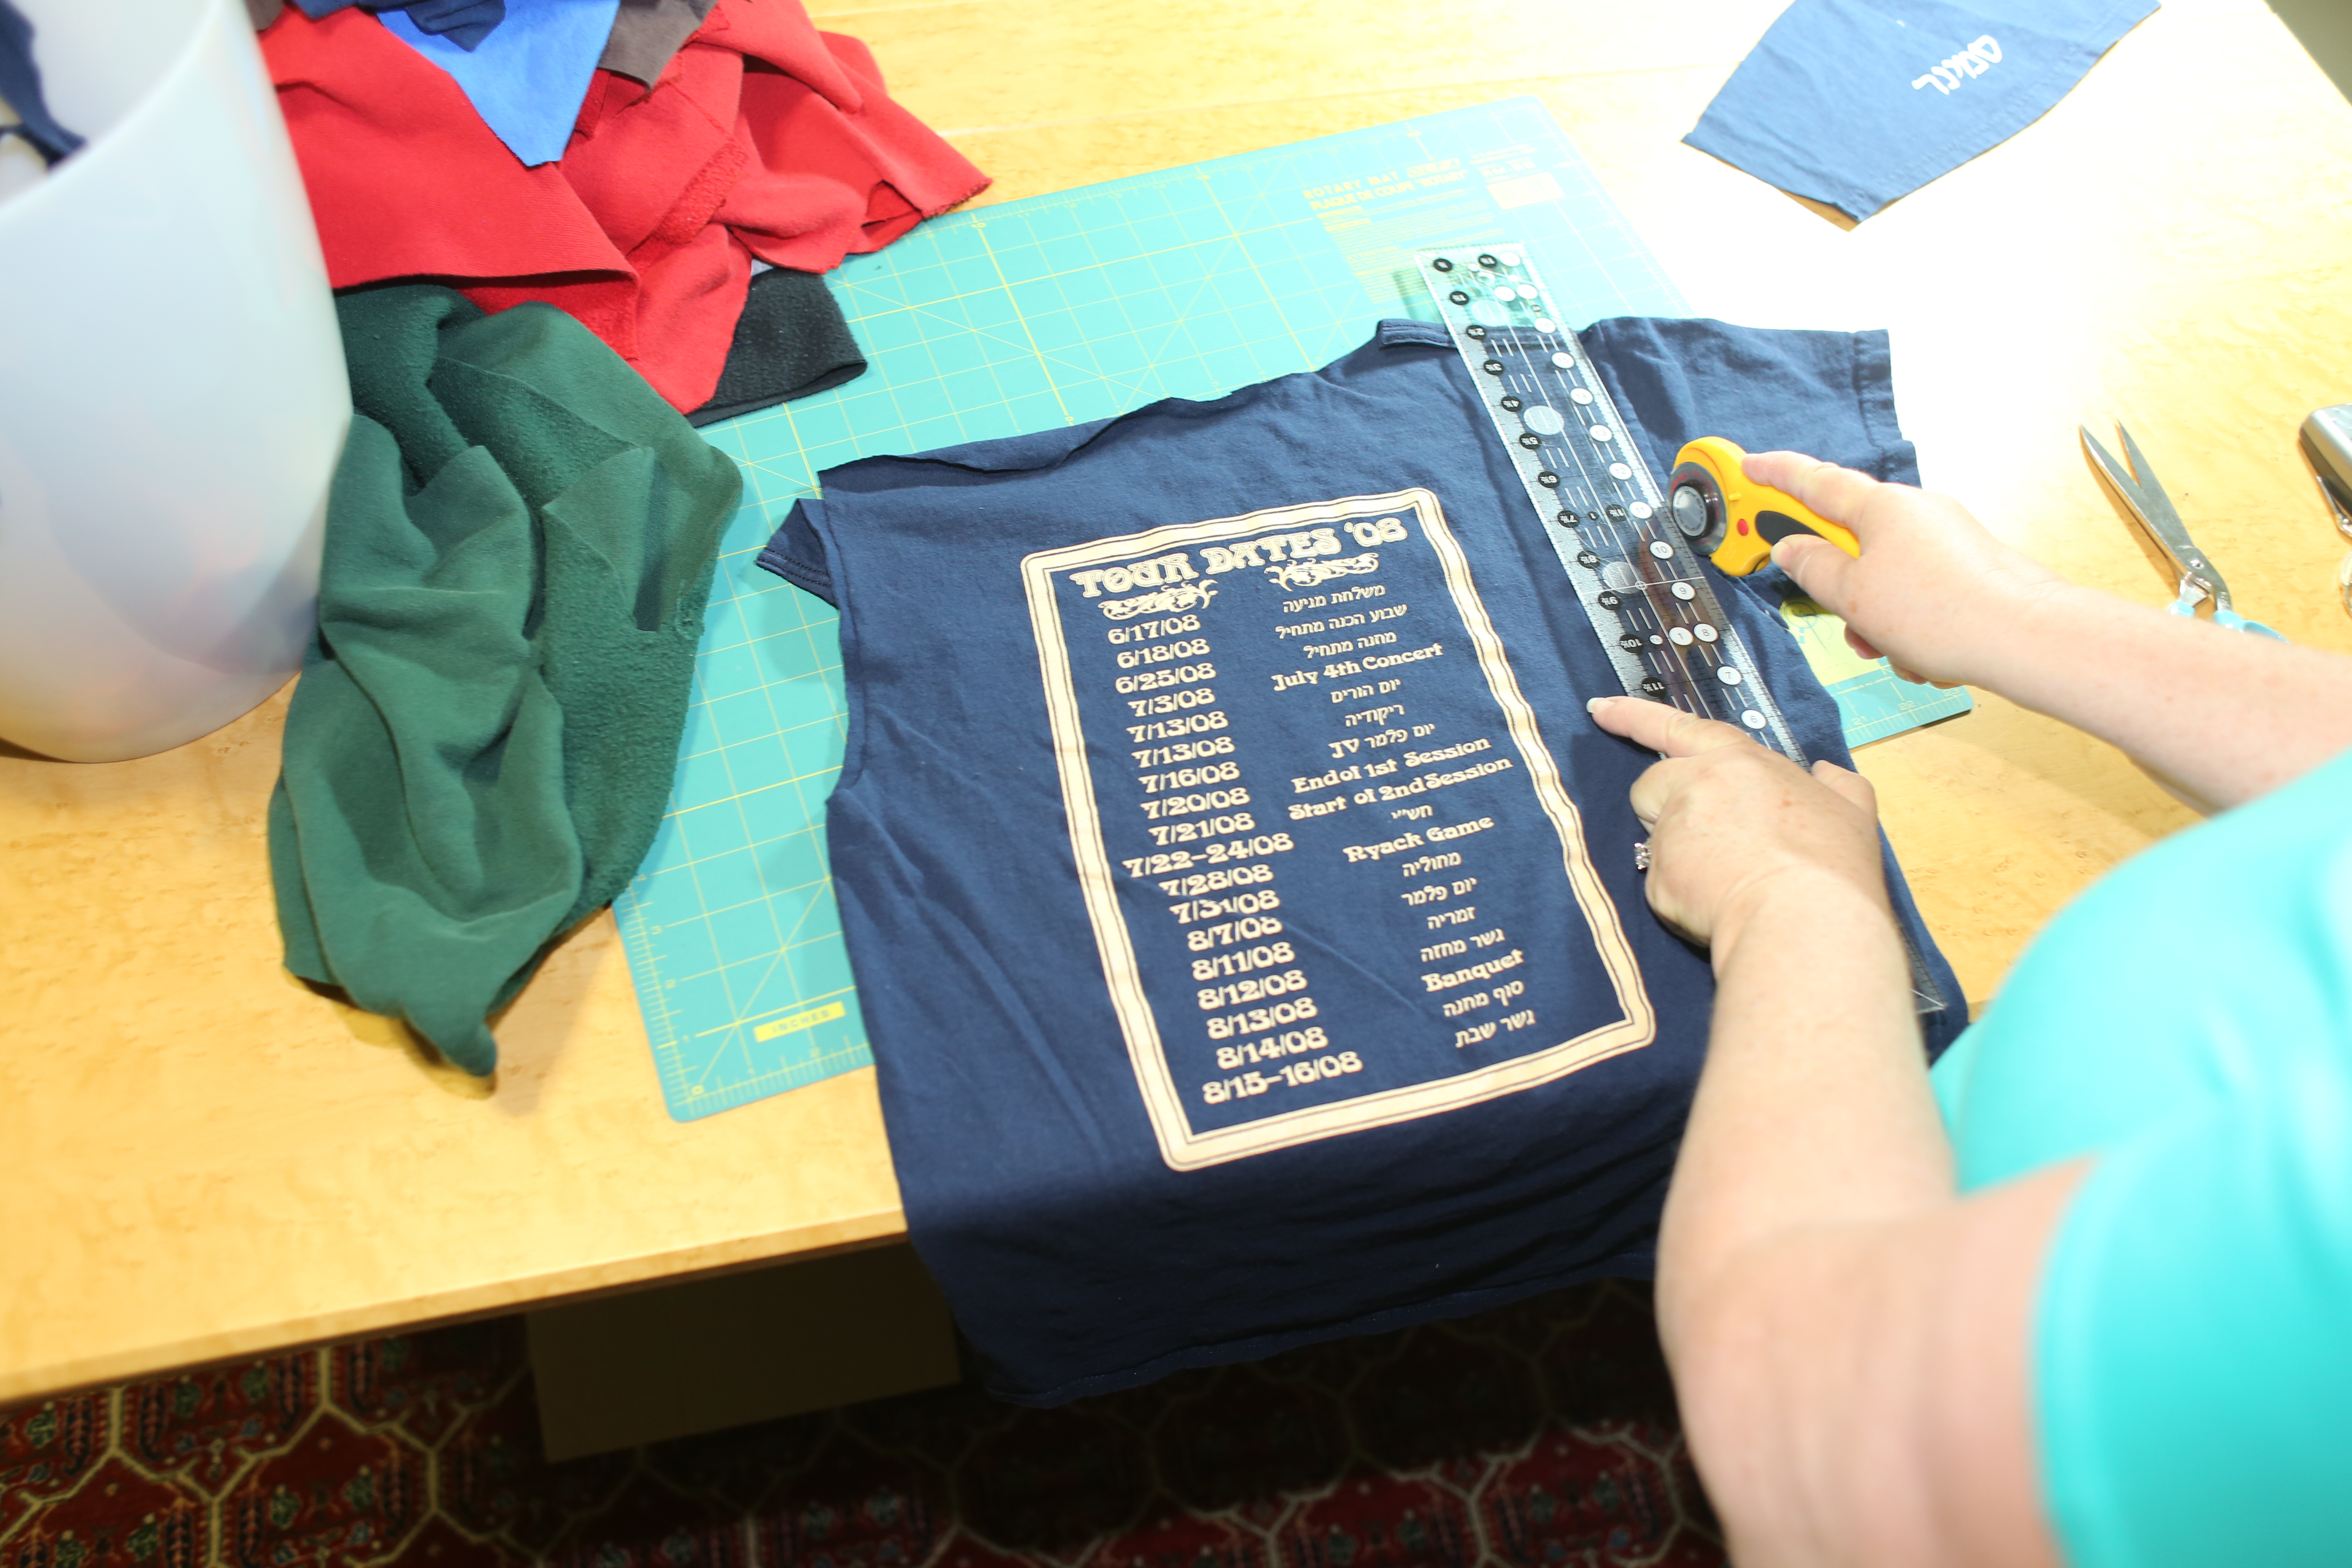
I tried to use a hedge clipper (above) however the extension cord was not long enough to reach. Justkidding! I used a ruler, a cutting mat, and my Rotary Cutter by OLFA (below) instead.
Next step: Measure, cut, and apply interfacing (I used mostly Pellon 911FF).
Special note for first-timers: Read the instructions for the interfacing before application!
Here (below) I am making a rough estimate of how much interfacing to use. This is not the time to get cheap!

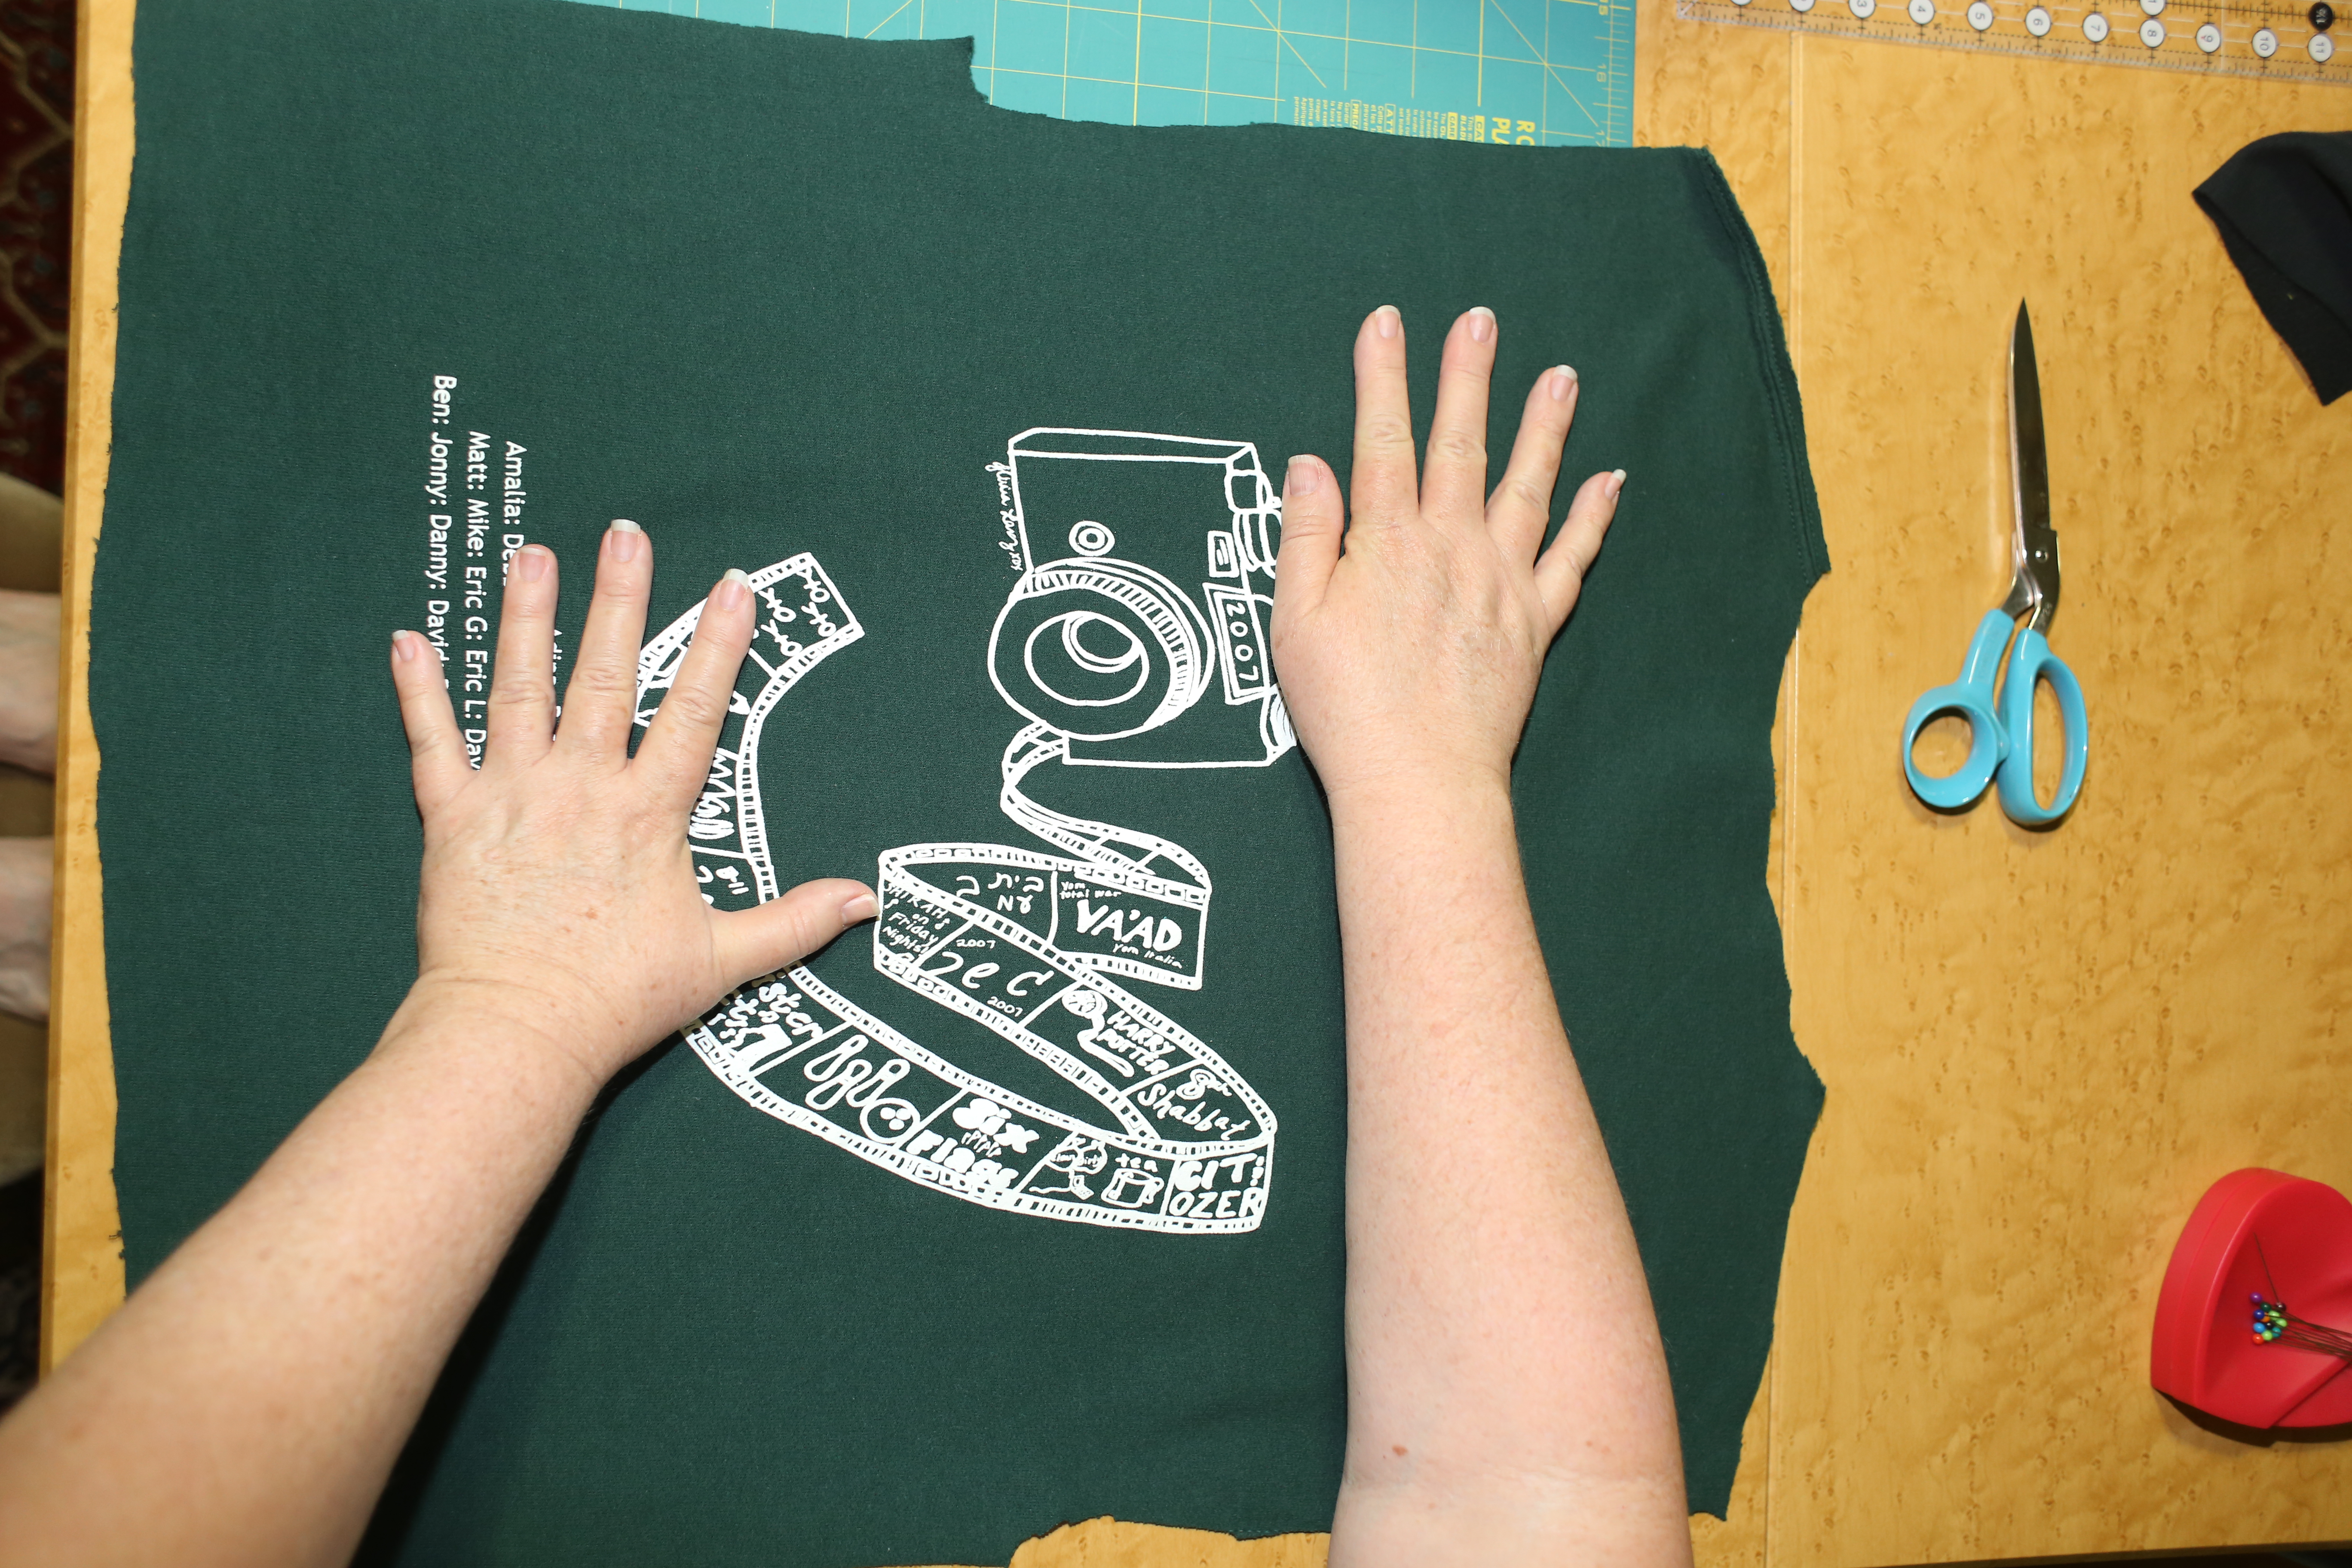
Cutting…. Note: Using the largest piece of interfacing possible will allow me to use the greatest amount of the shirt logo. I’ll be trimming the shirt later (sometimes trimming at several points during the process…)
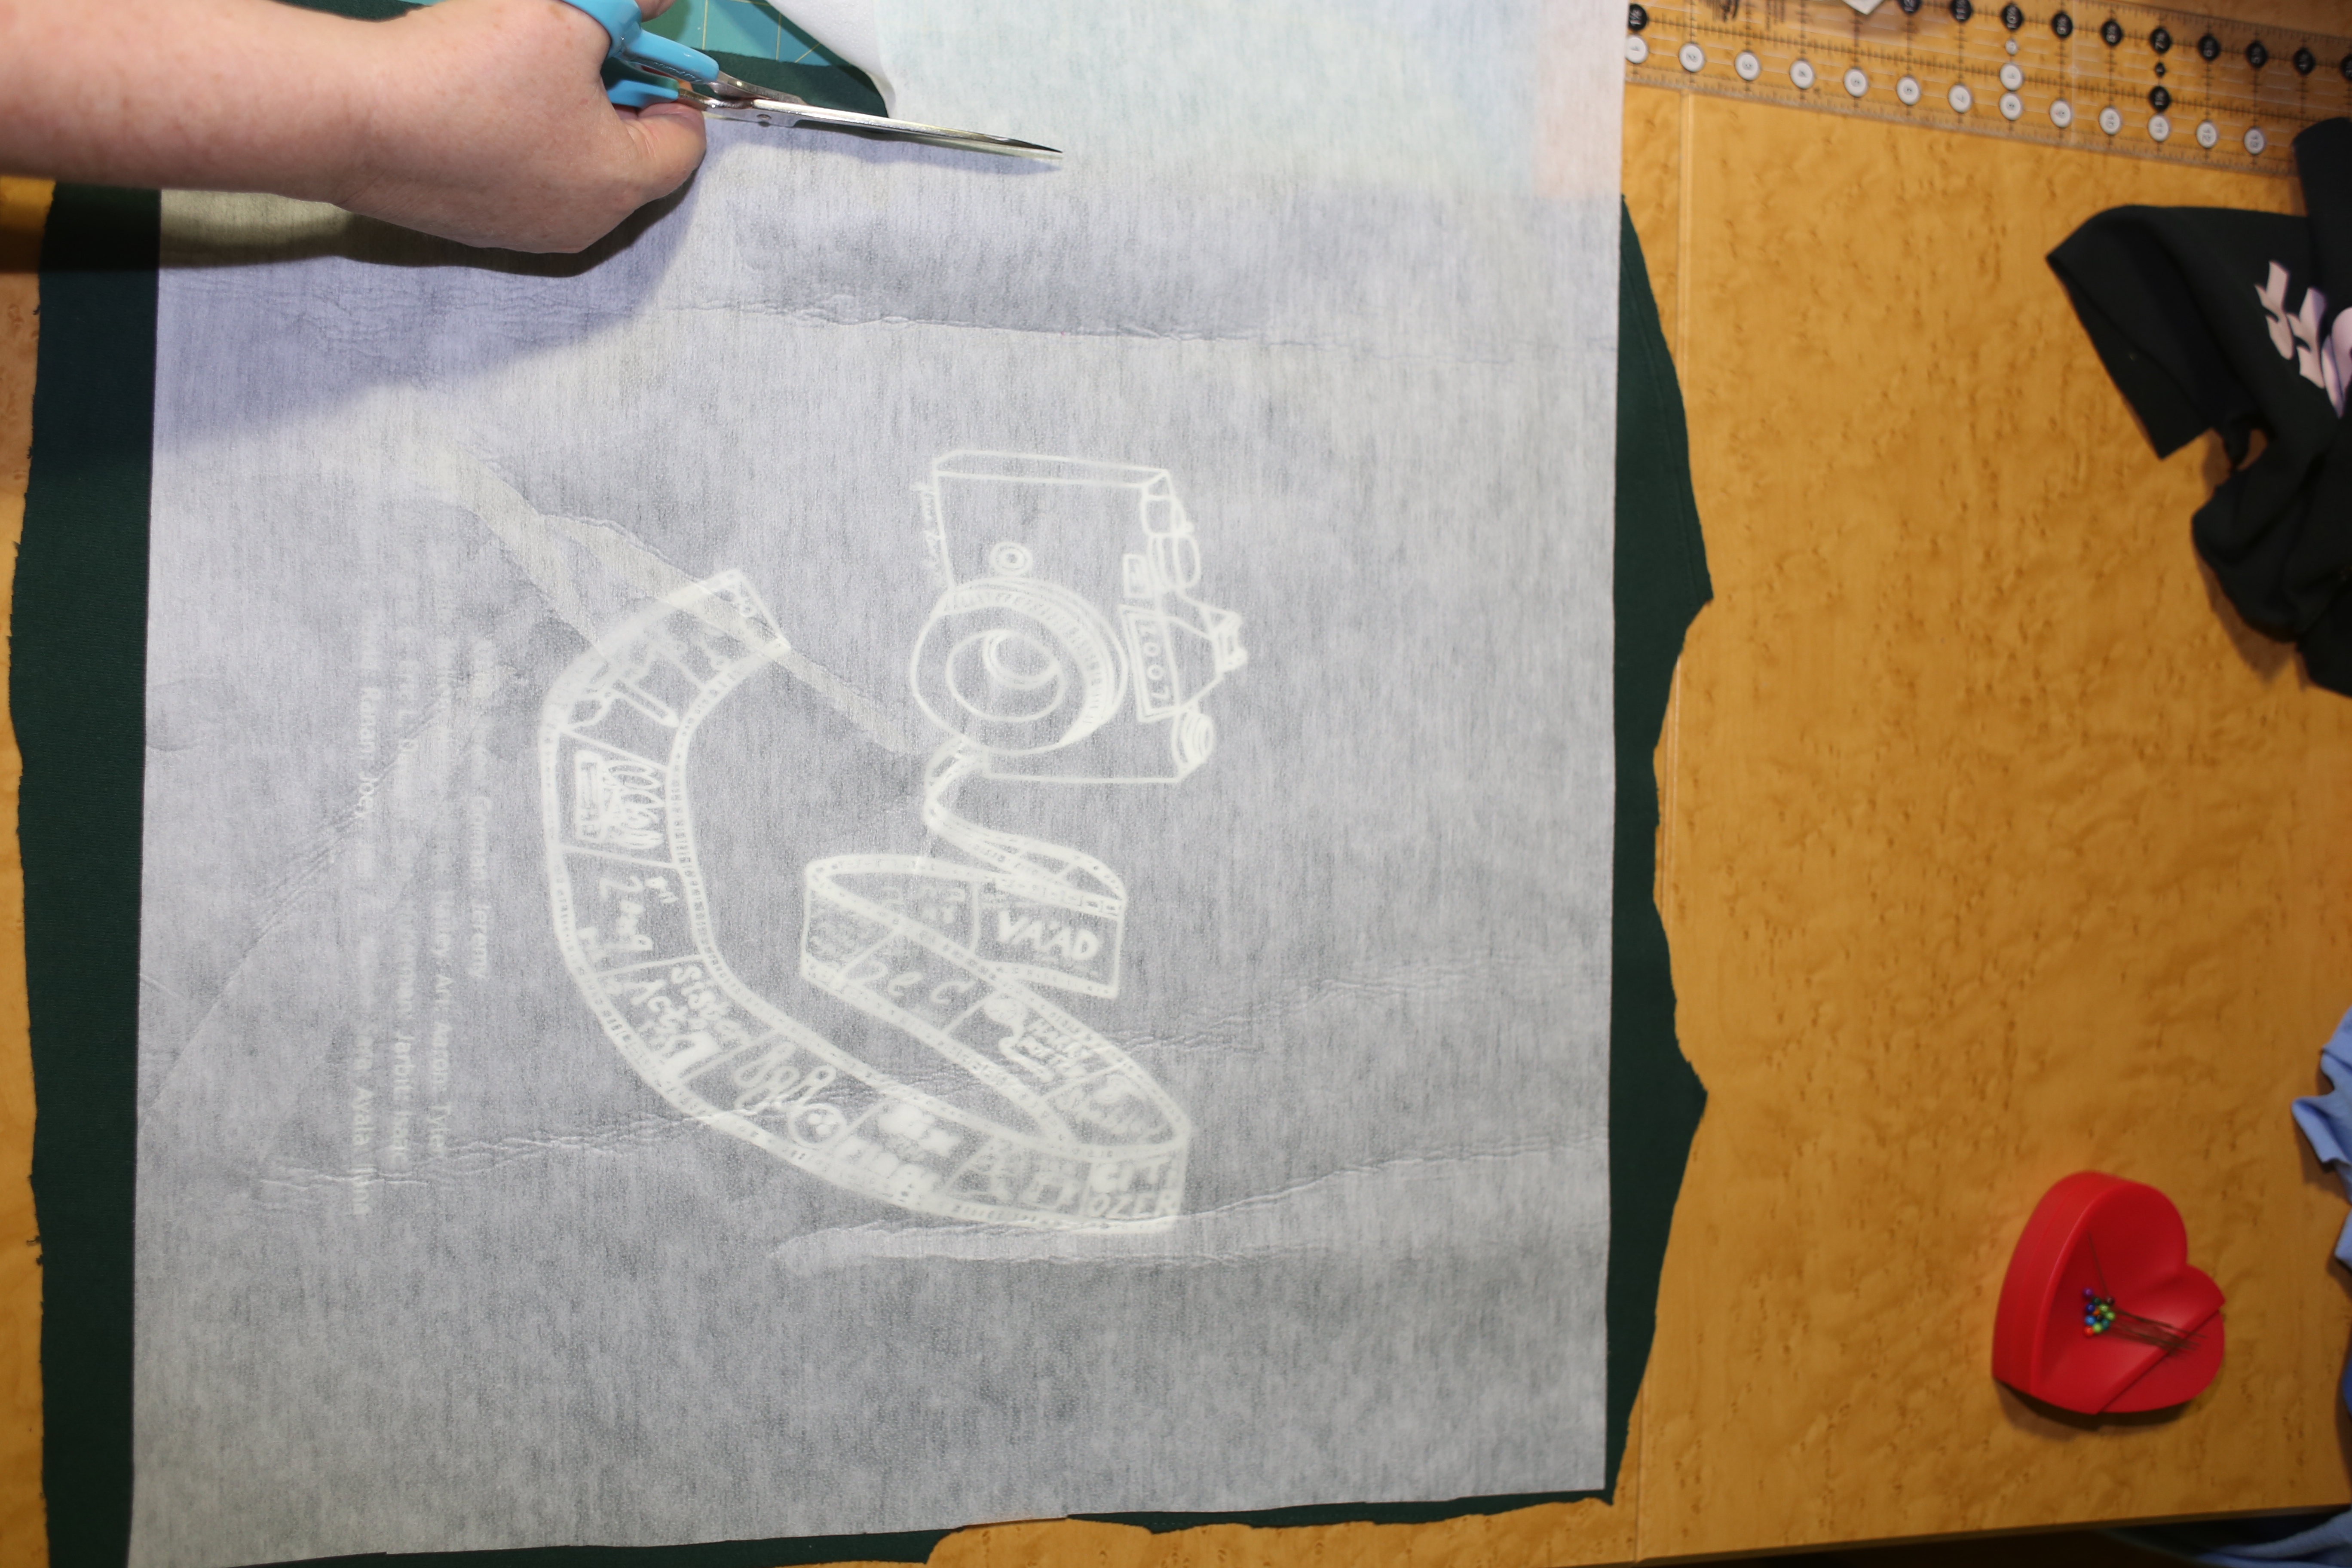
Checking to see that the amount of interfacing I cut will be large enough for this logo:
Now to fuse the interfacing to the back side of the logo:
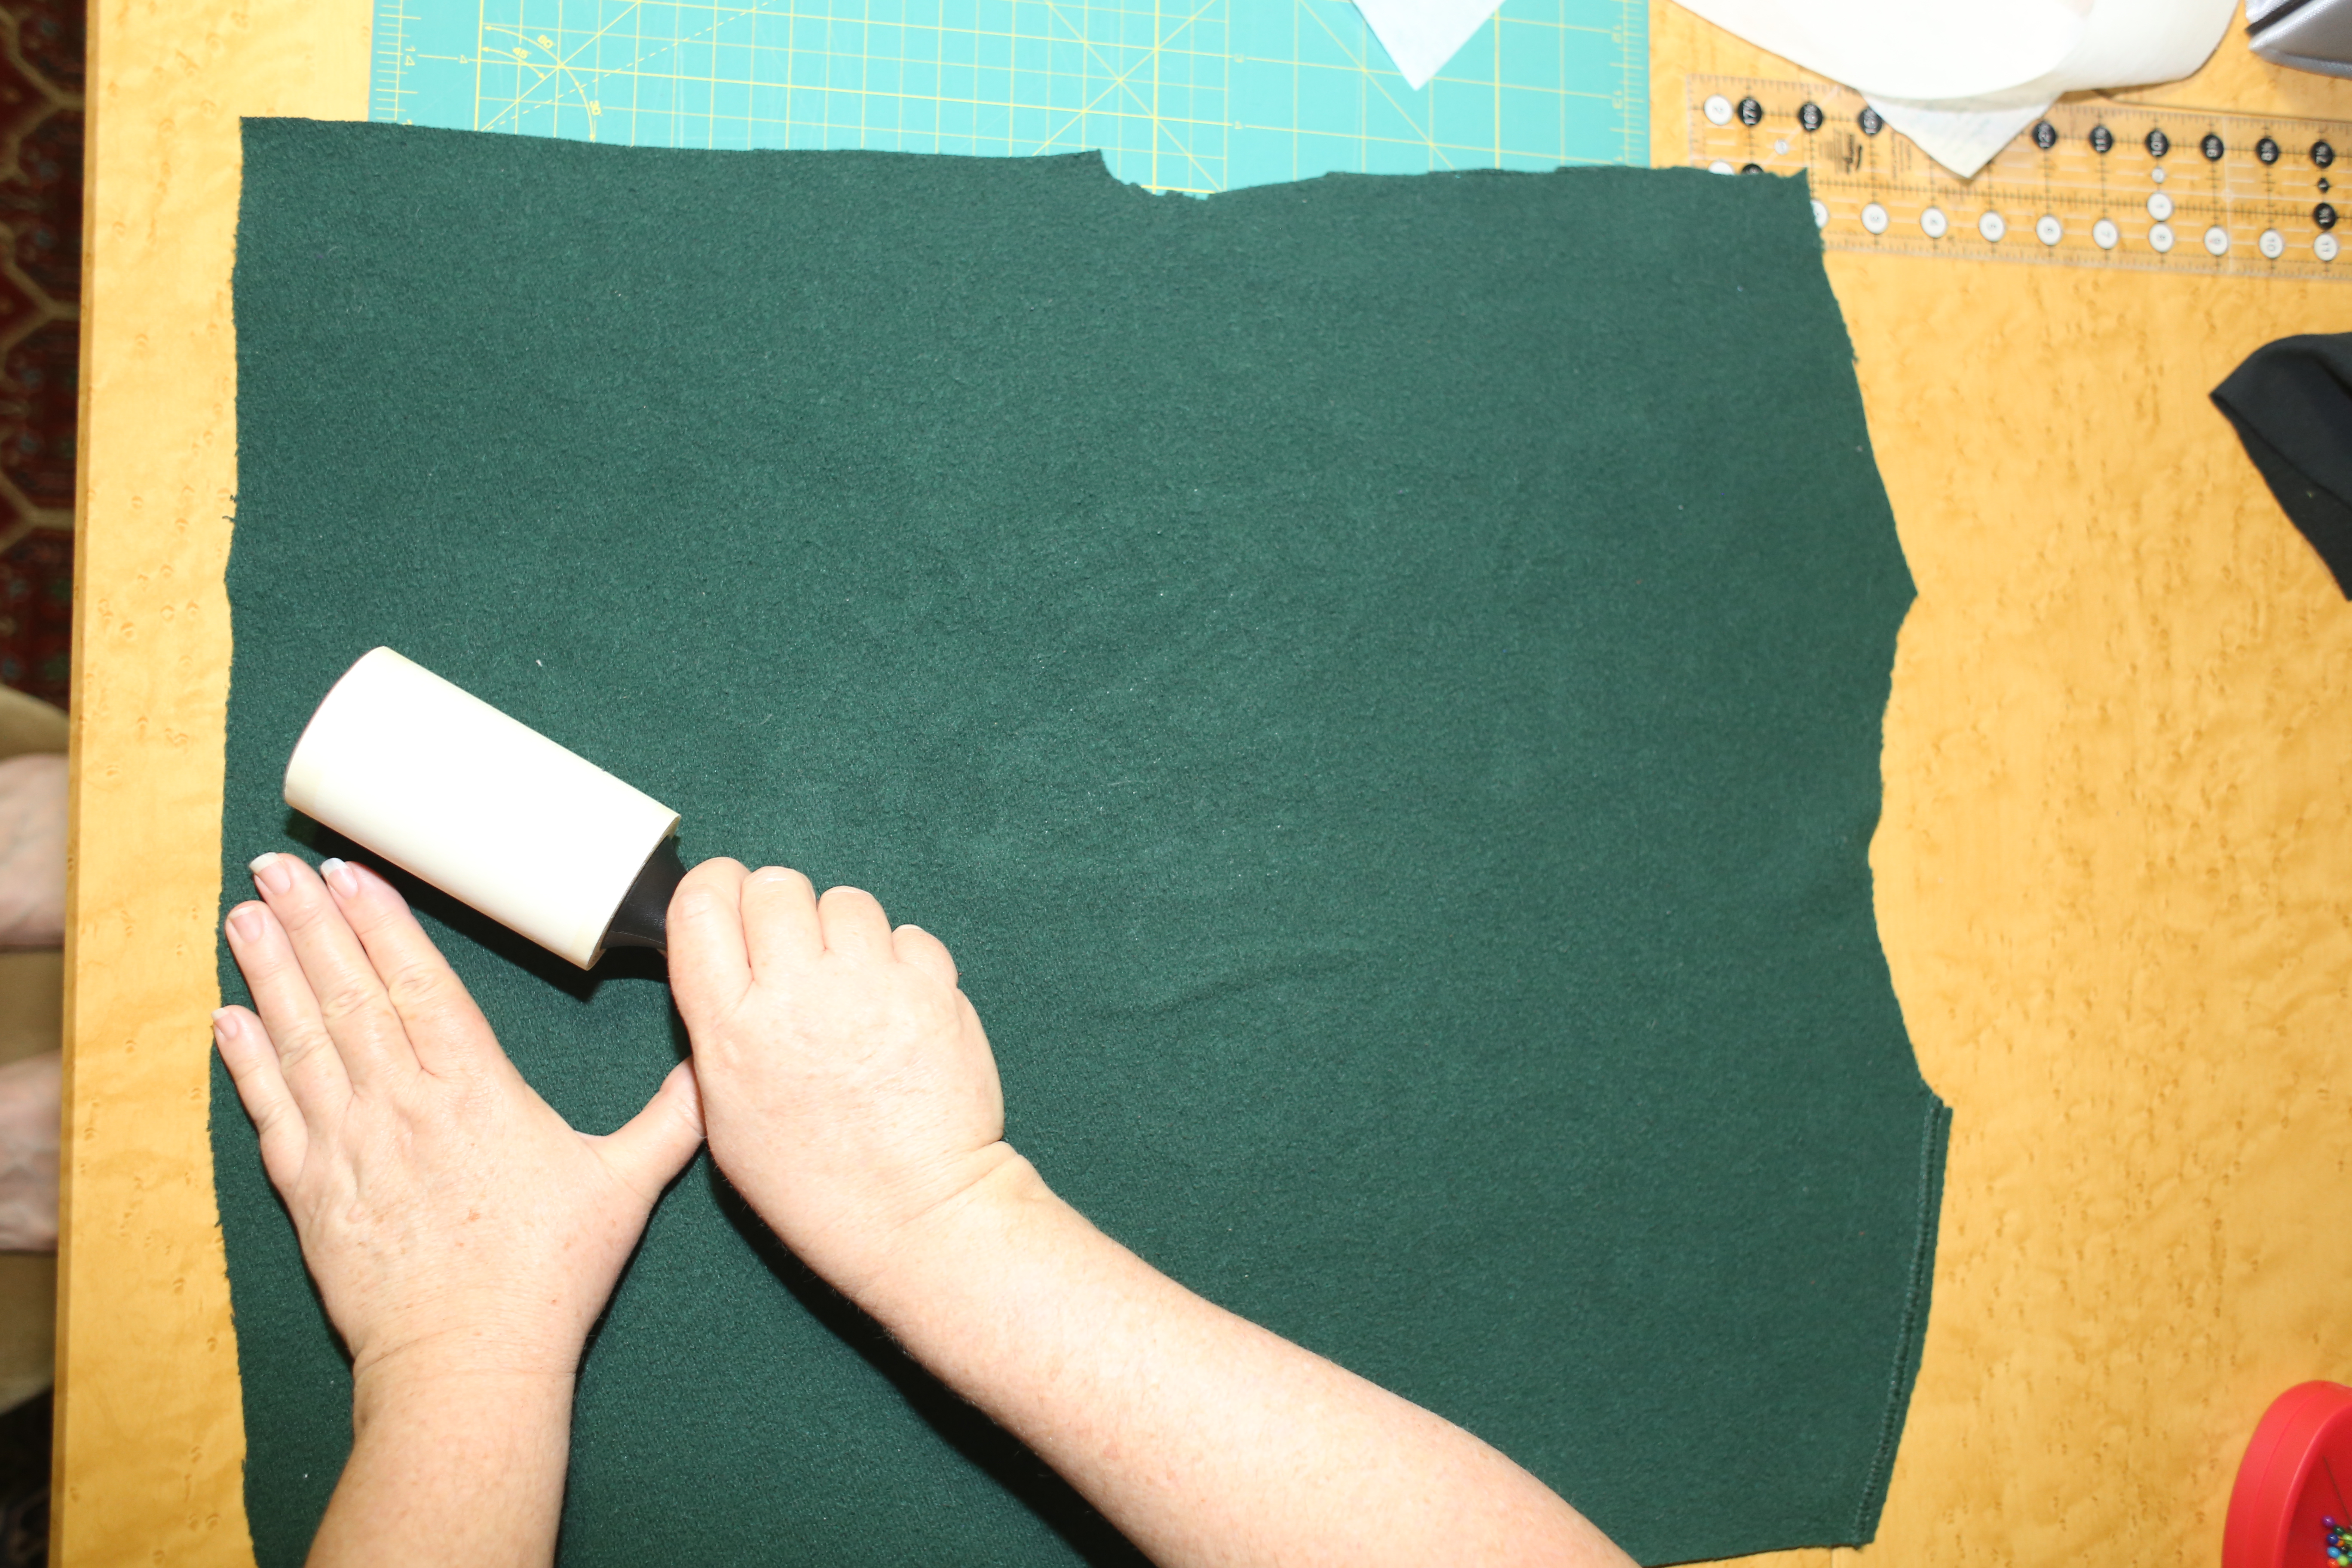
First step: Remove lint on the back side of the shirt using a lint roller.
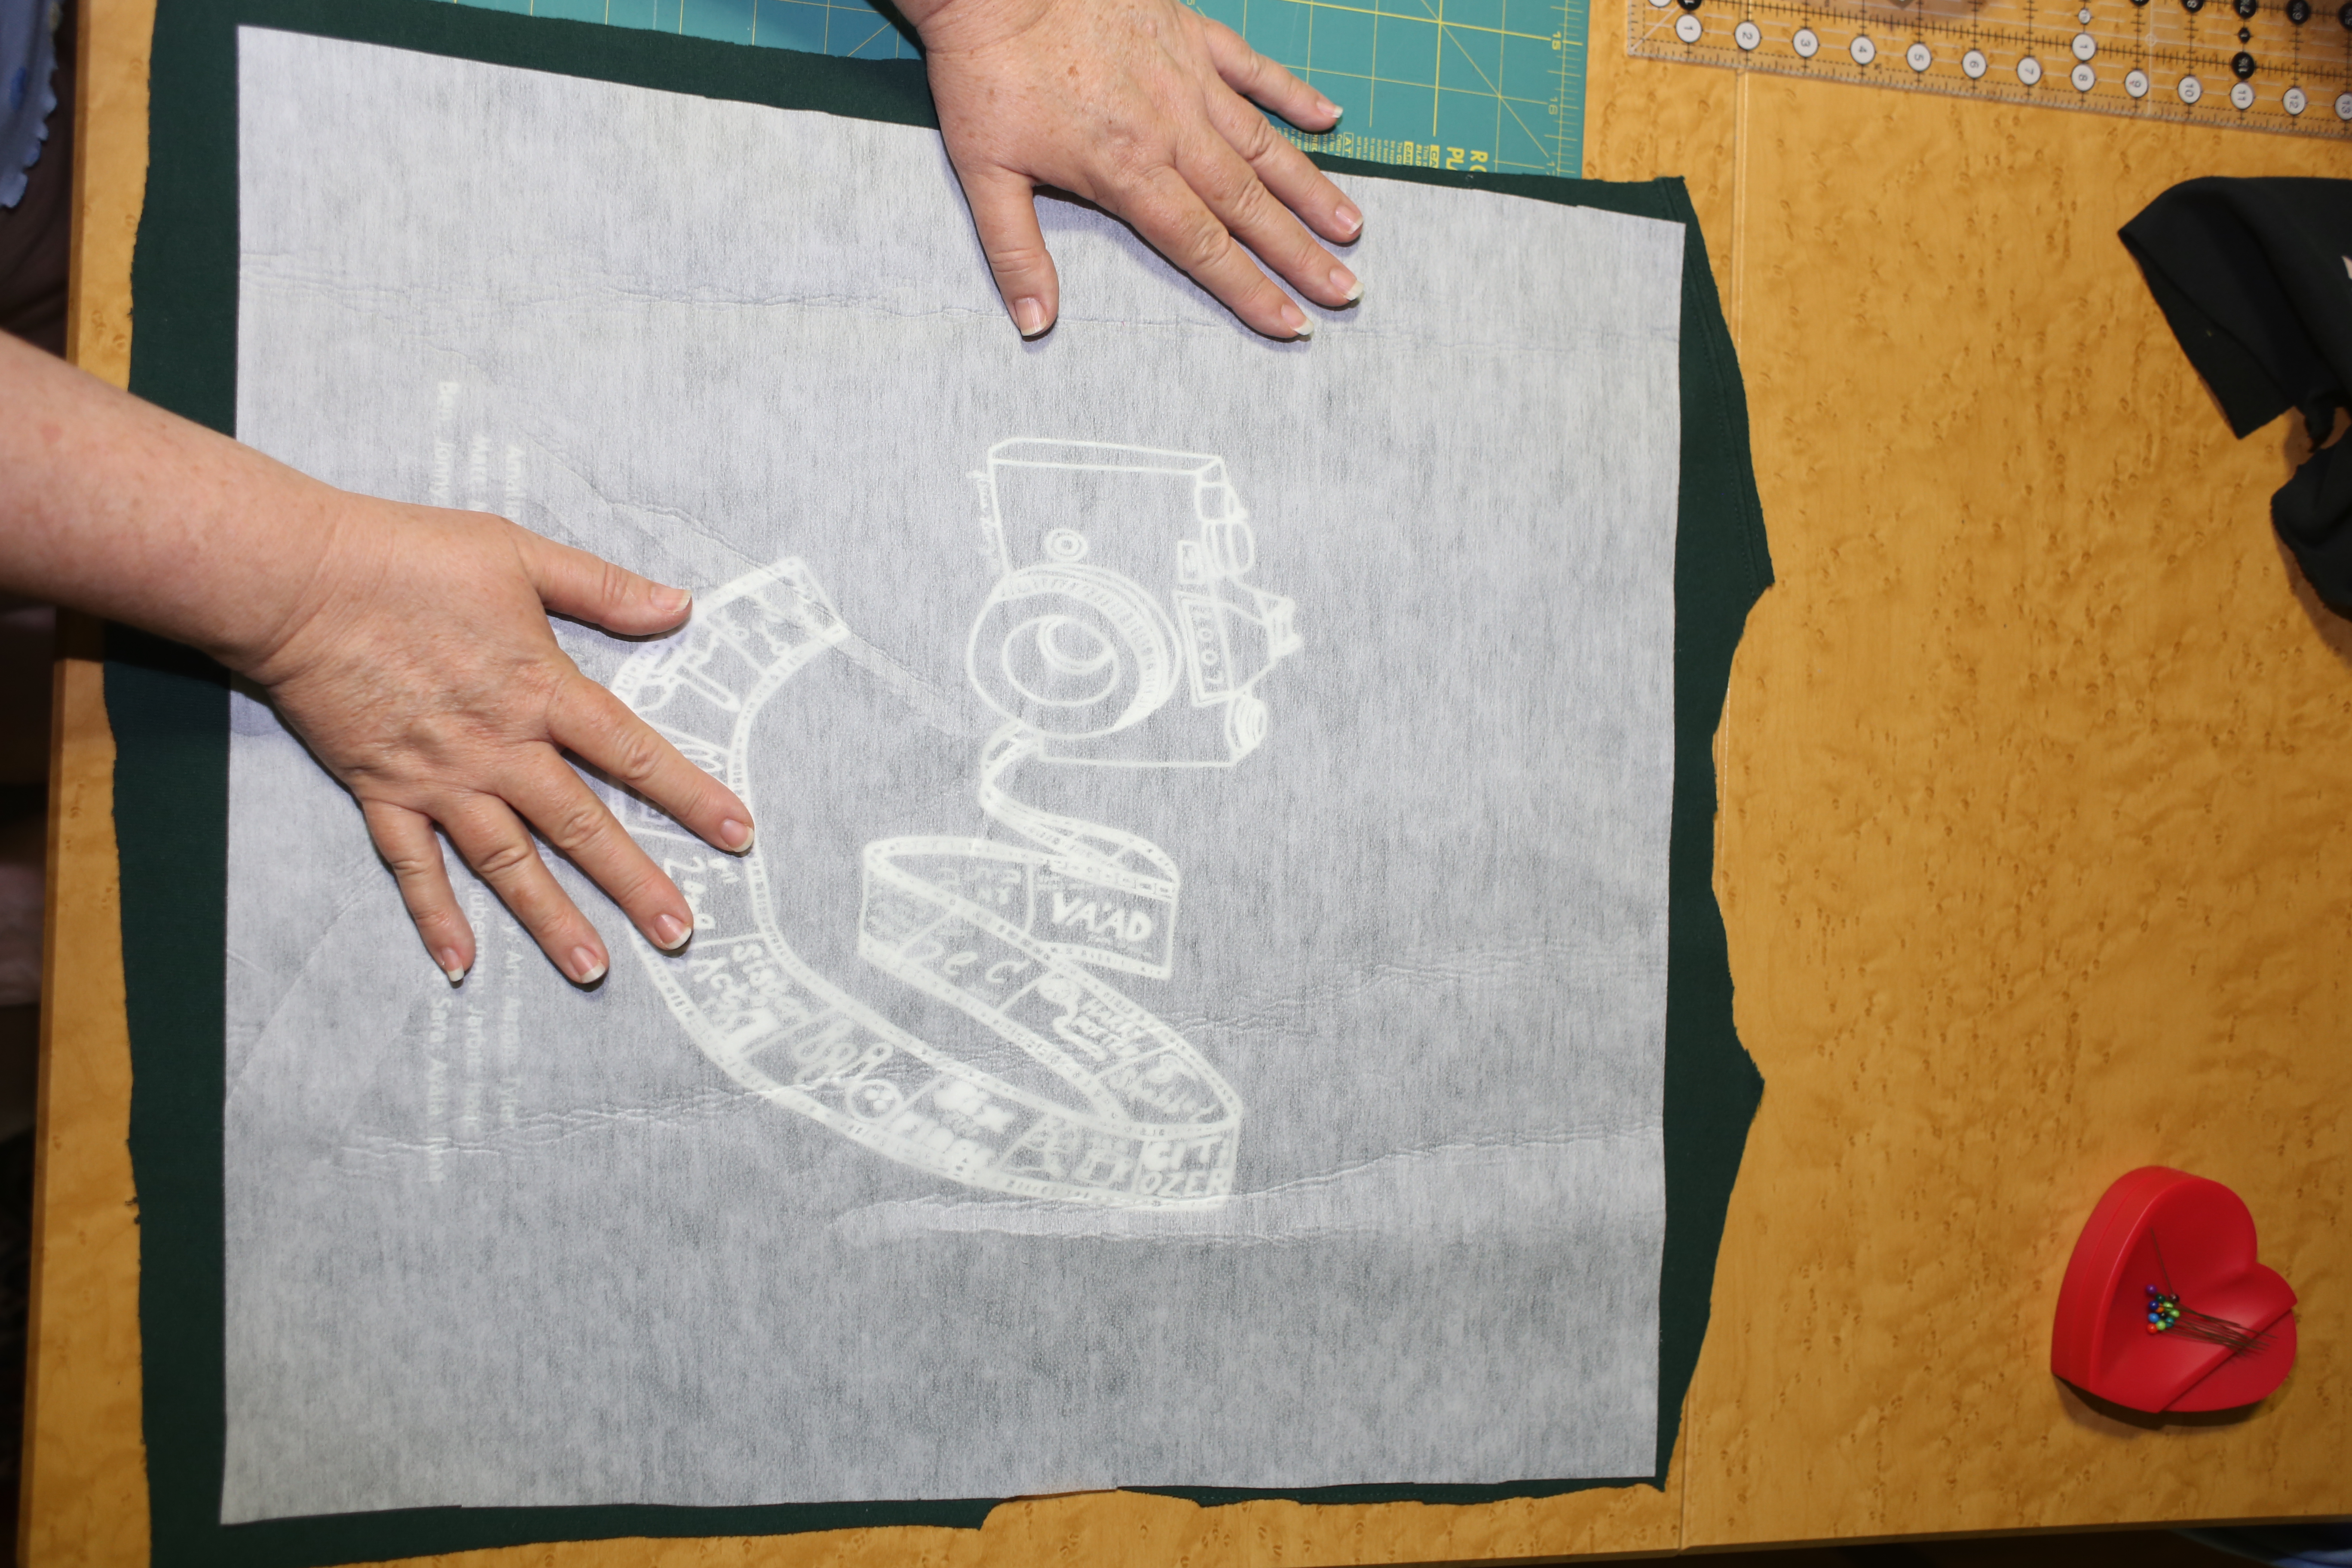
Second: Place the interfacing on the de-linted shirt back, making sure that the interfacing is behind the logo, adhesive side facing the shirt back (very important!).
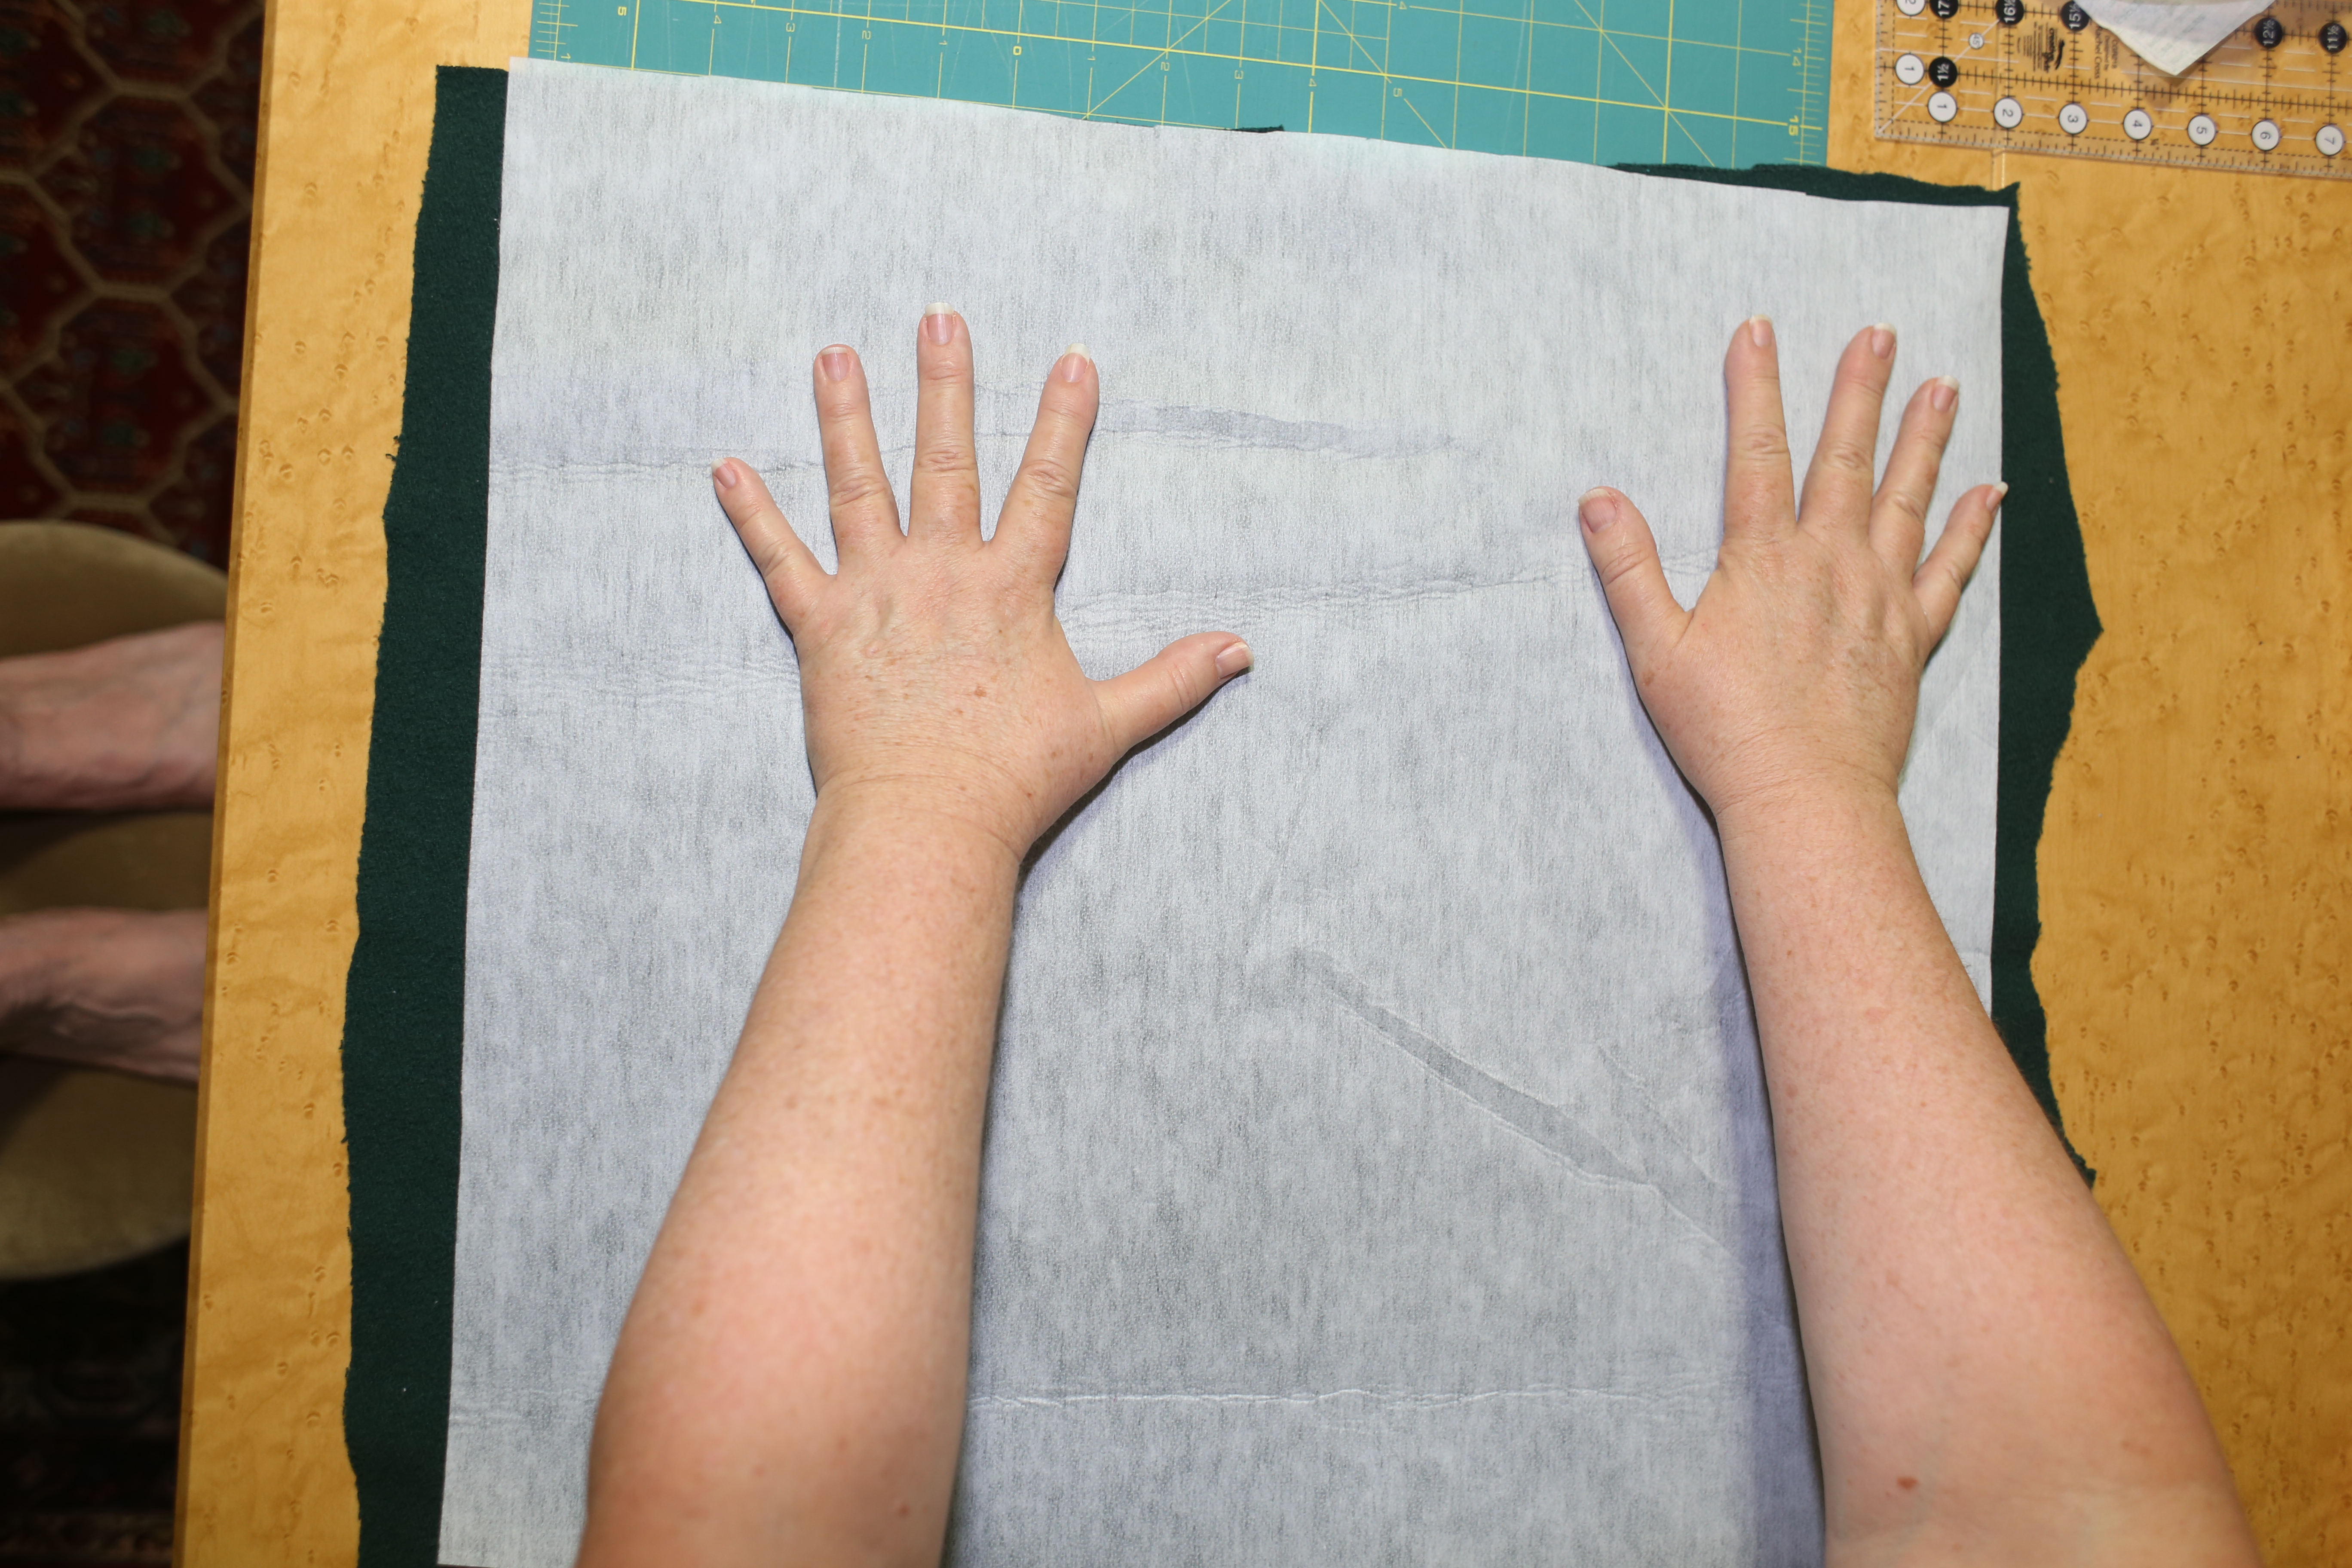
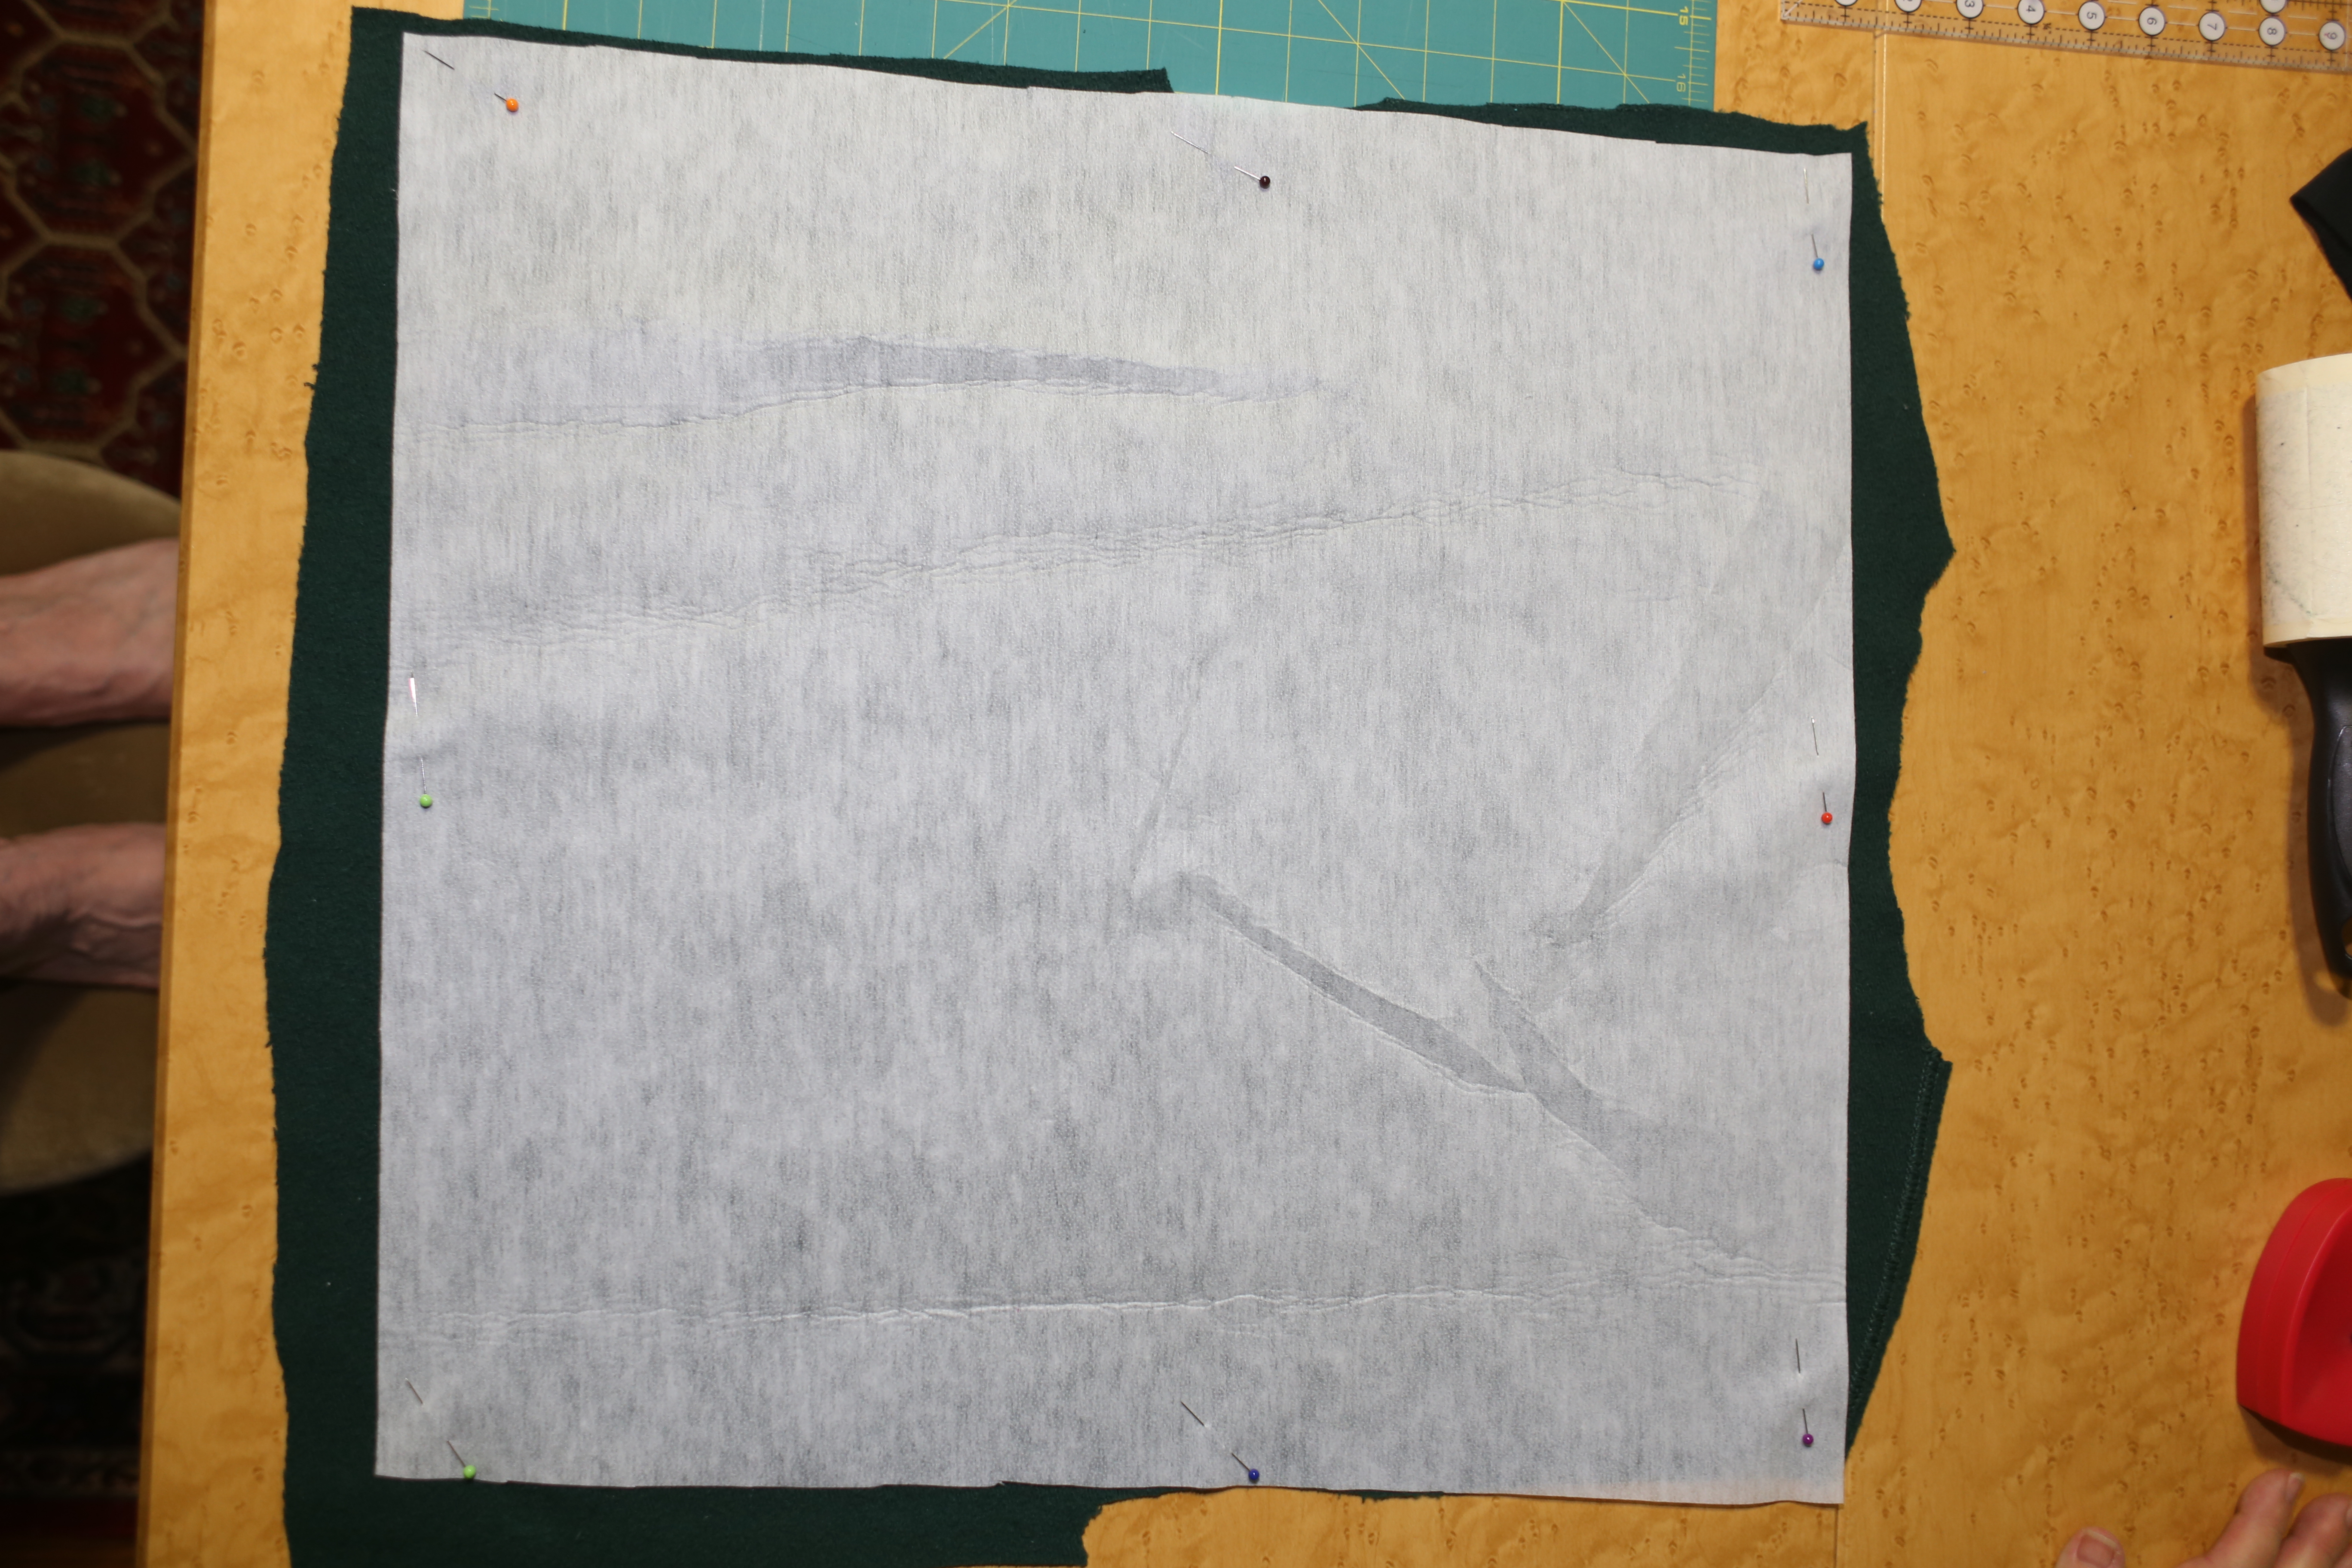
Extra step: Pining the fusible interfacing where I think it should go. This step is not necessary, however, I do it to make sure I have the fusible exactly where I want it. I like to pick up and examine the pinned shirt to make sure I’m happy with the fusible placement.
Another reason to do this is that the pins keep the unfused interfacing in place until I can press them. (Lots of mishaps can happen while transporting the shirt to the ironing board!) I like to prep many shirts at once, then do all my fusing (pressing) at once. Don’t forget to remove the pins before pressing.
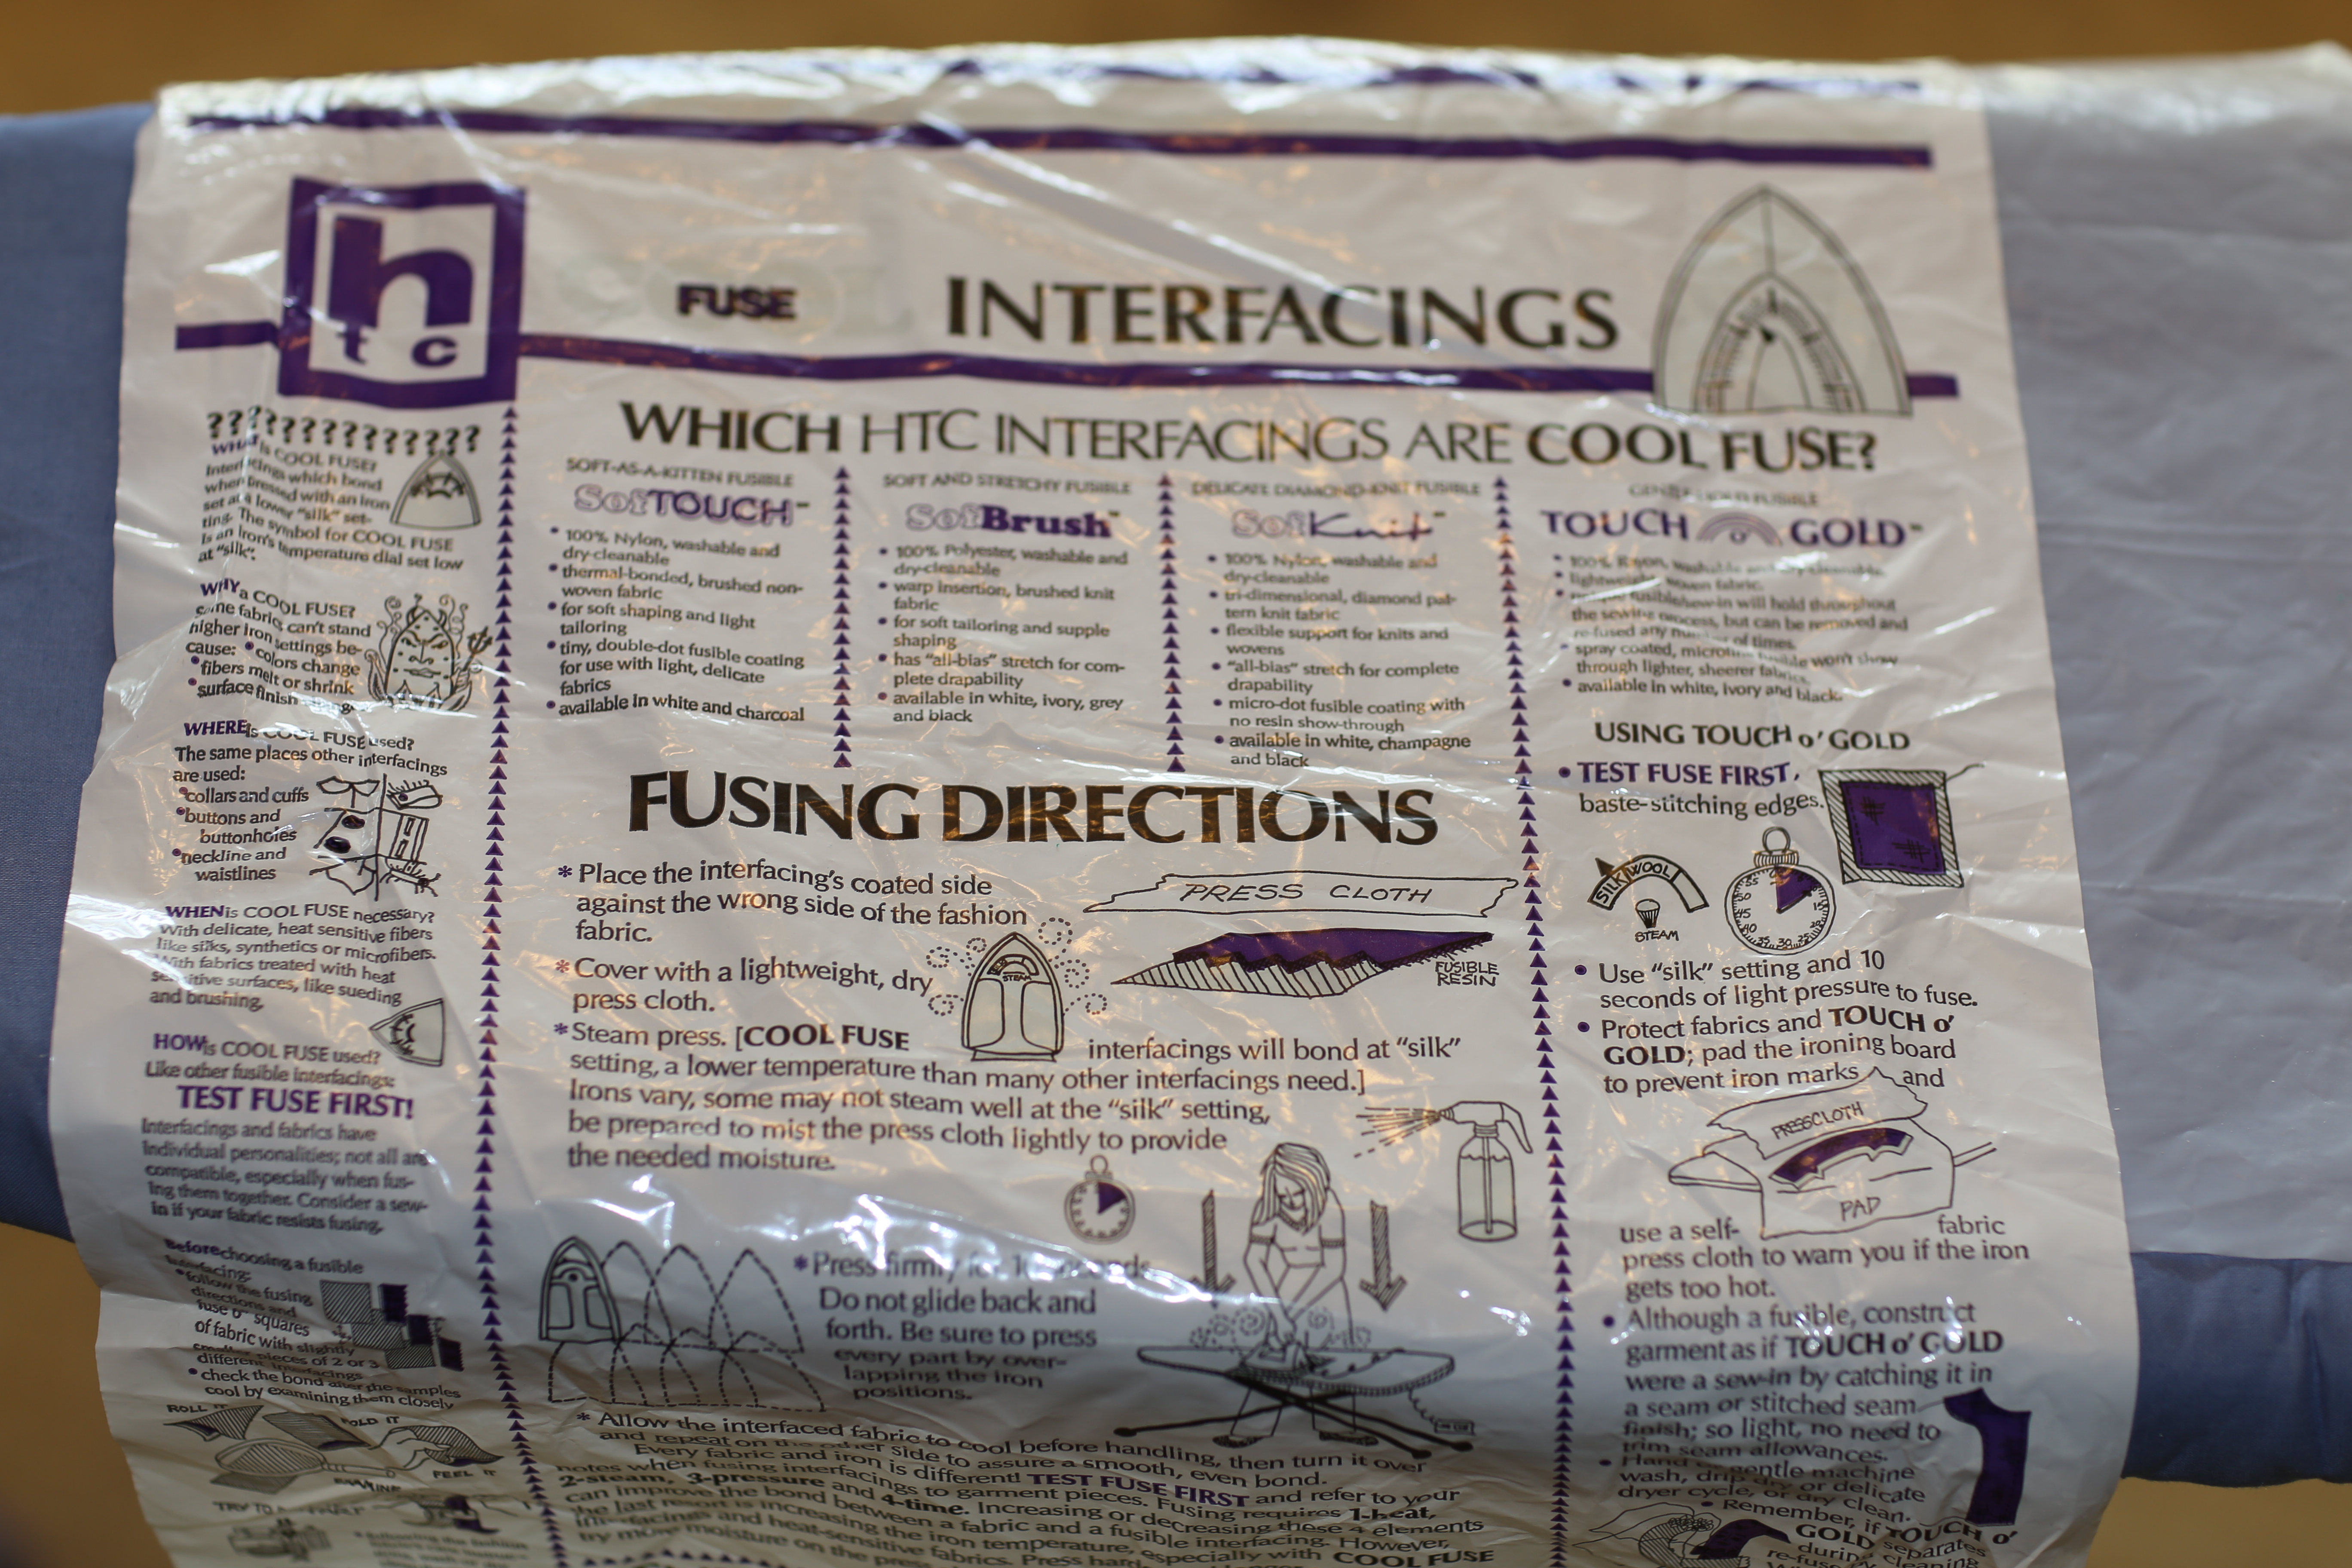
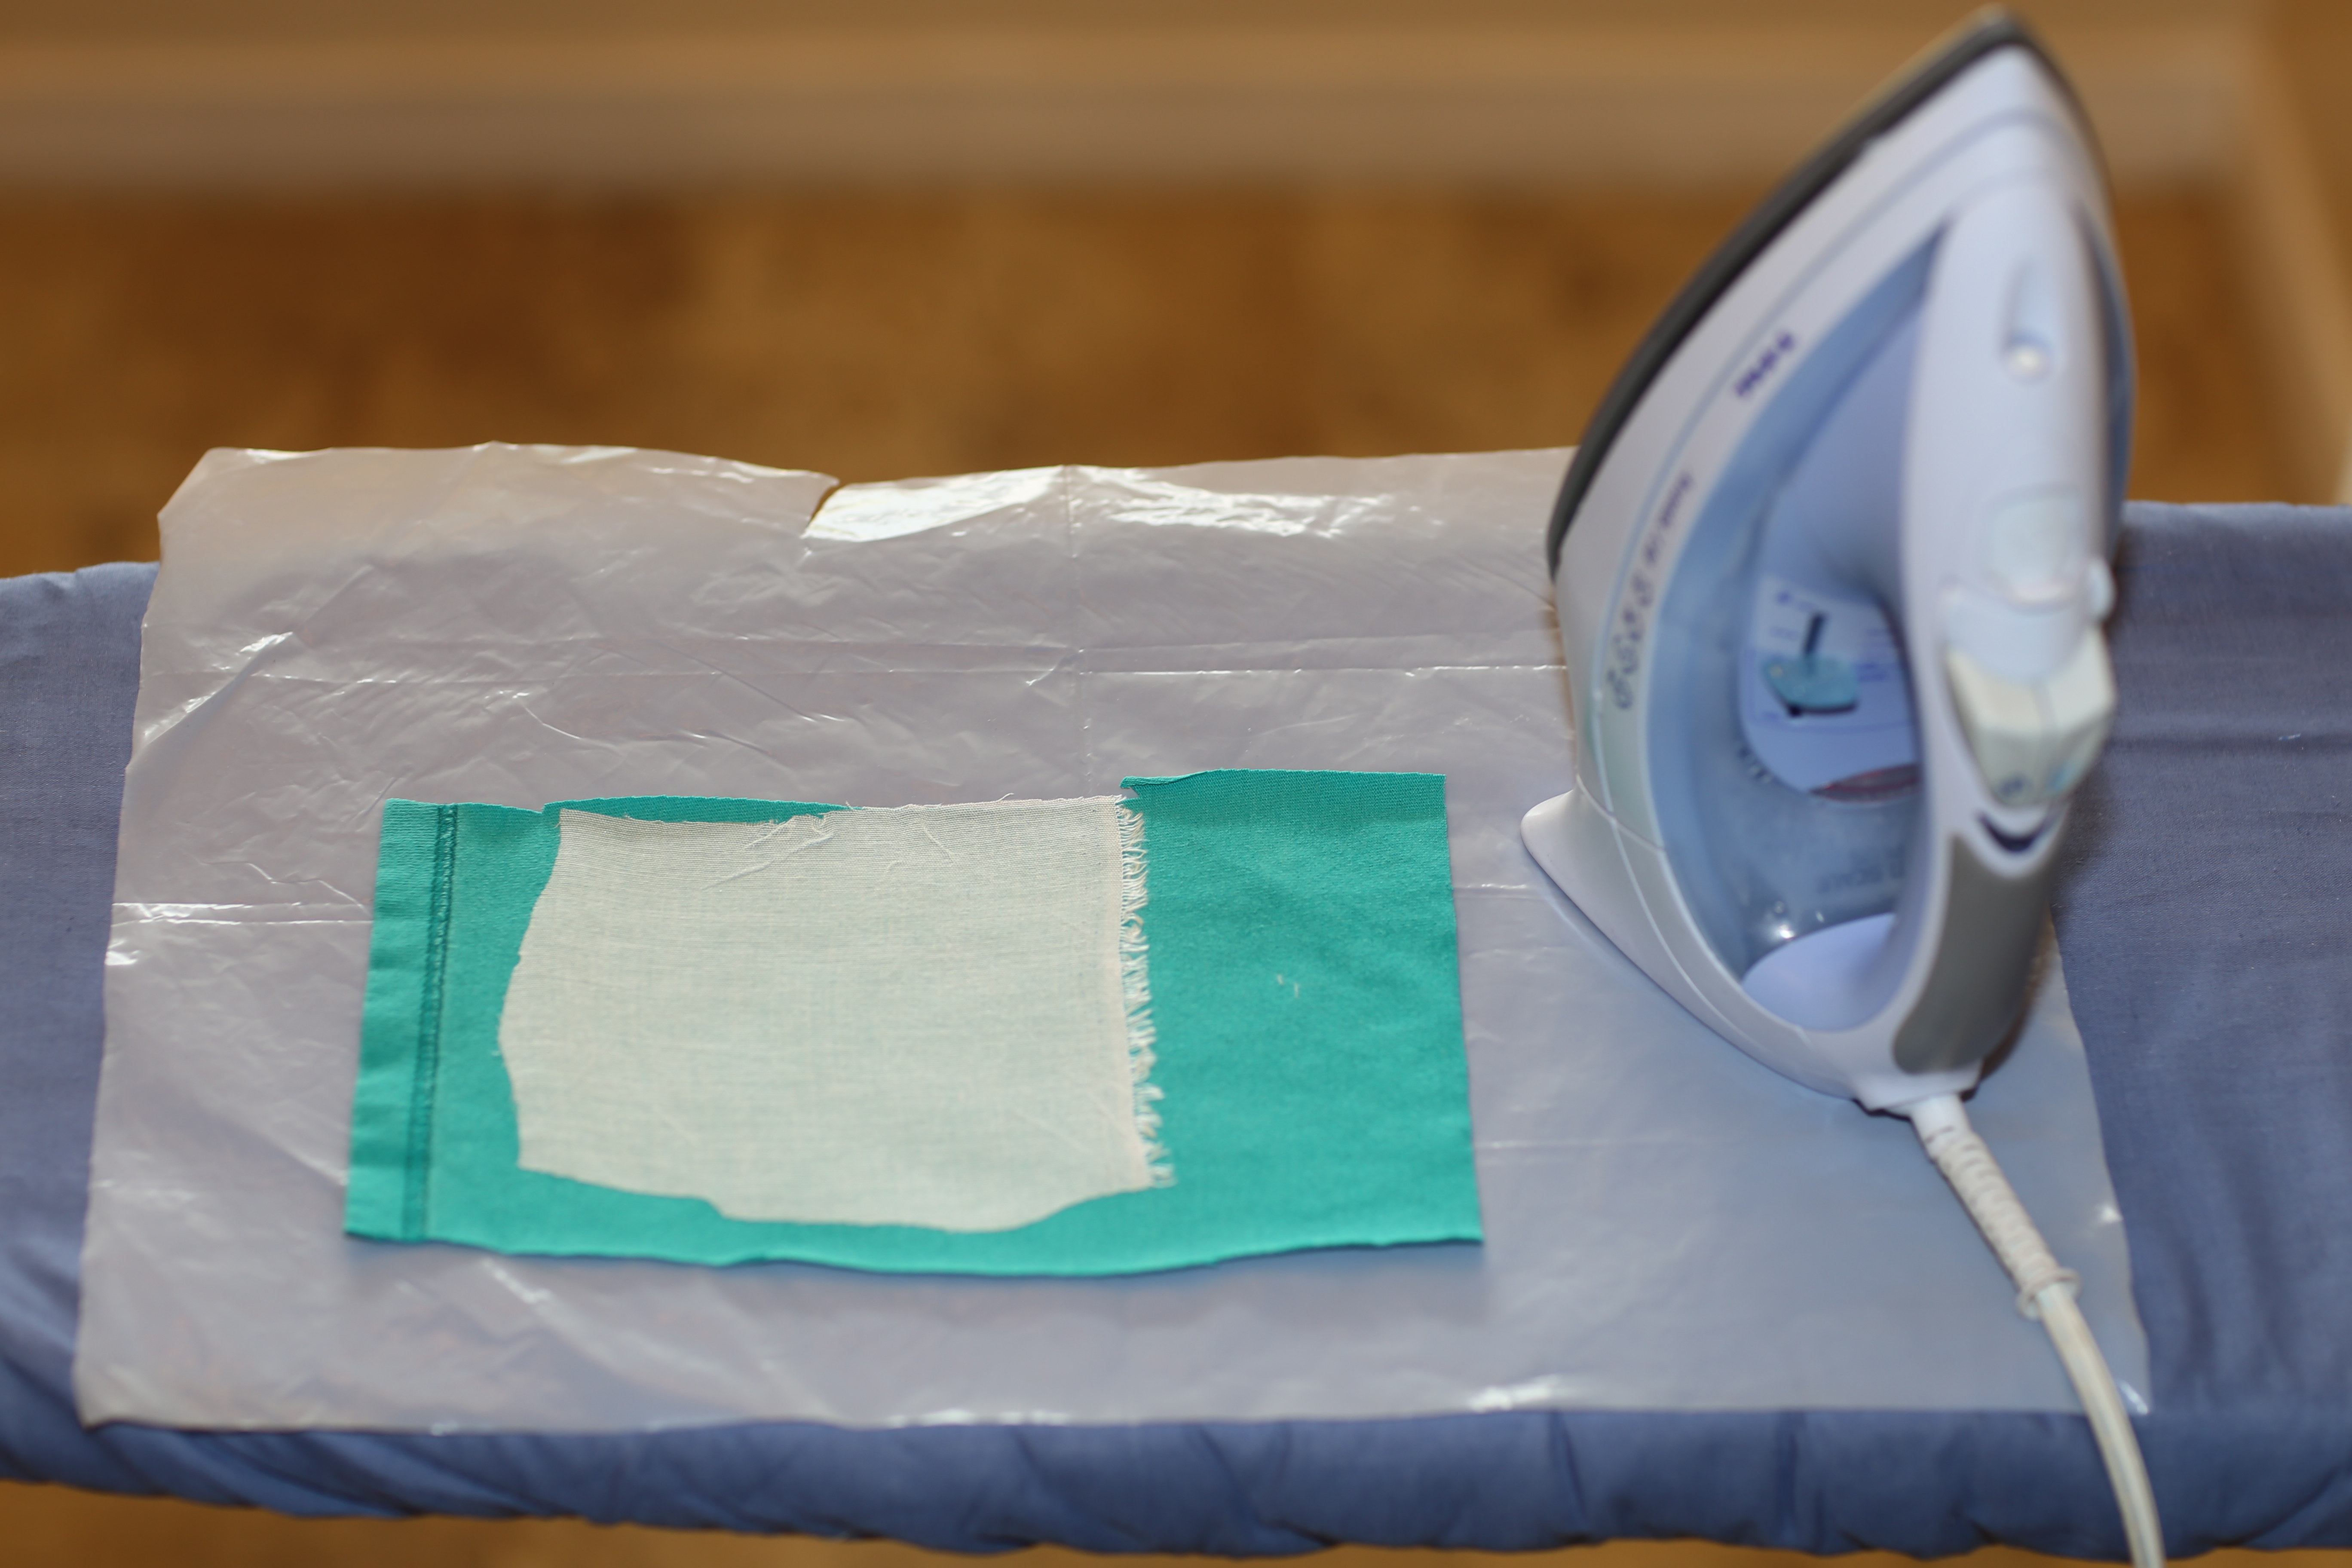
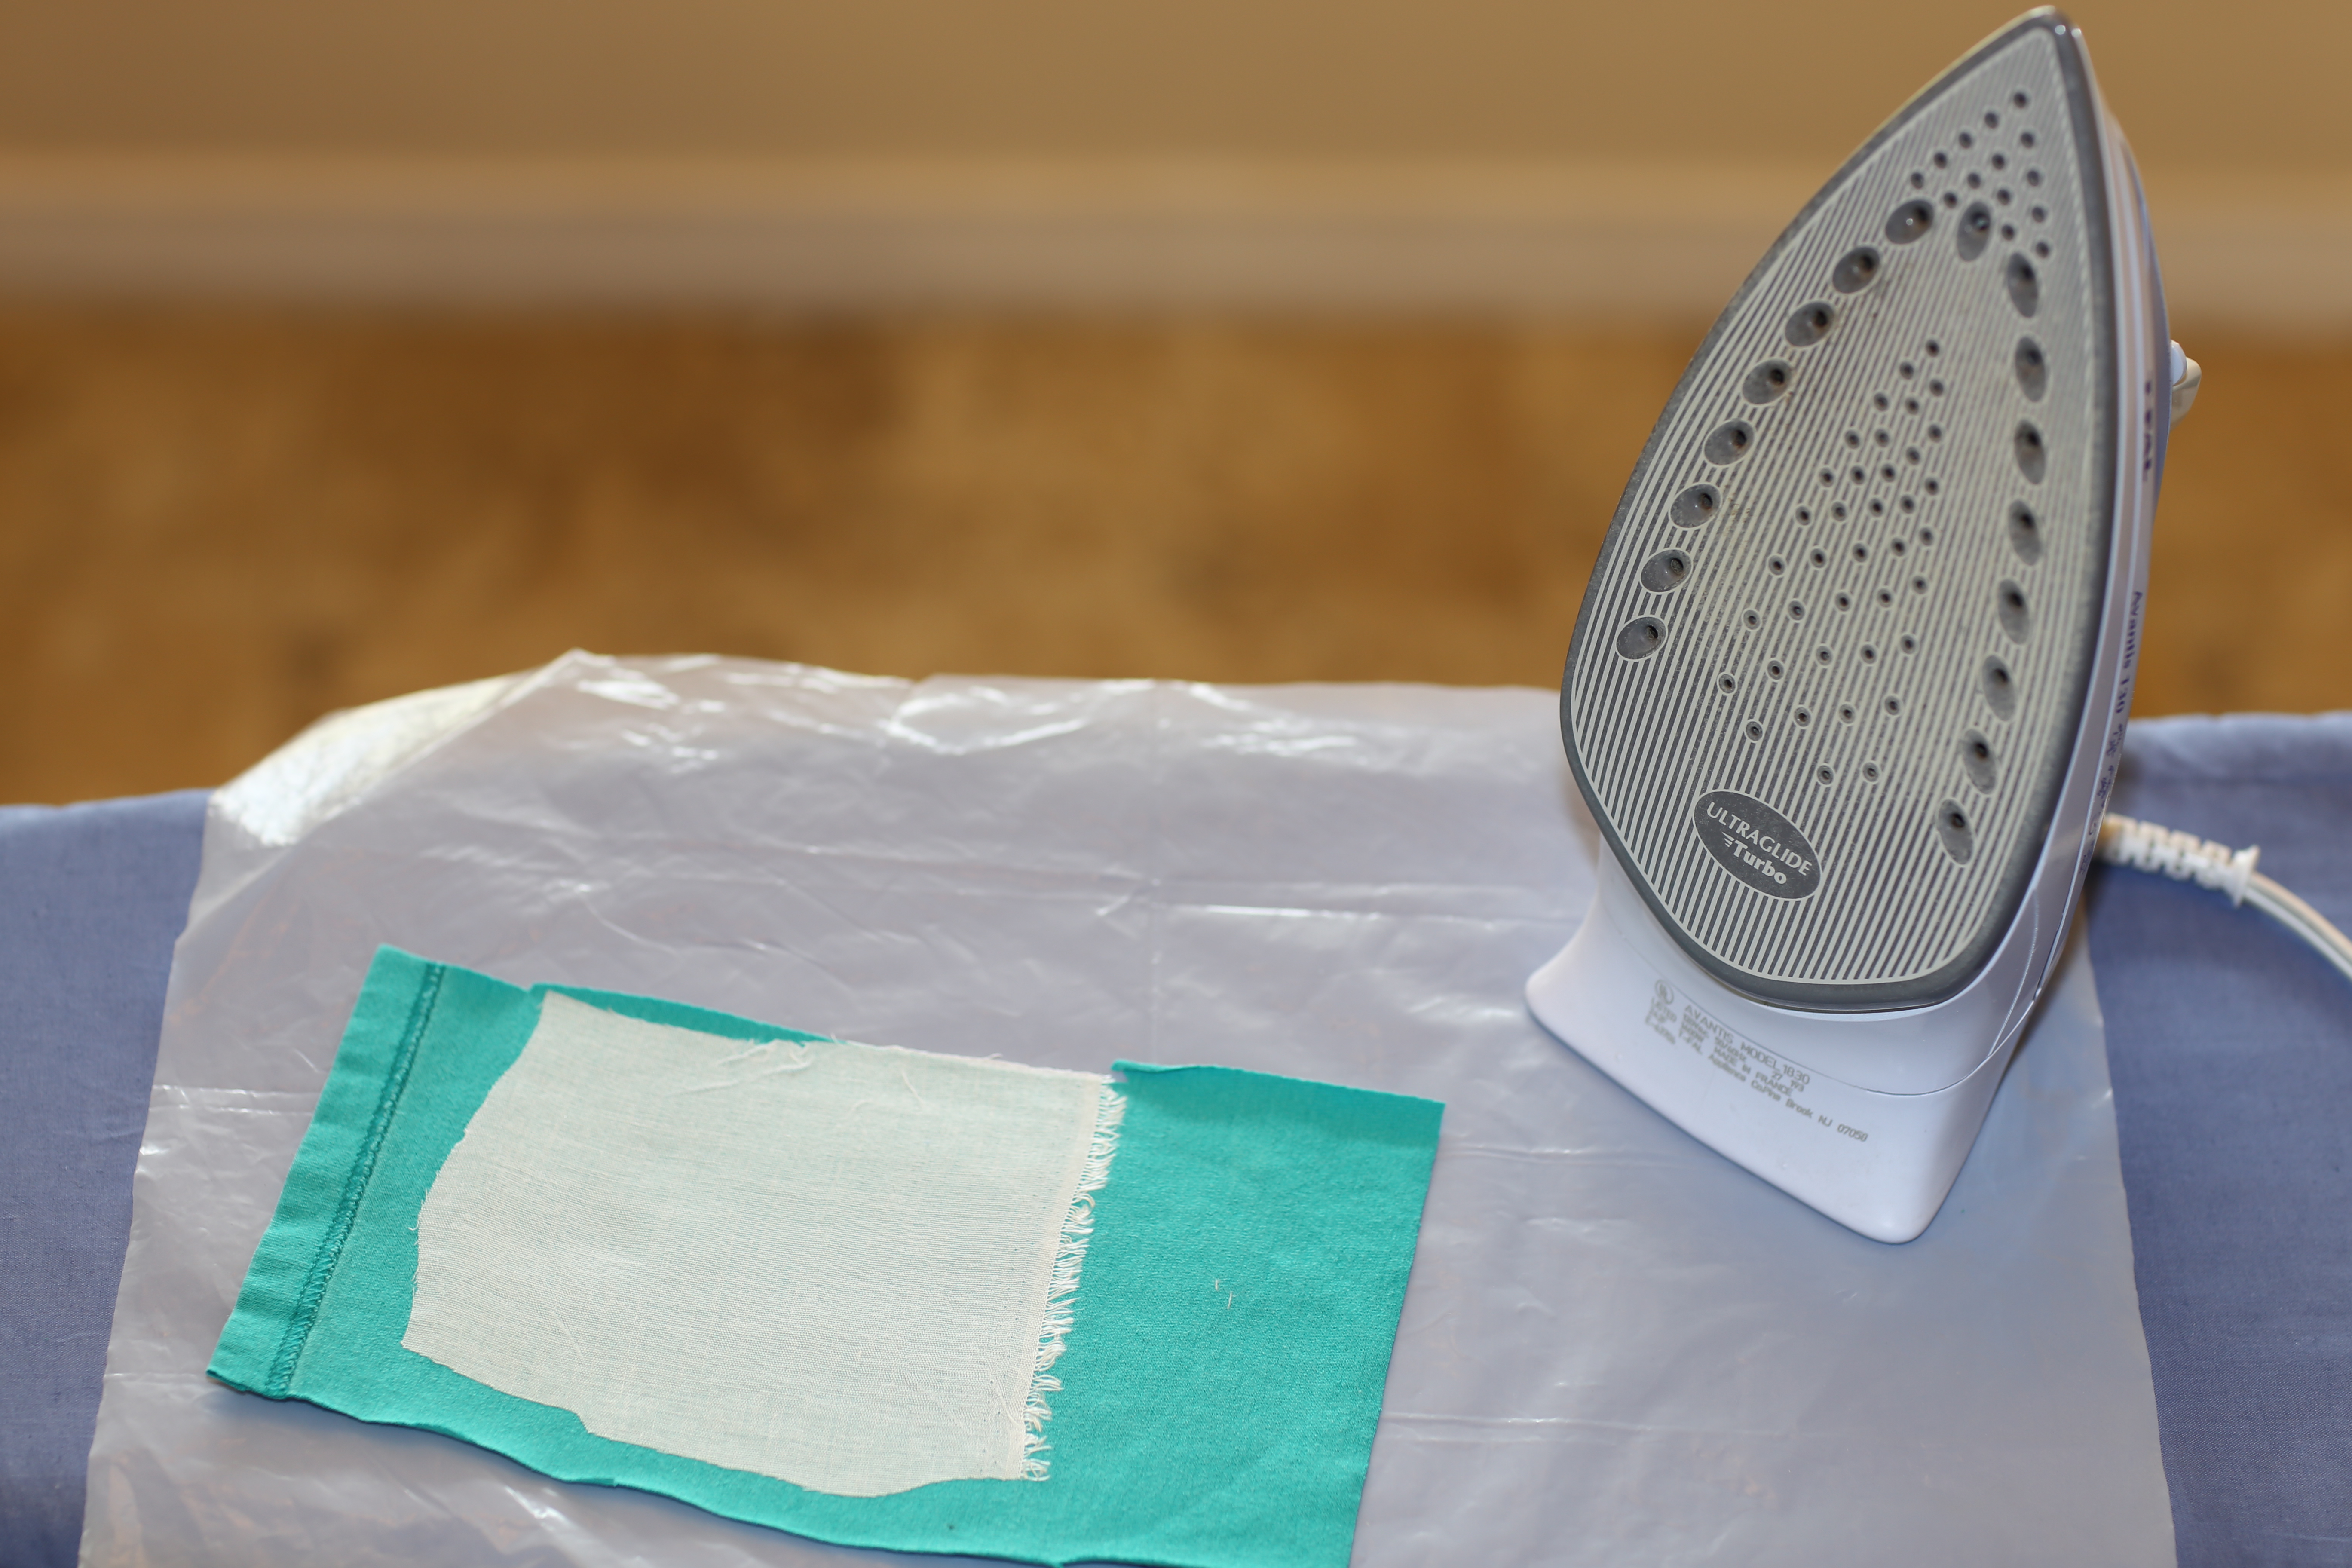
Before pressing “for real”, it’s a good idea to do a test fuse on some scraps (t- shirt and interfacing) using the instructions on the fusible. Use a hot iron – Pellon 911FF recommends a “wool” setting; the fusible in the photo below is called “cool fuse” and the heat setting recommended the “silk” setting.
This time it went great! Moving on!
It’s go time for fusing!
To protect my logos and ironing board, I used a teflon pressing sheet. IMO, this is not optional. I had an ugly mishap without the teflon sheet.
Next layer is the t-shirt logo, logo side down – directly in contact with the teflon sheet.
Fusible is next (however, if pinned, the fusible is in the correct orientation, and is sufficiently covering the logo), followed by a damp pressing cloth on top. Below I am using a leftover scrap of t-shirt as a pressing cloth. Remove the pins before pressing (can’t say that enough!)
Tip: Dampen the cloth before pressing with the iron, and when the damp cloth is no longer wet, fusing is done in that spot. Repeat the process in an overlapping pattern, then allow the logo to cool off. Check that the fusible is attached.
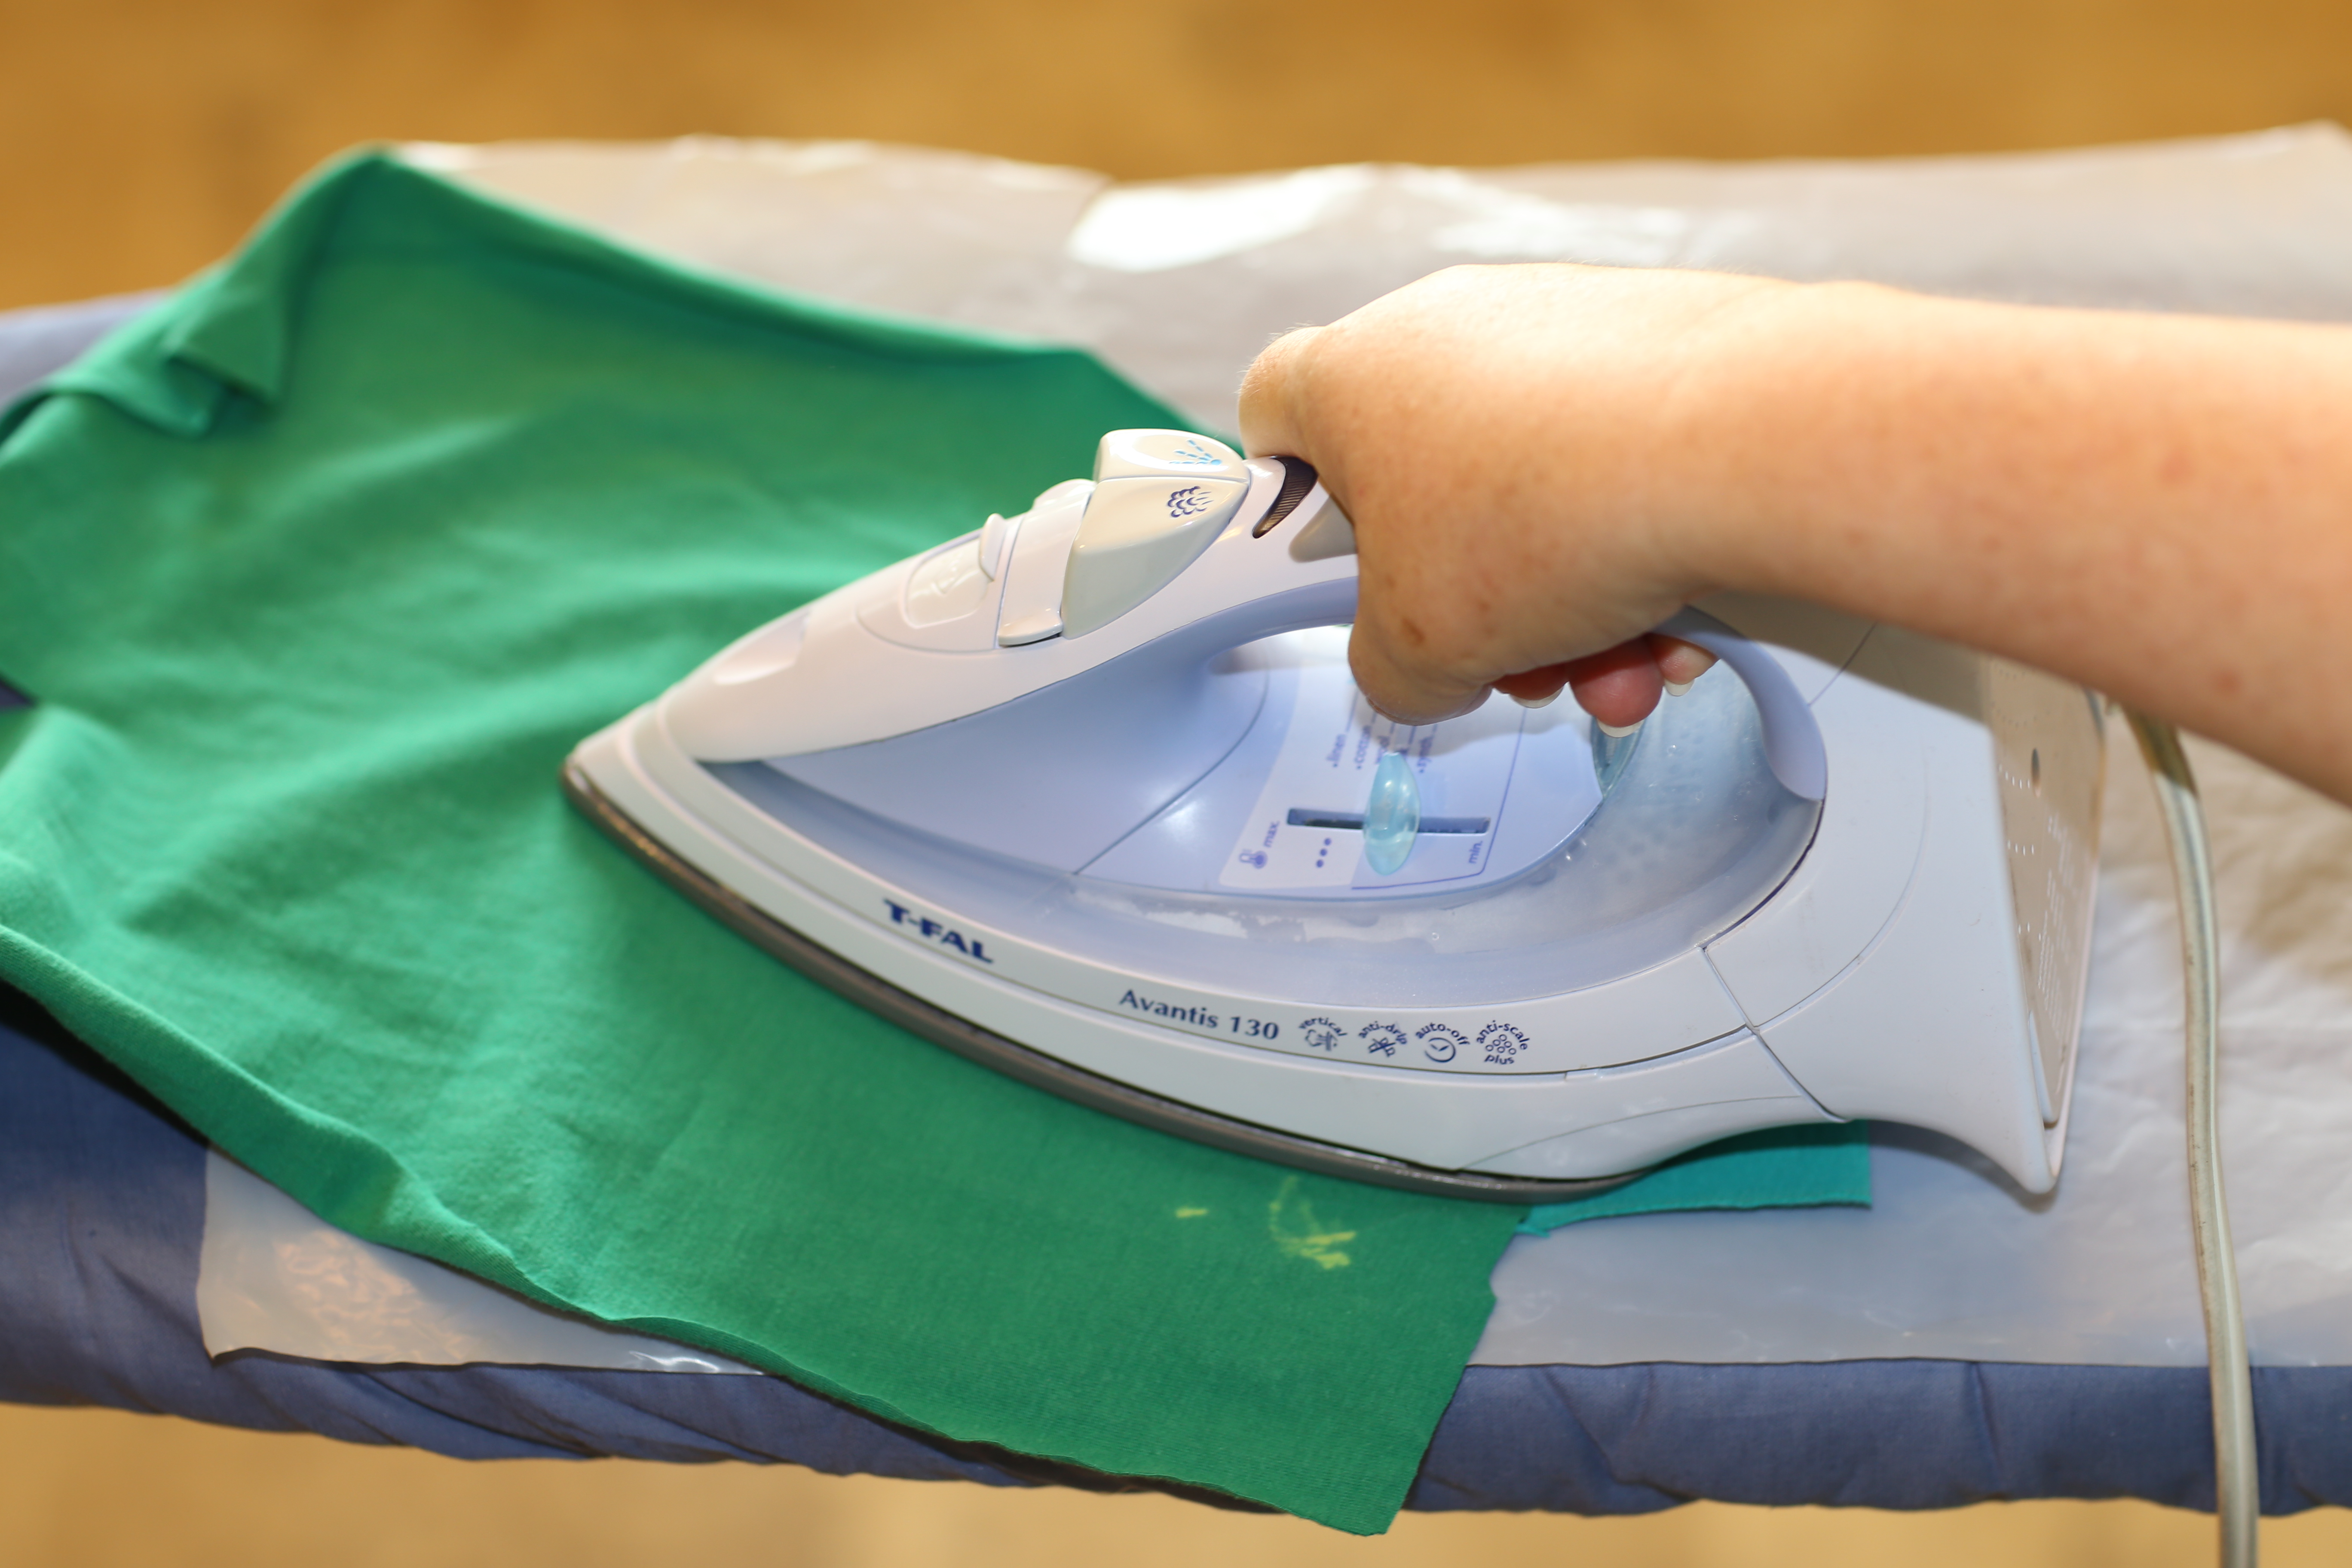
I used my super-old T-Fal iron that has seen better days (but still has even heat). There is a bunch of adhesive on the heating plate, but I just don’t care – it’s not my nice iron!
To add durability, I quilted each logo individually. This method is recommended if the final quilt will be “tied” to keep the interfacing in place after multiple washings and other heavy use. It is not necessary if you are SURE you are going to quilt the finished quilt.
Click into each of the images below to see the quilting details:
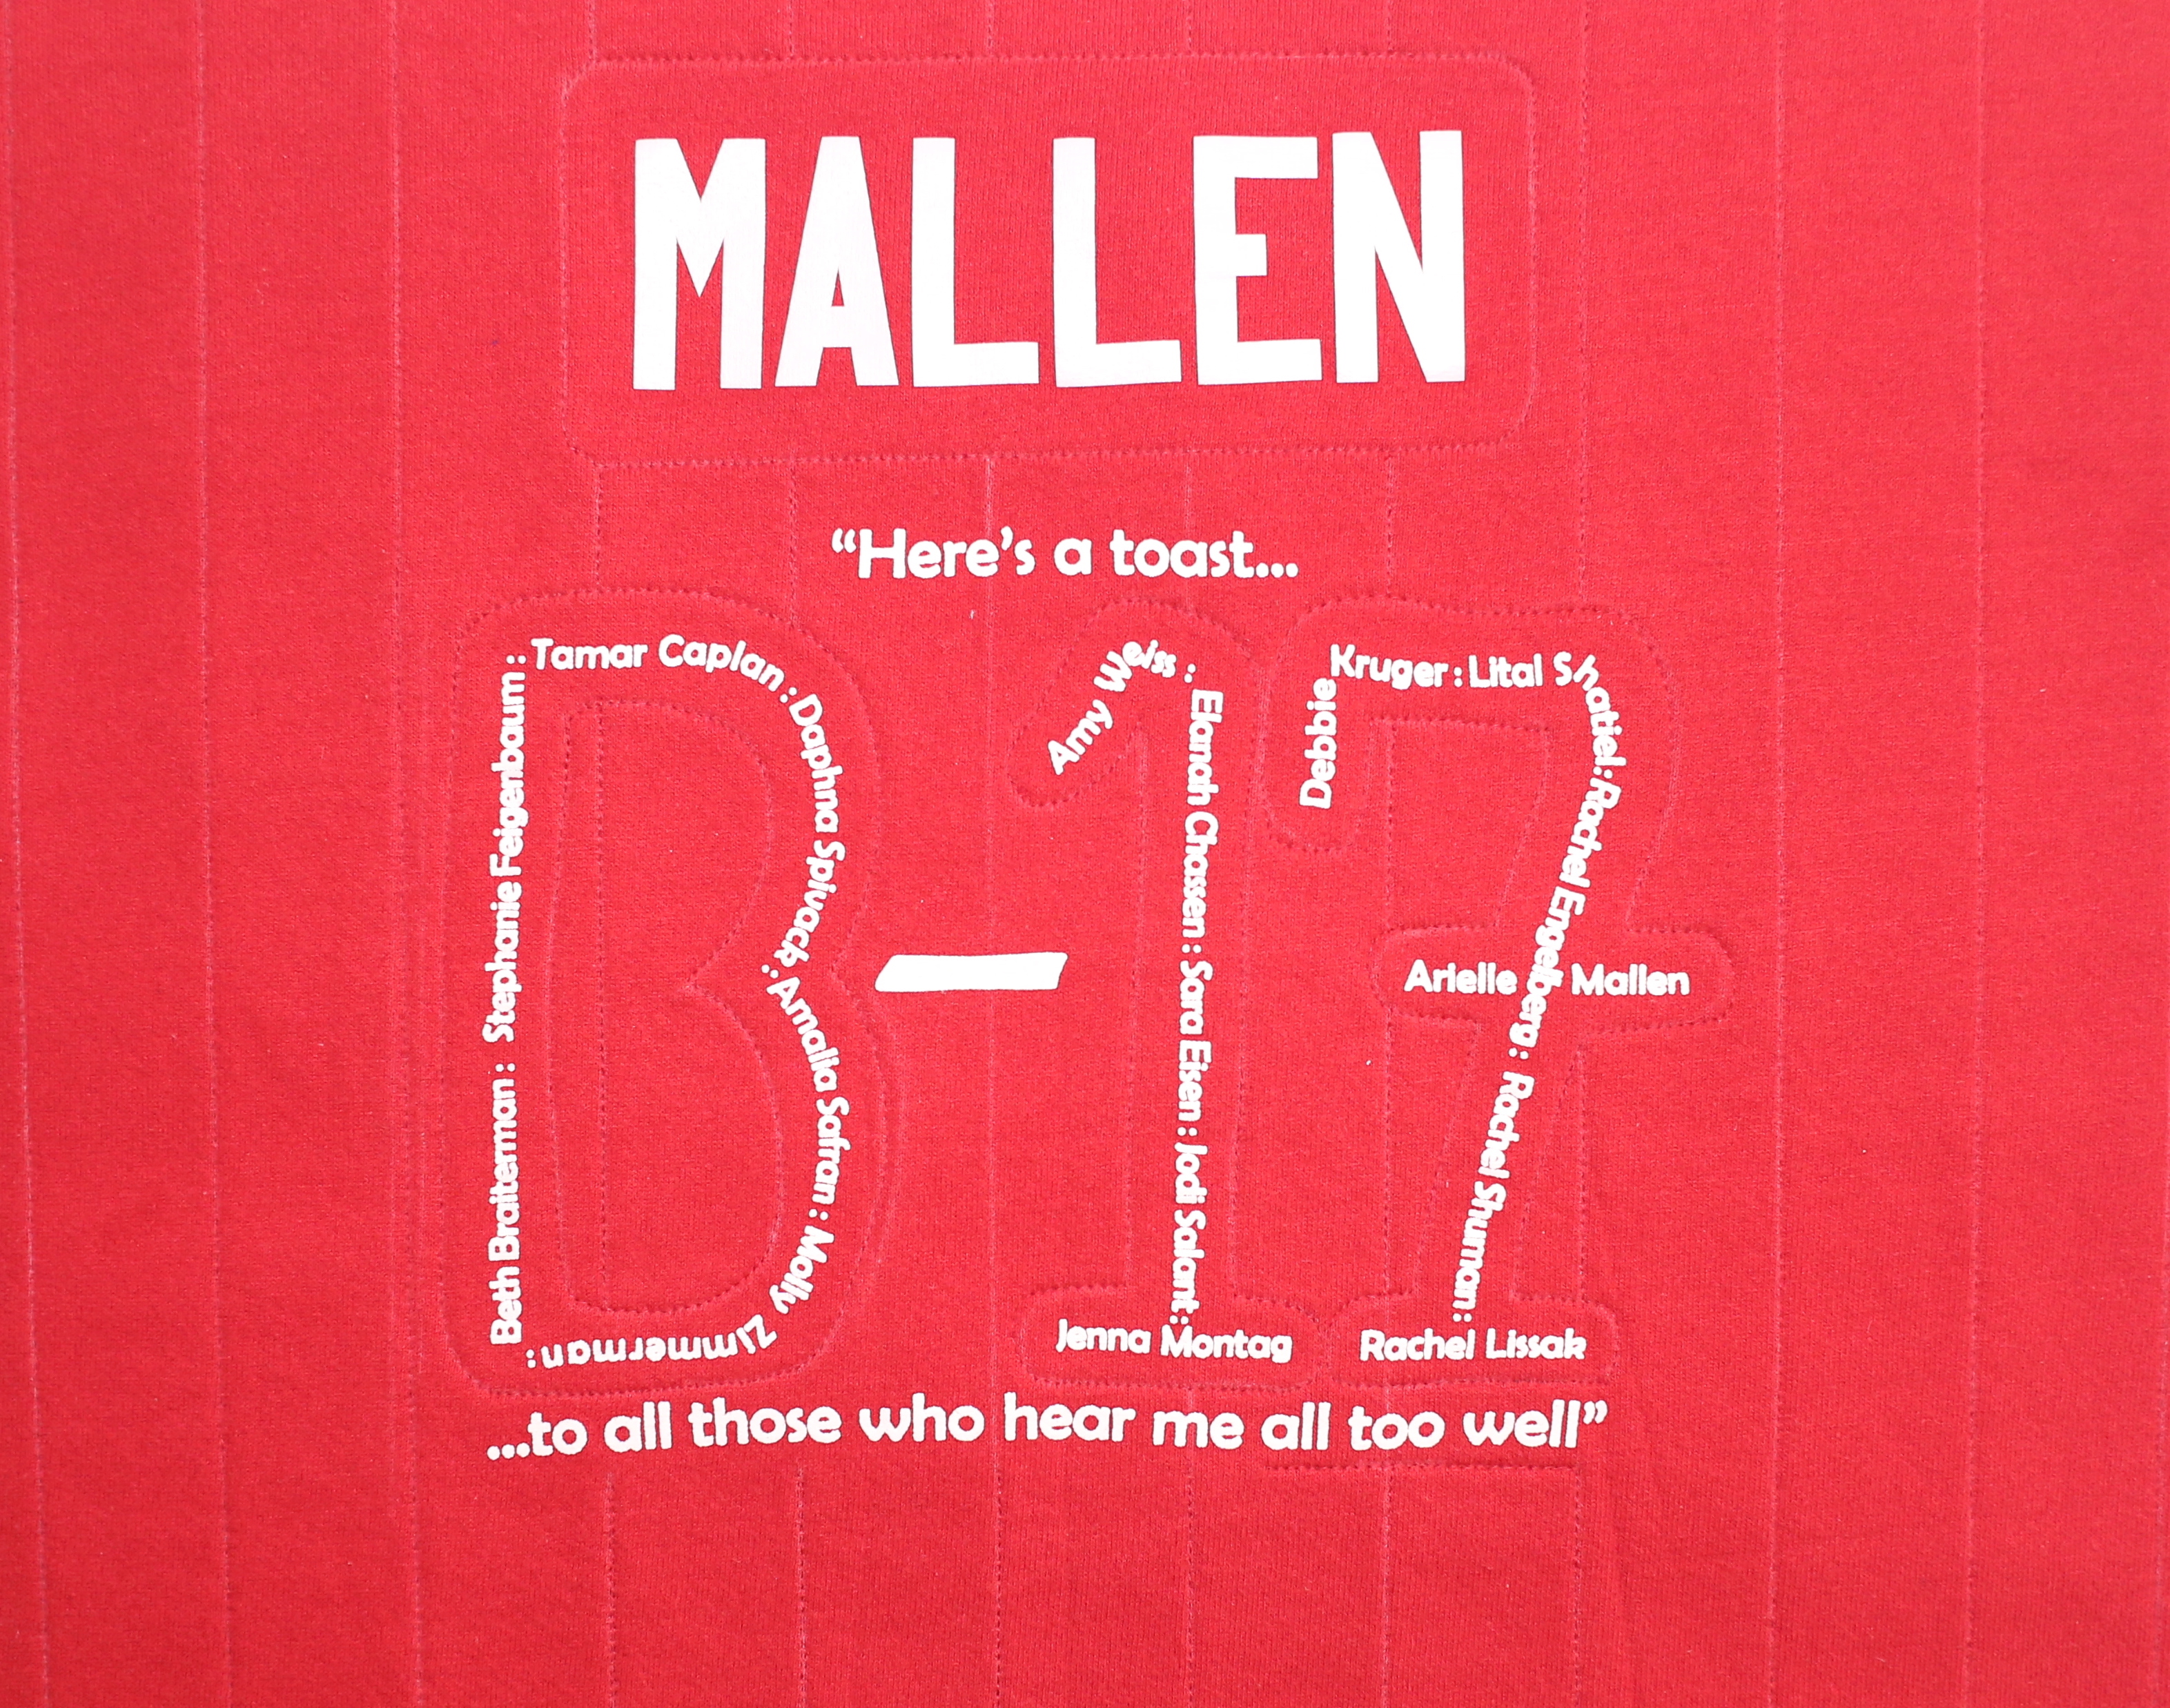
Micro patterns were added to highlight the style of each logo.

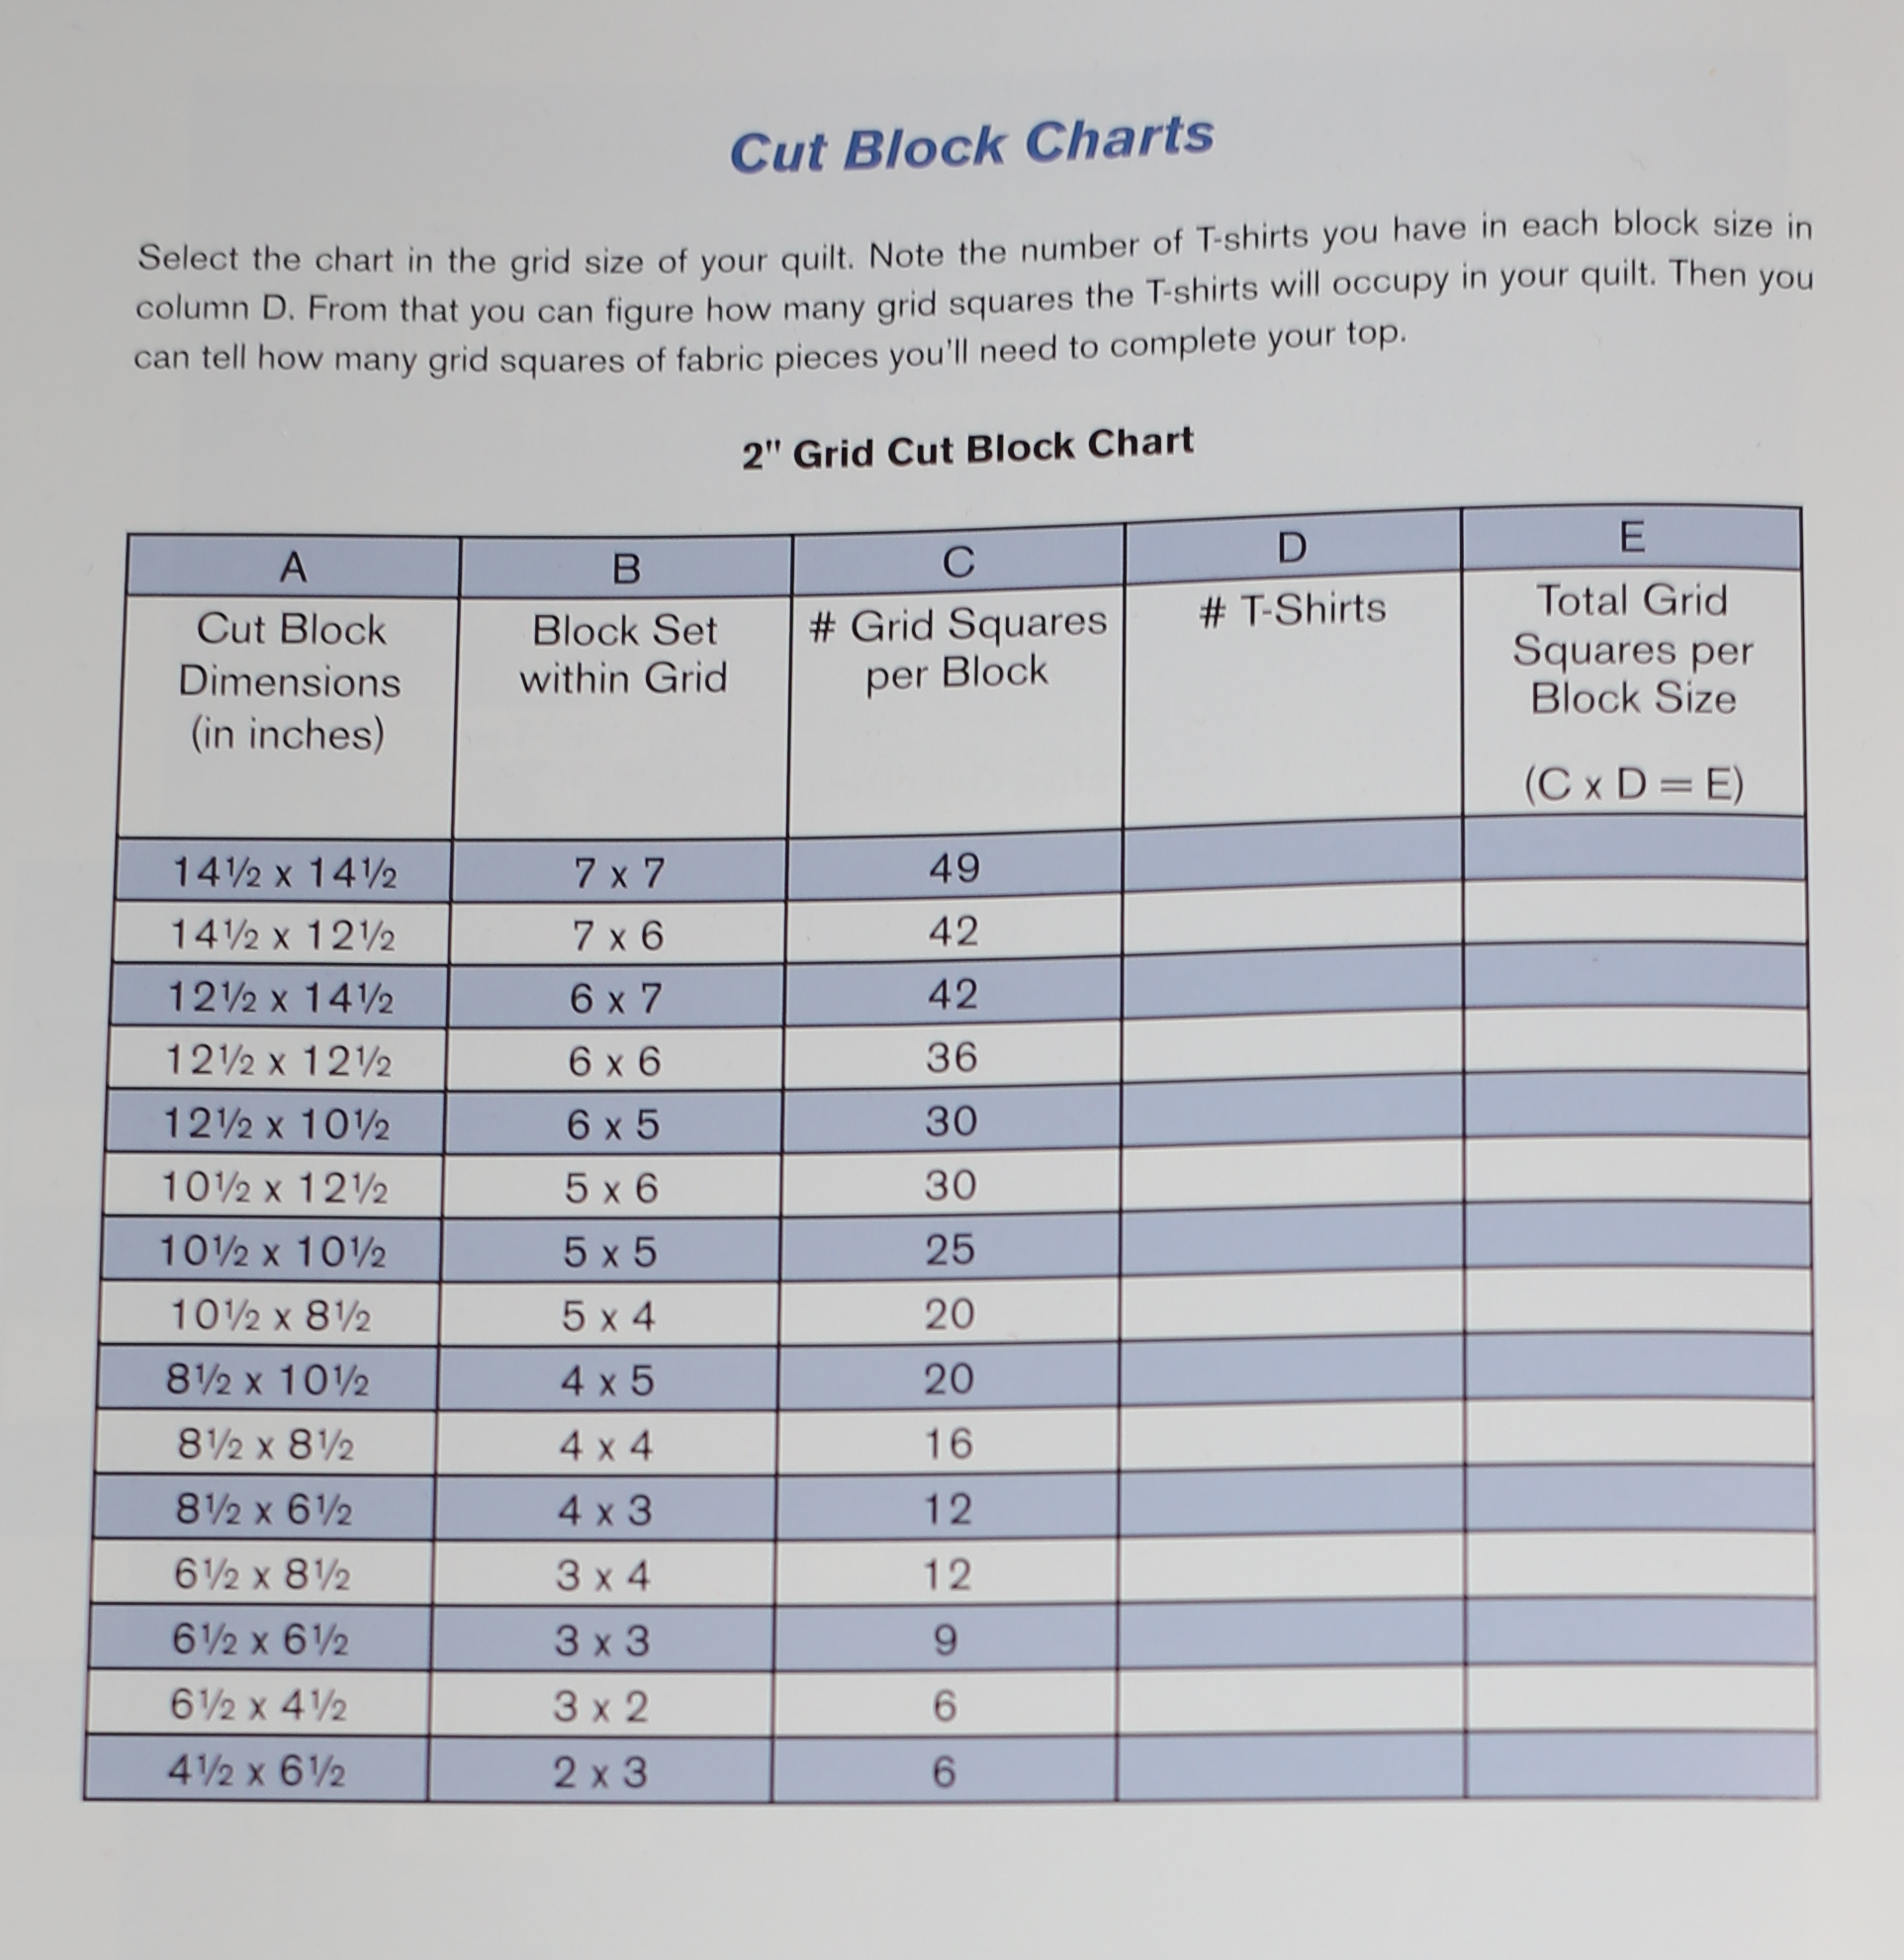
Standard quilt Cut Block Size Chart;
Scaled Cut Blocks to standard grid paper as a design aid while watching the
San Francisco Giants beat the L.A. Dodgers:
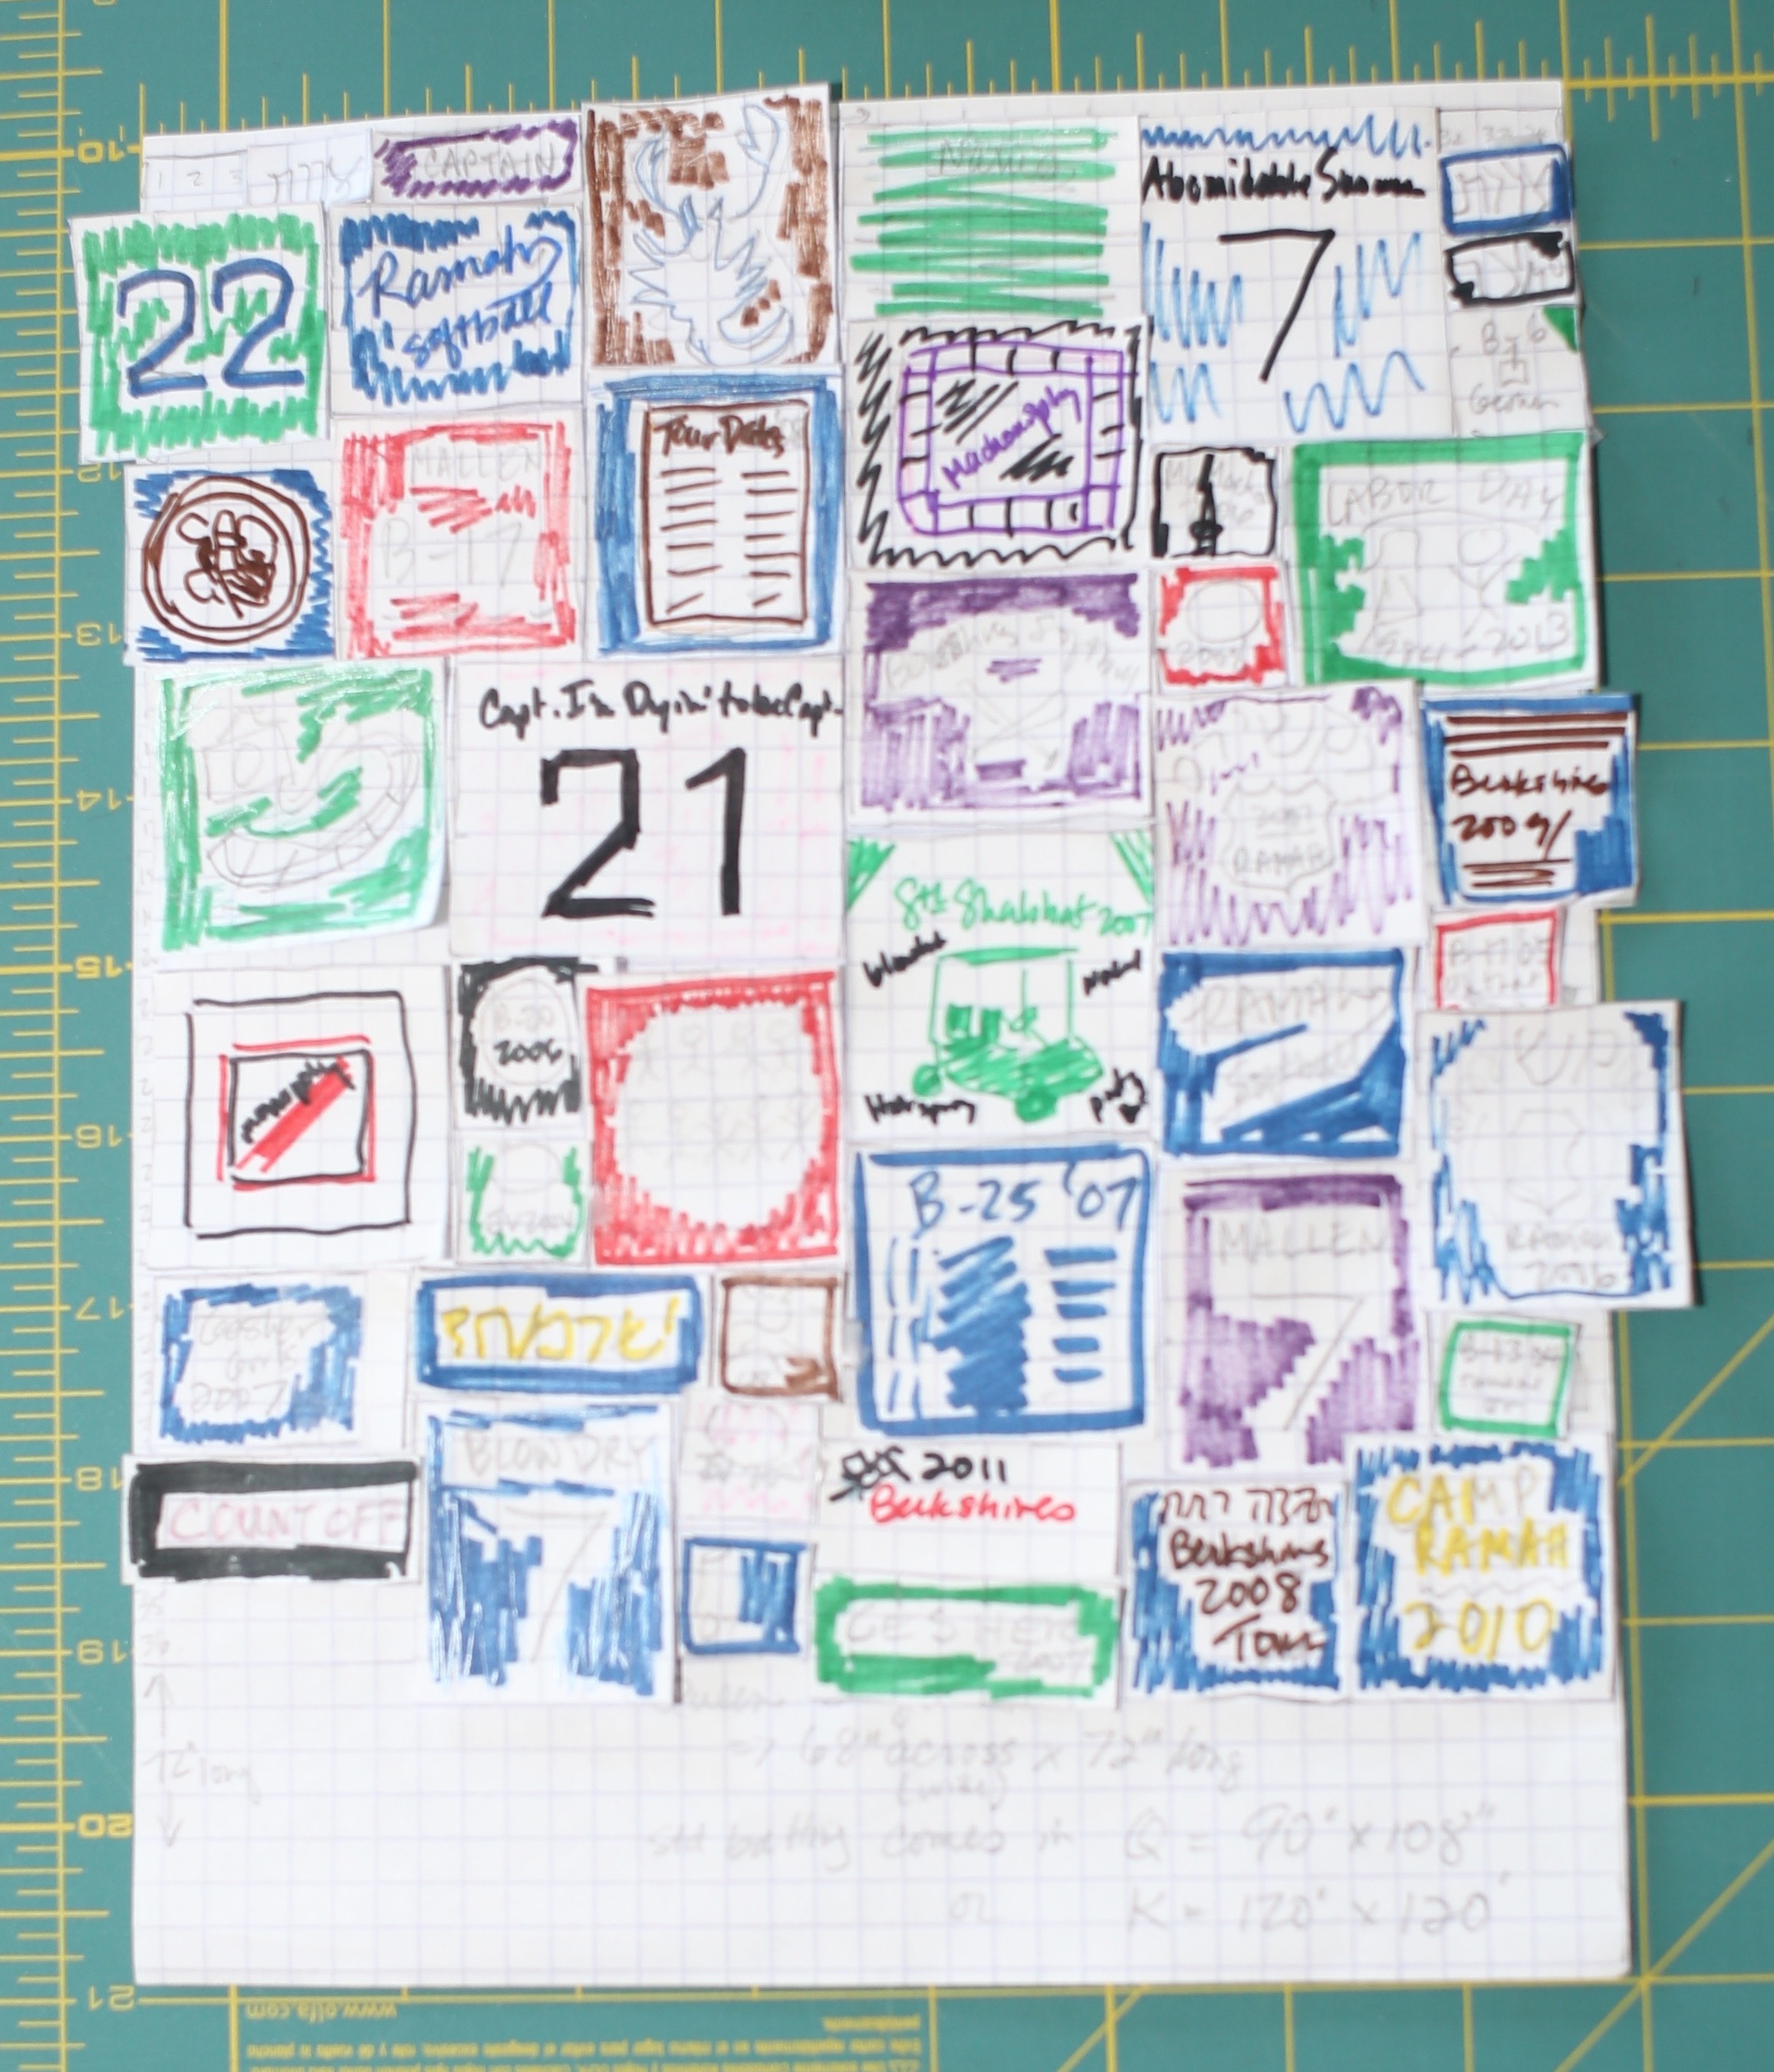
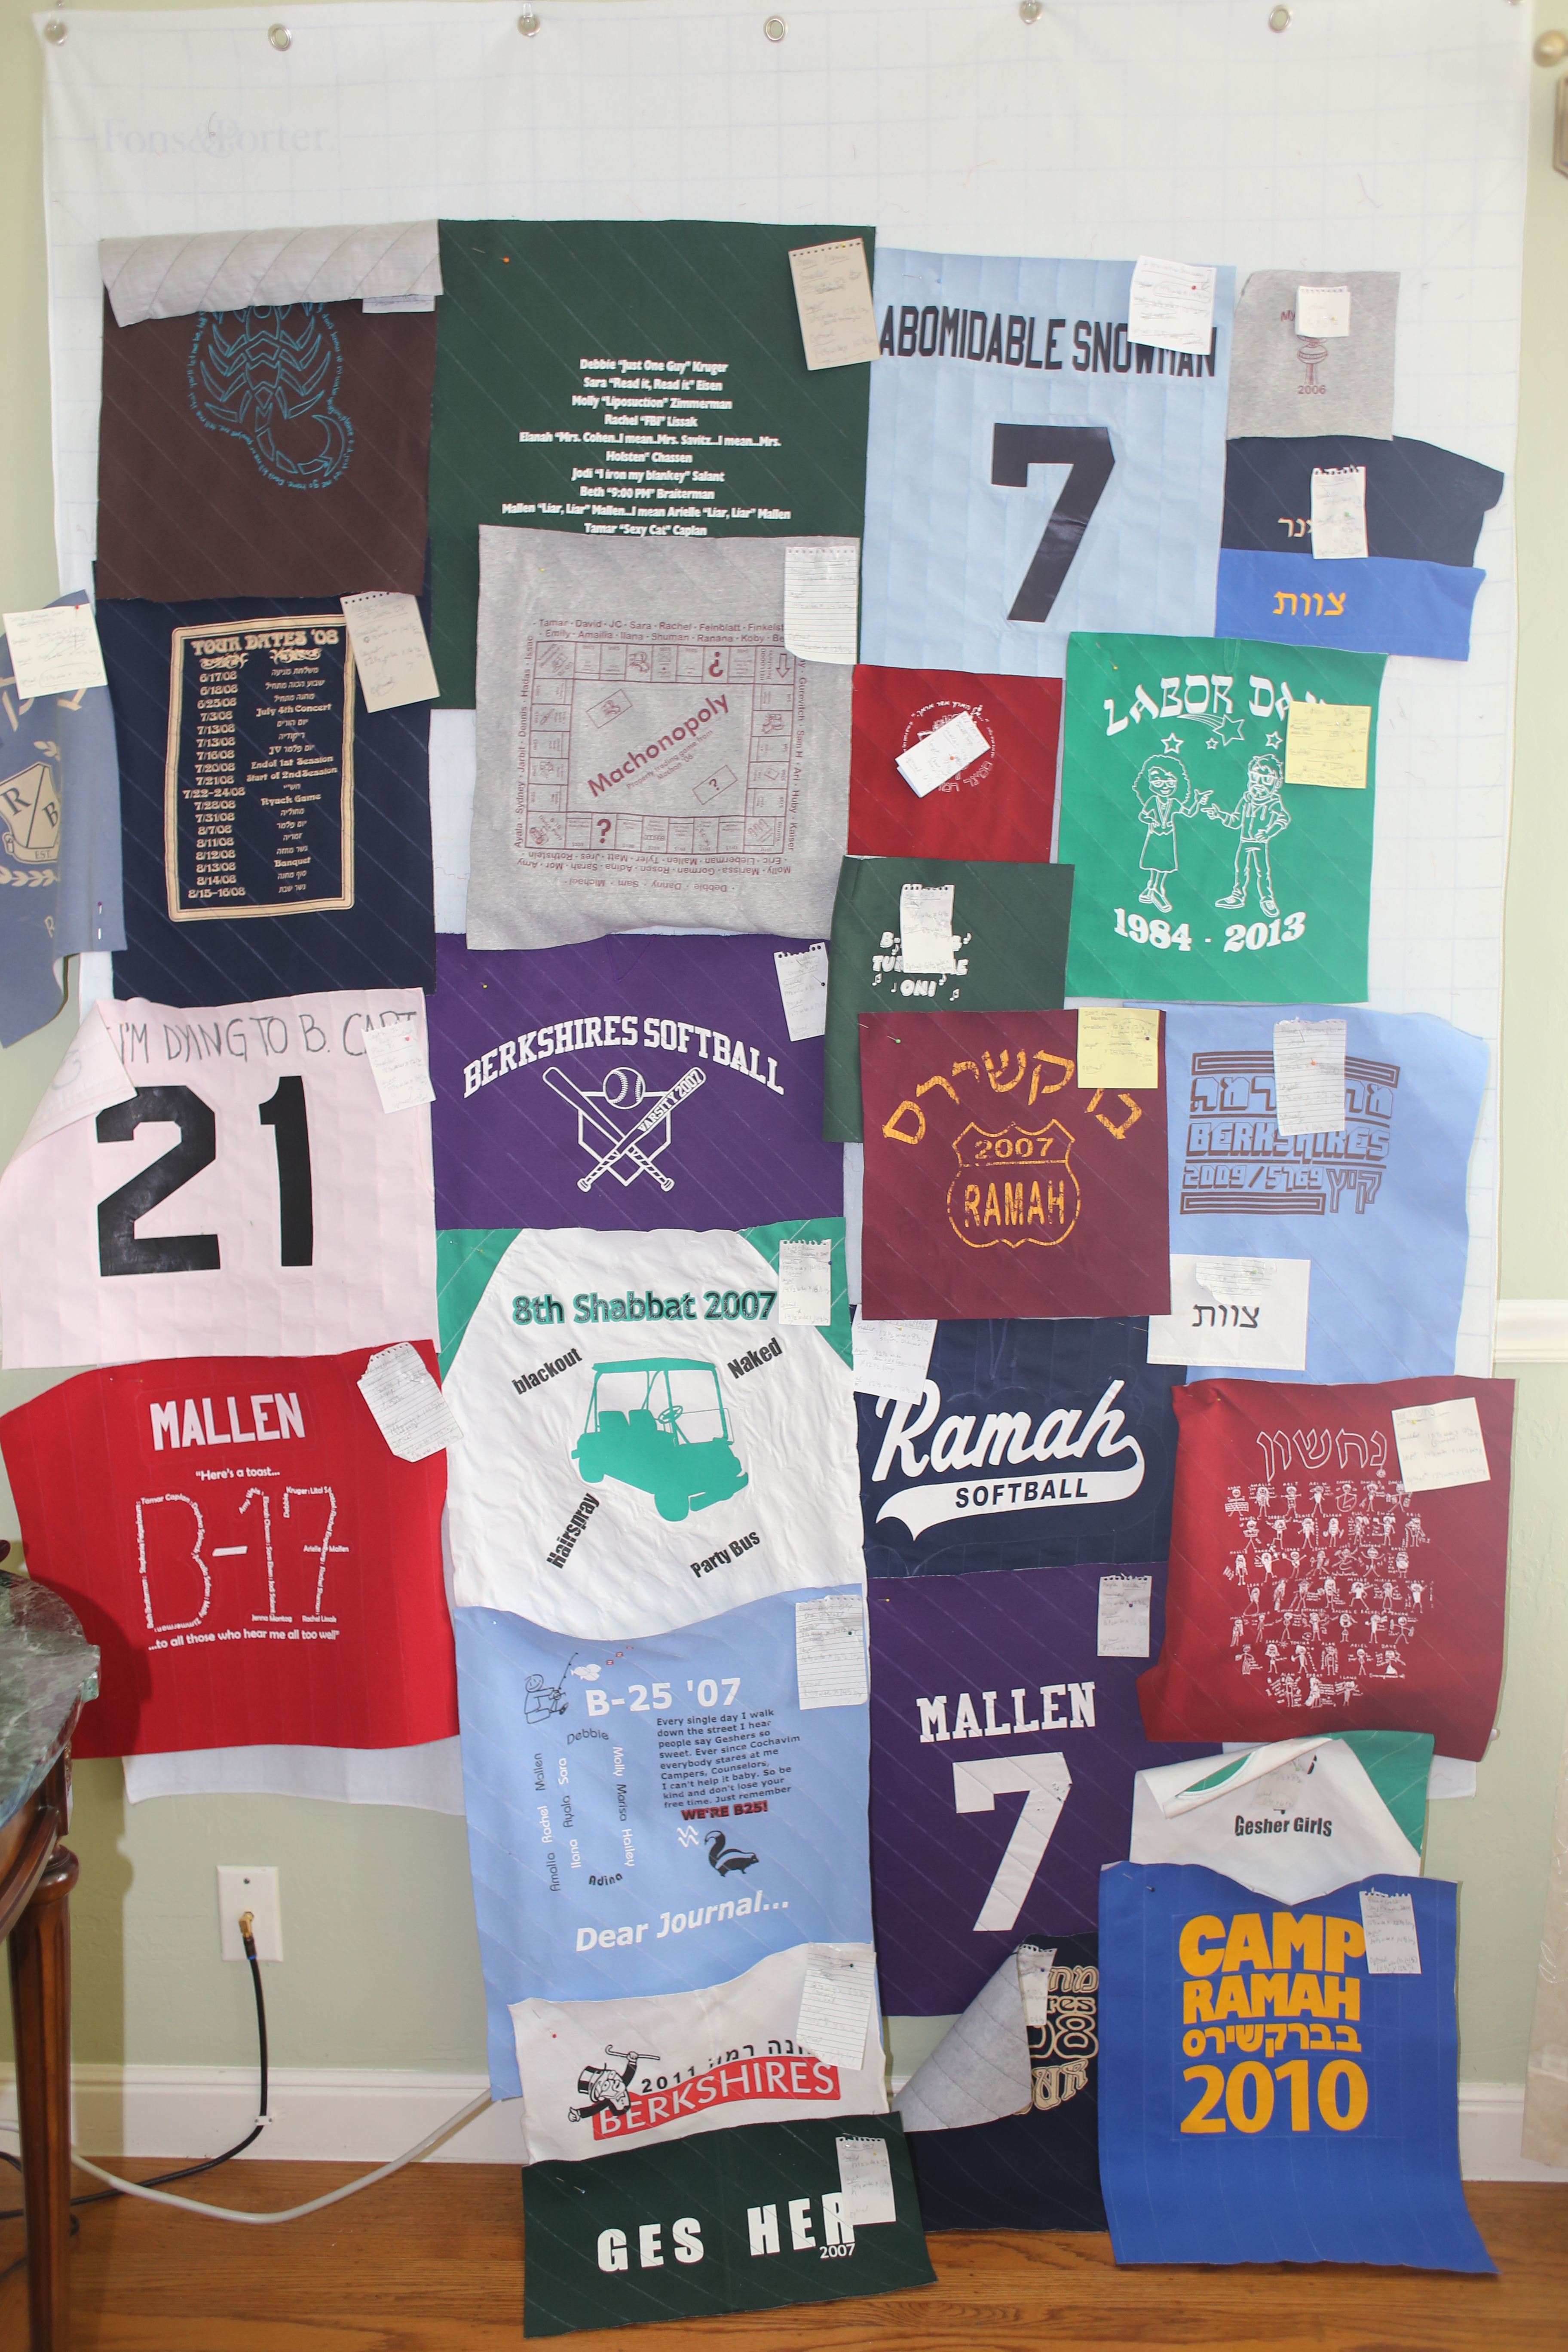
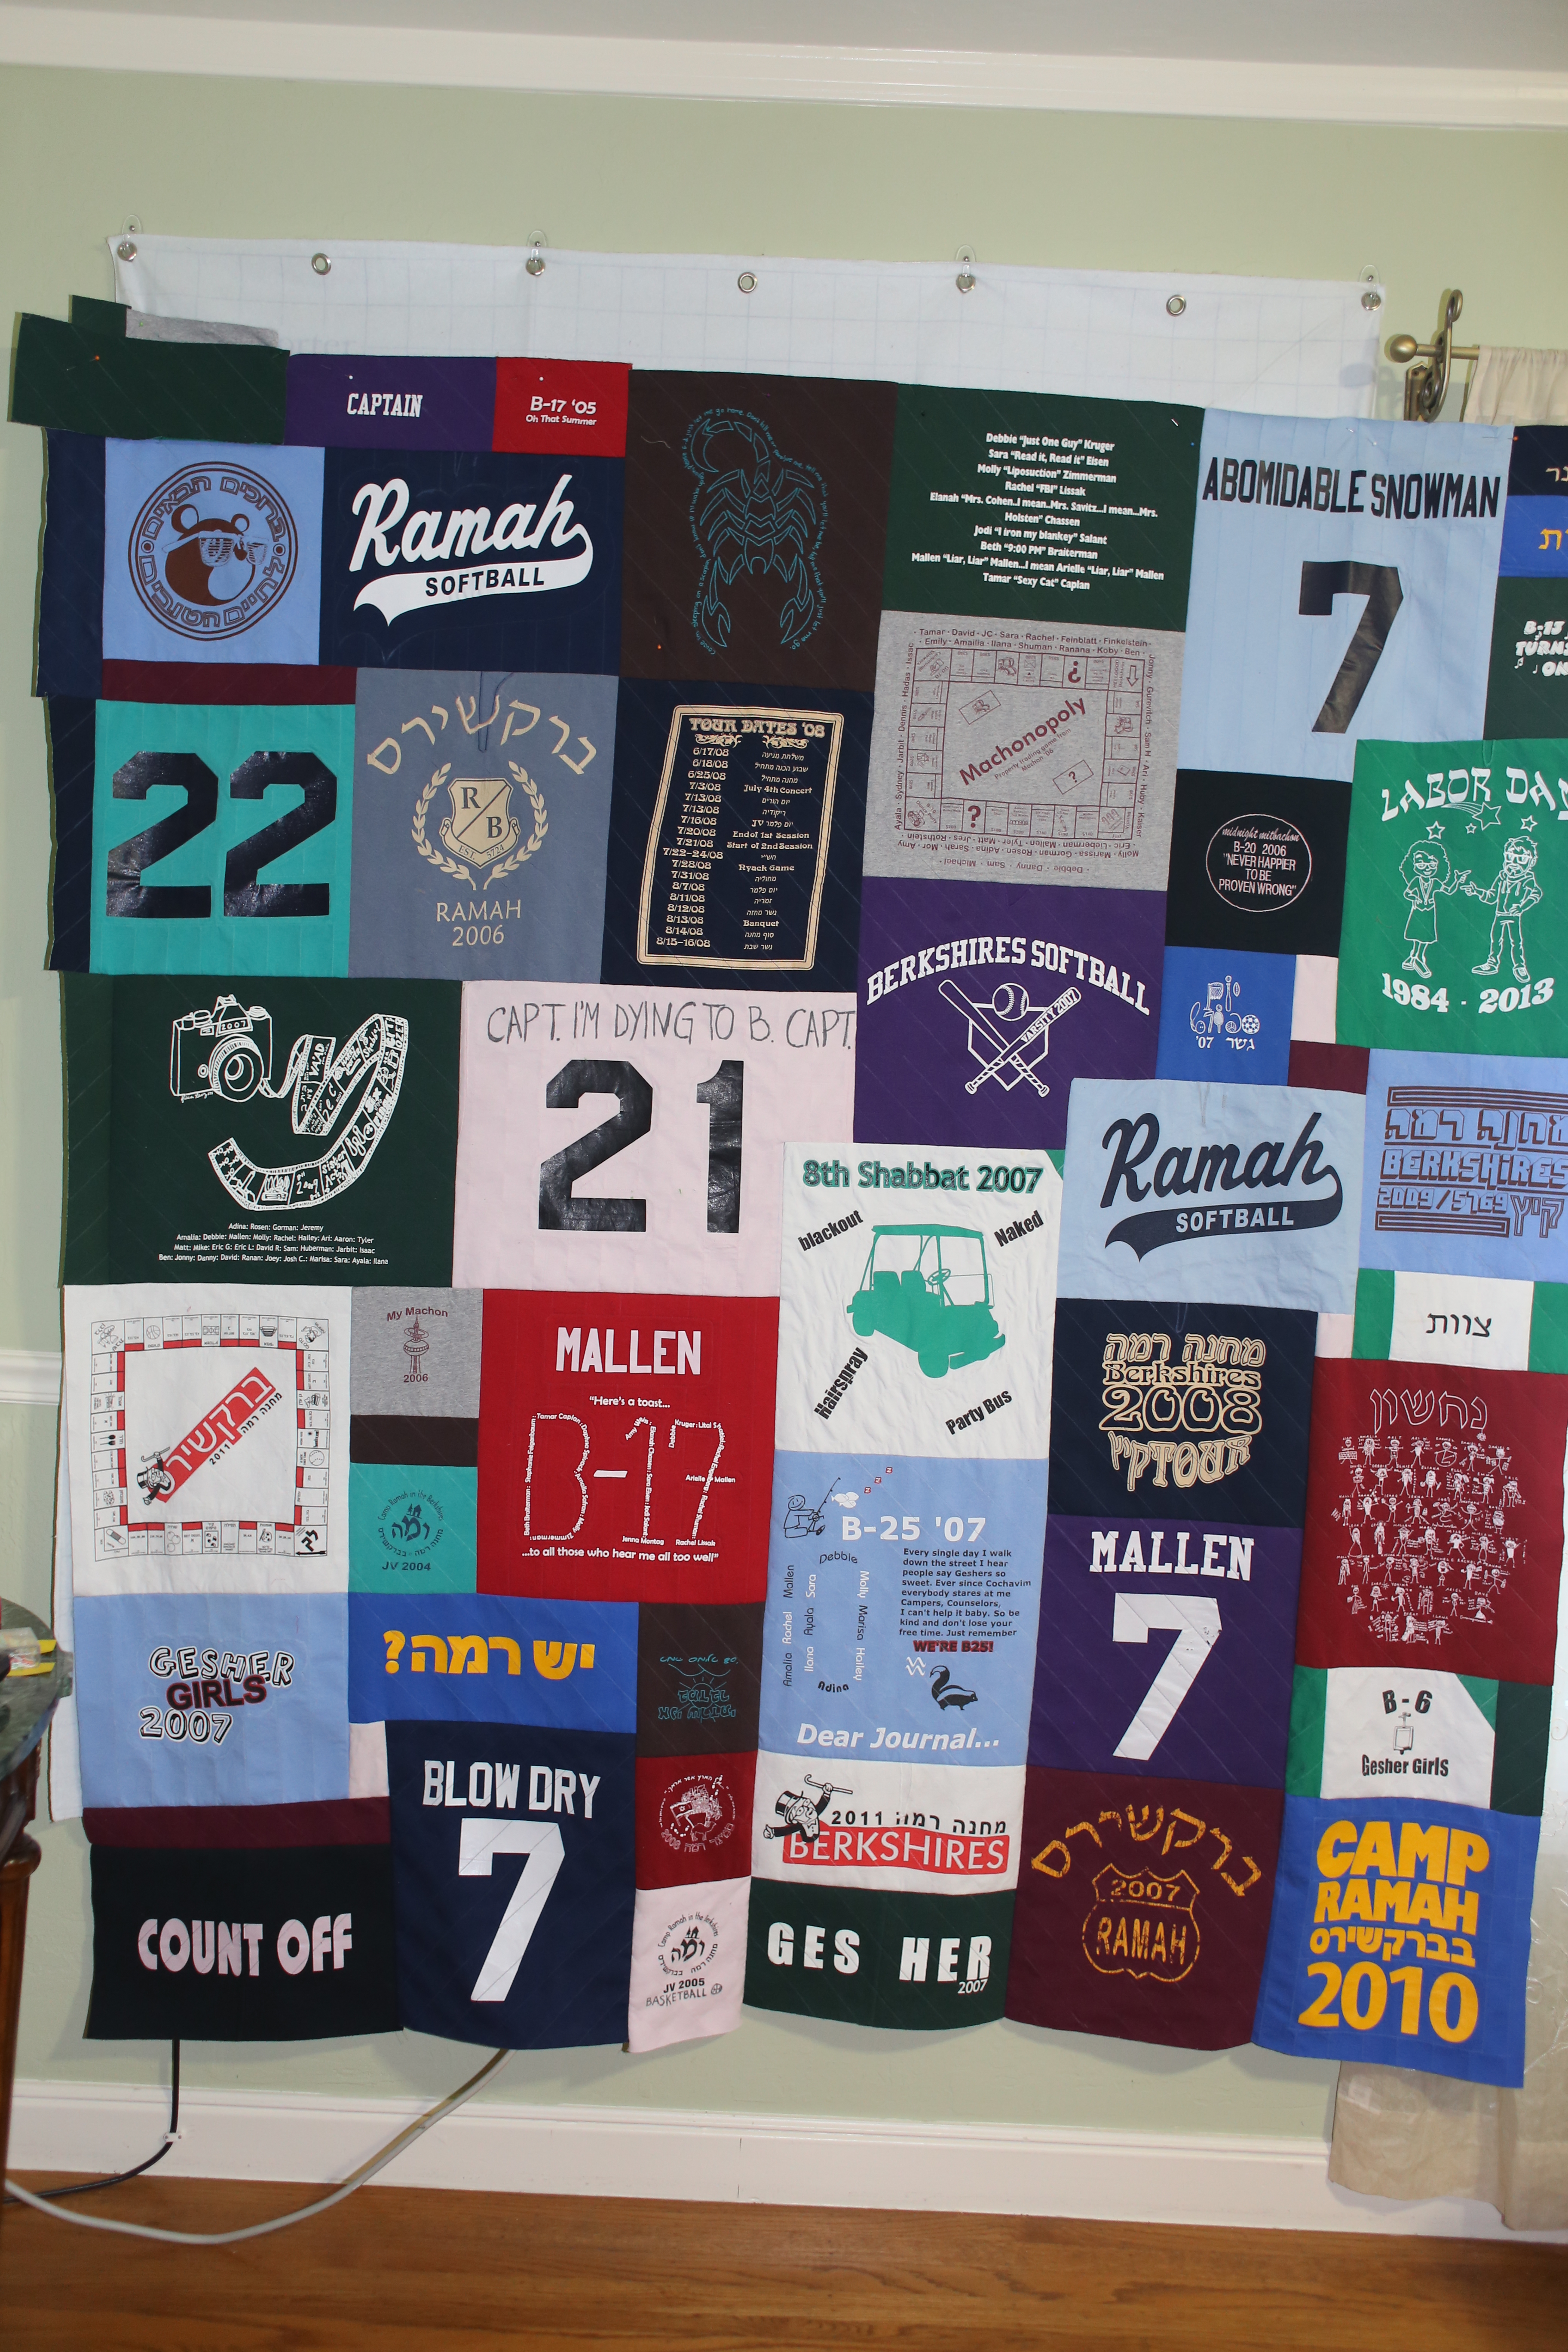
First attempt to mock up the actual blocks on design wall board:
Front without border:
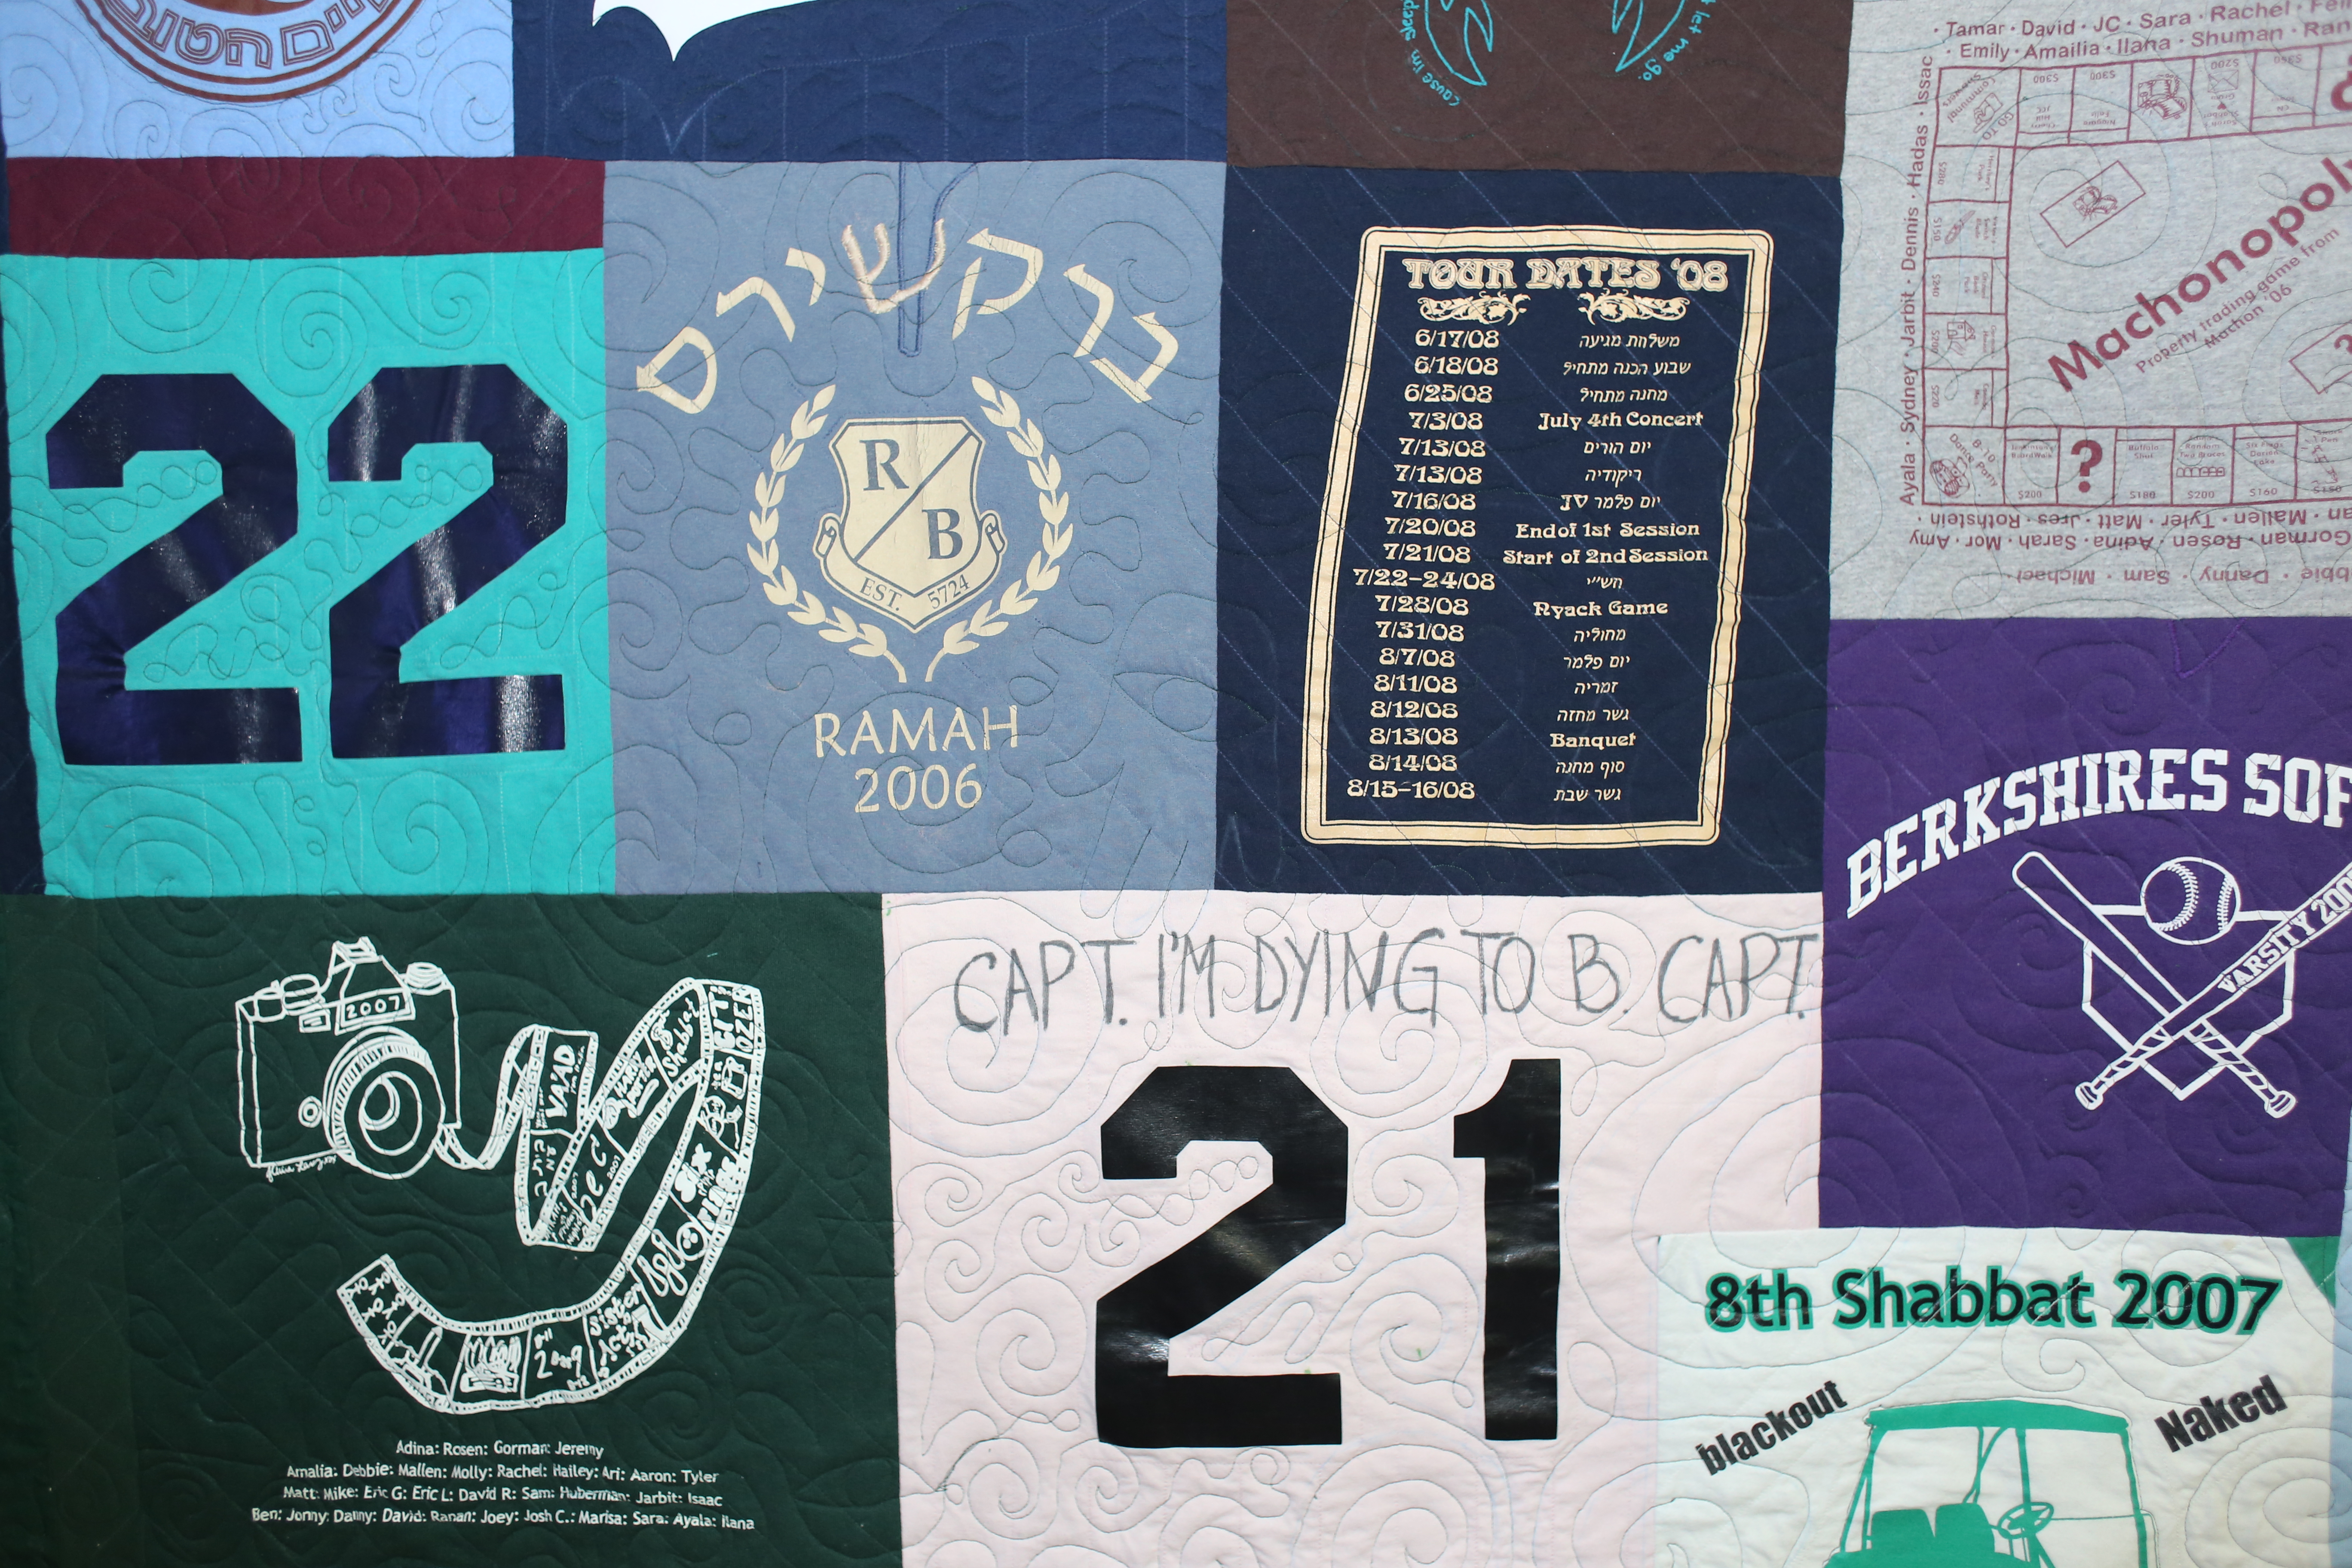
Close up of quilting
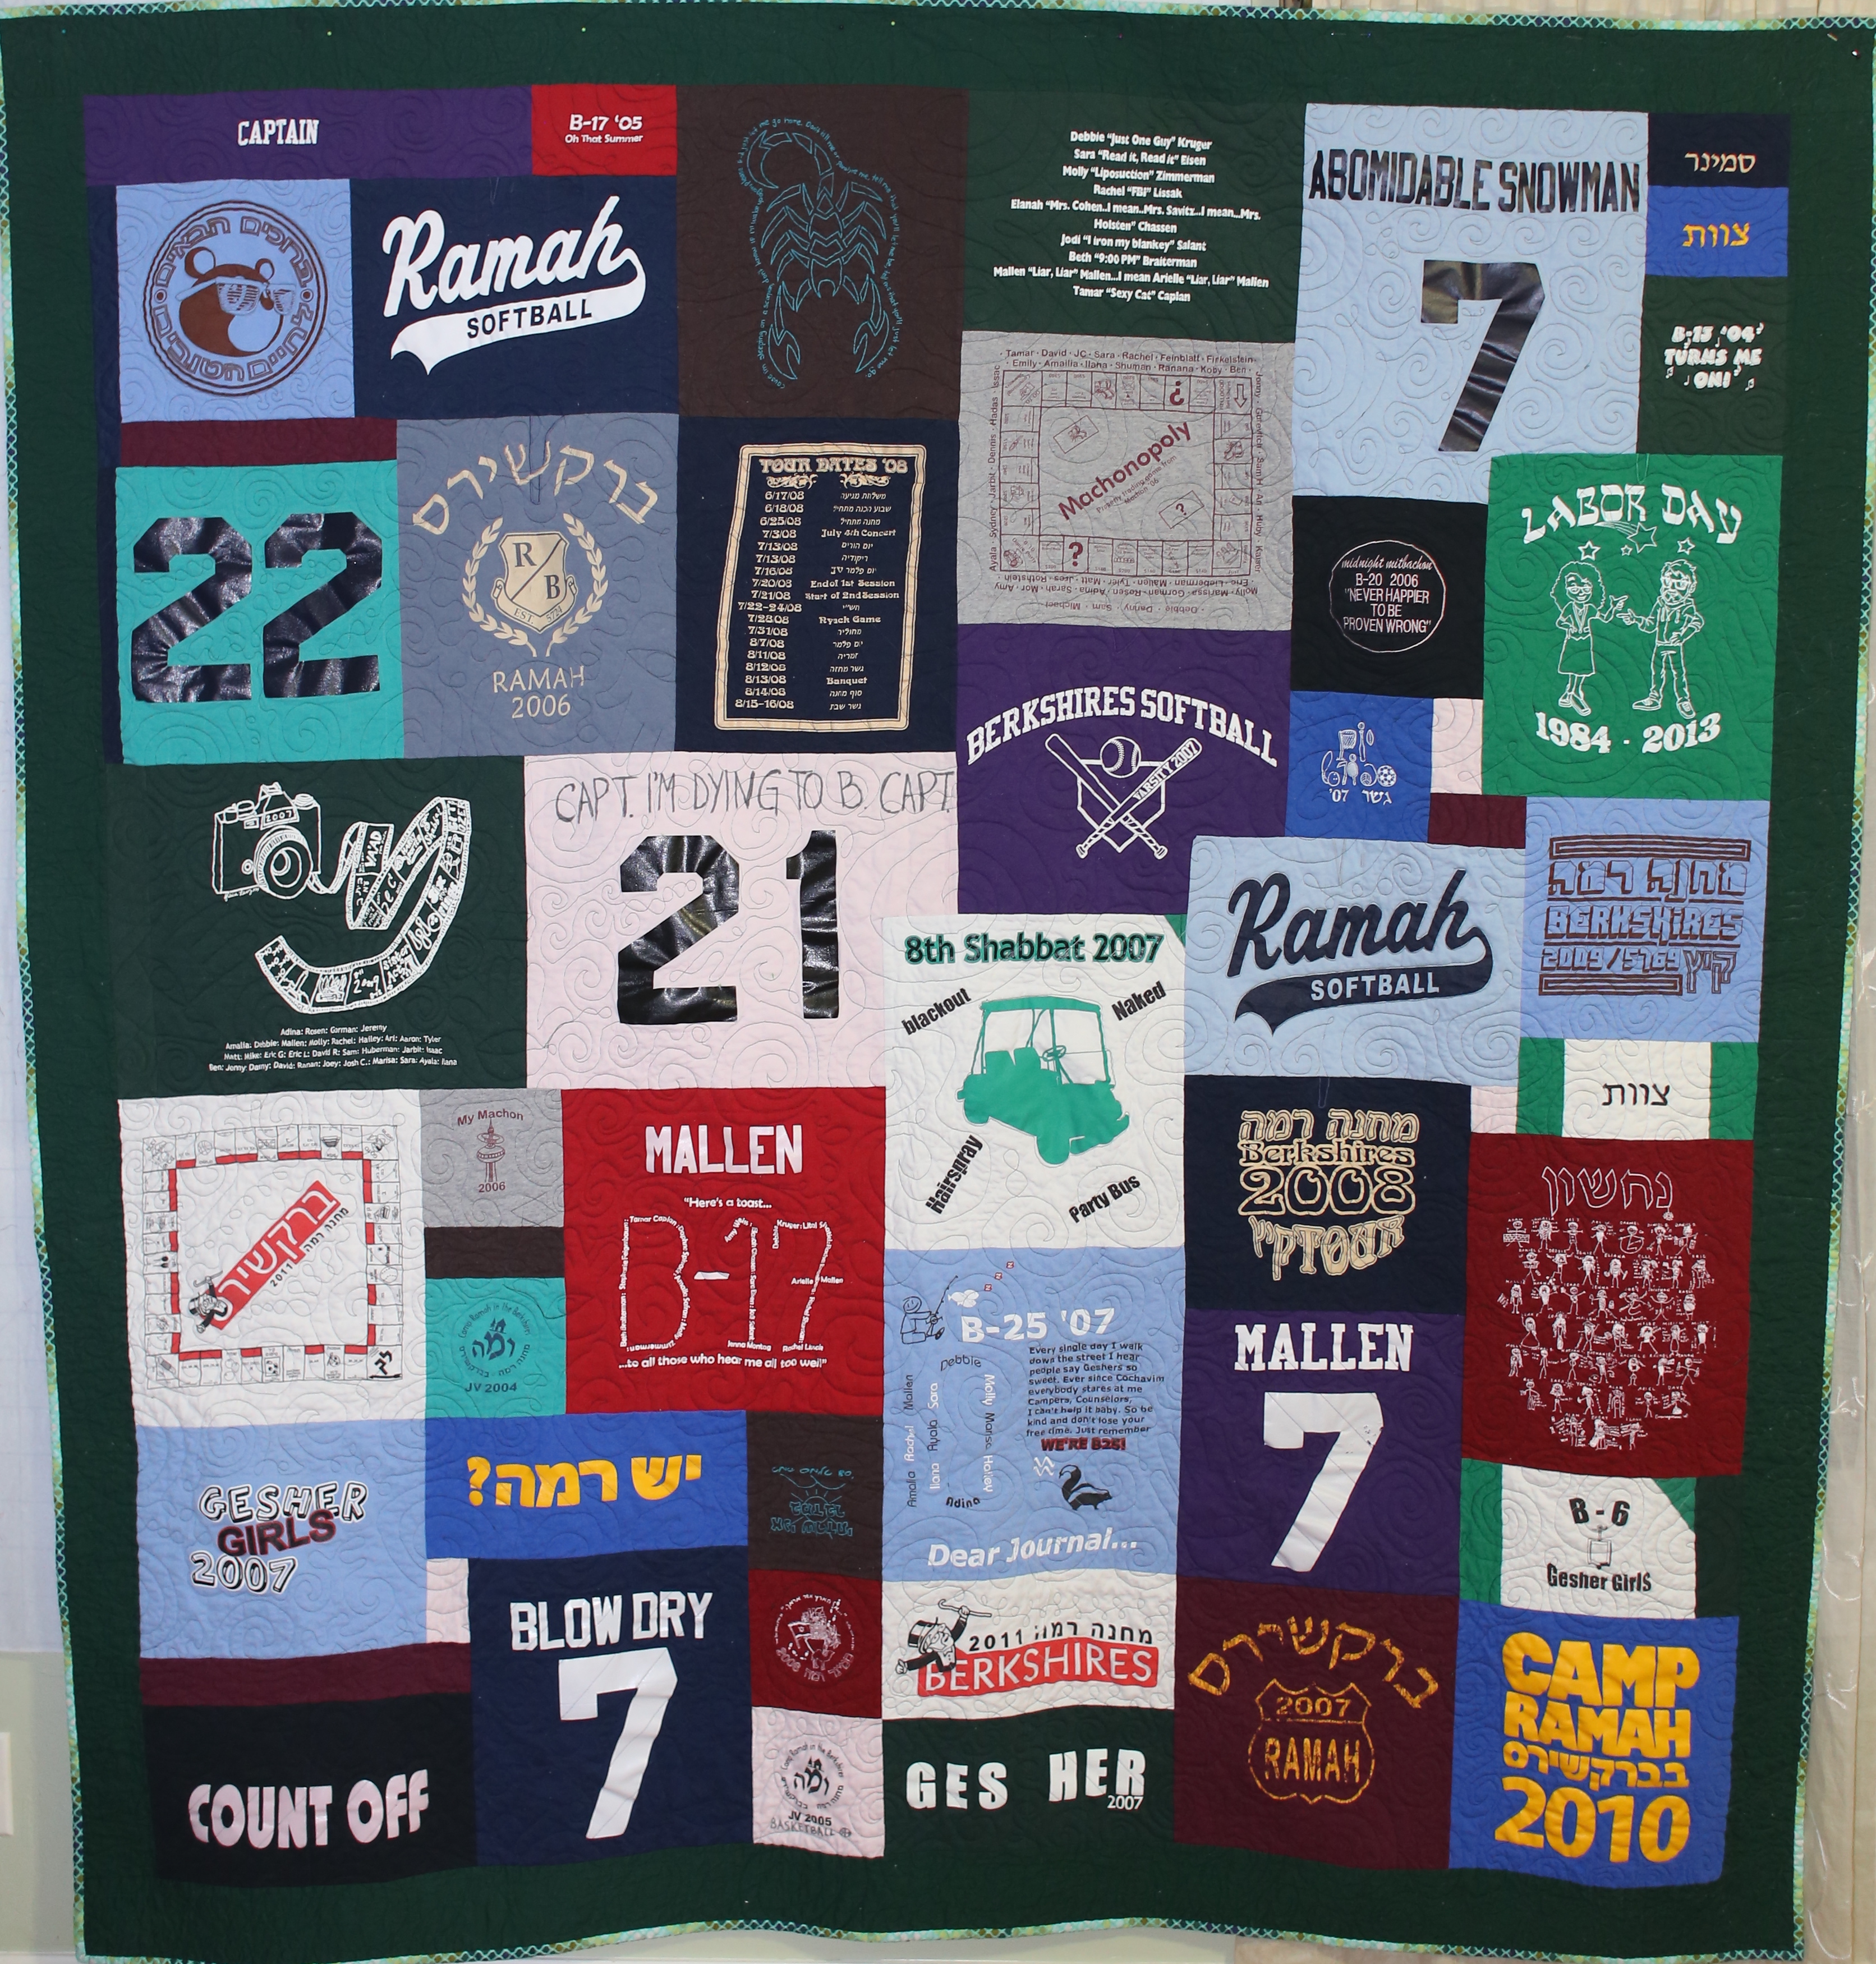
Finished Front (a couple hundred hours of labored love later)
Finished back
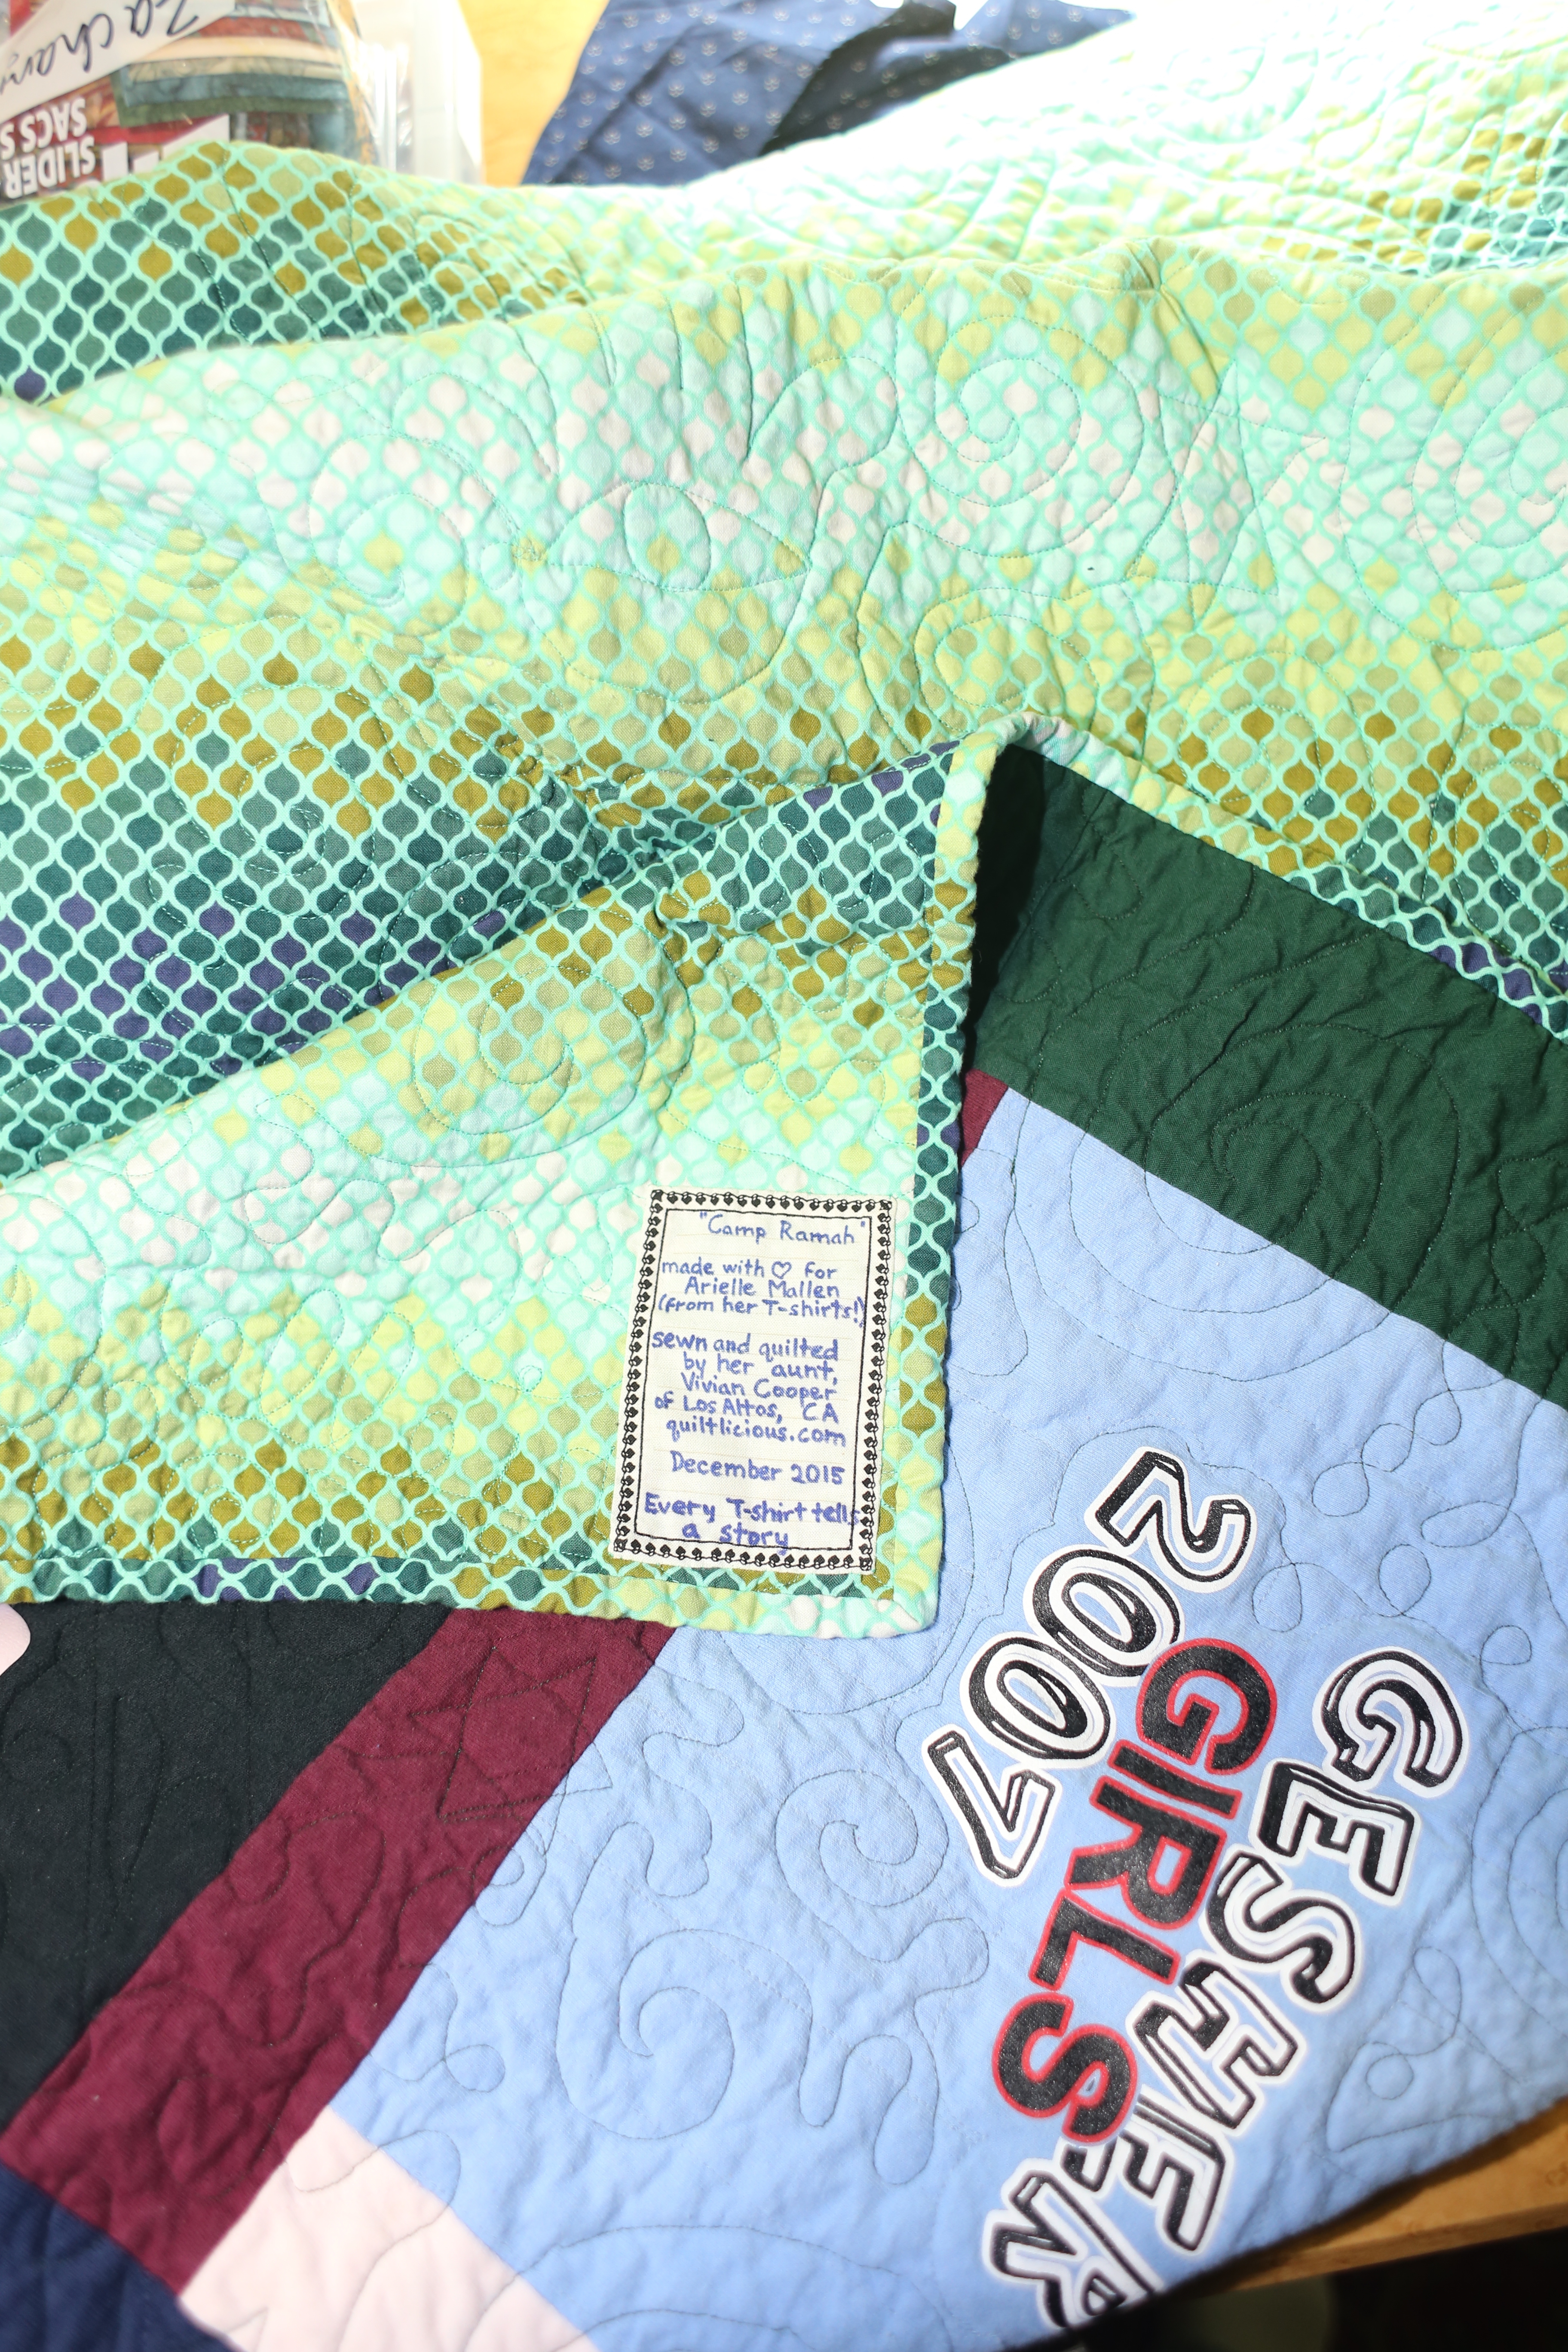
Time for a day at the Spa since the quilt is finally ready to send to NYC. Not a minute too soon; heard that winter was ready to hit the east coast by New Years Eve due to the effects of El Nino.
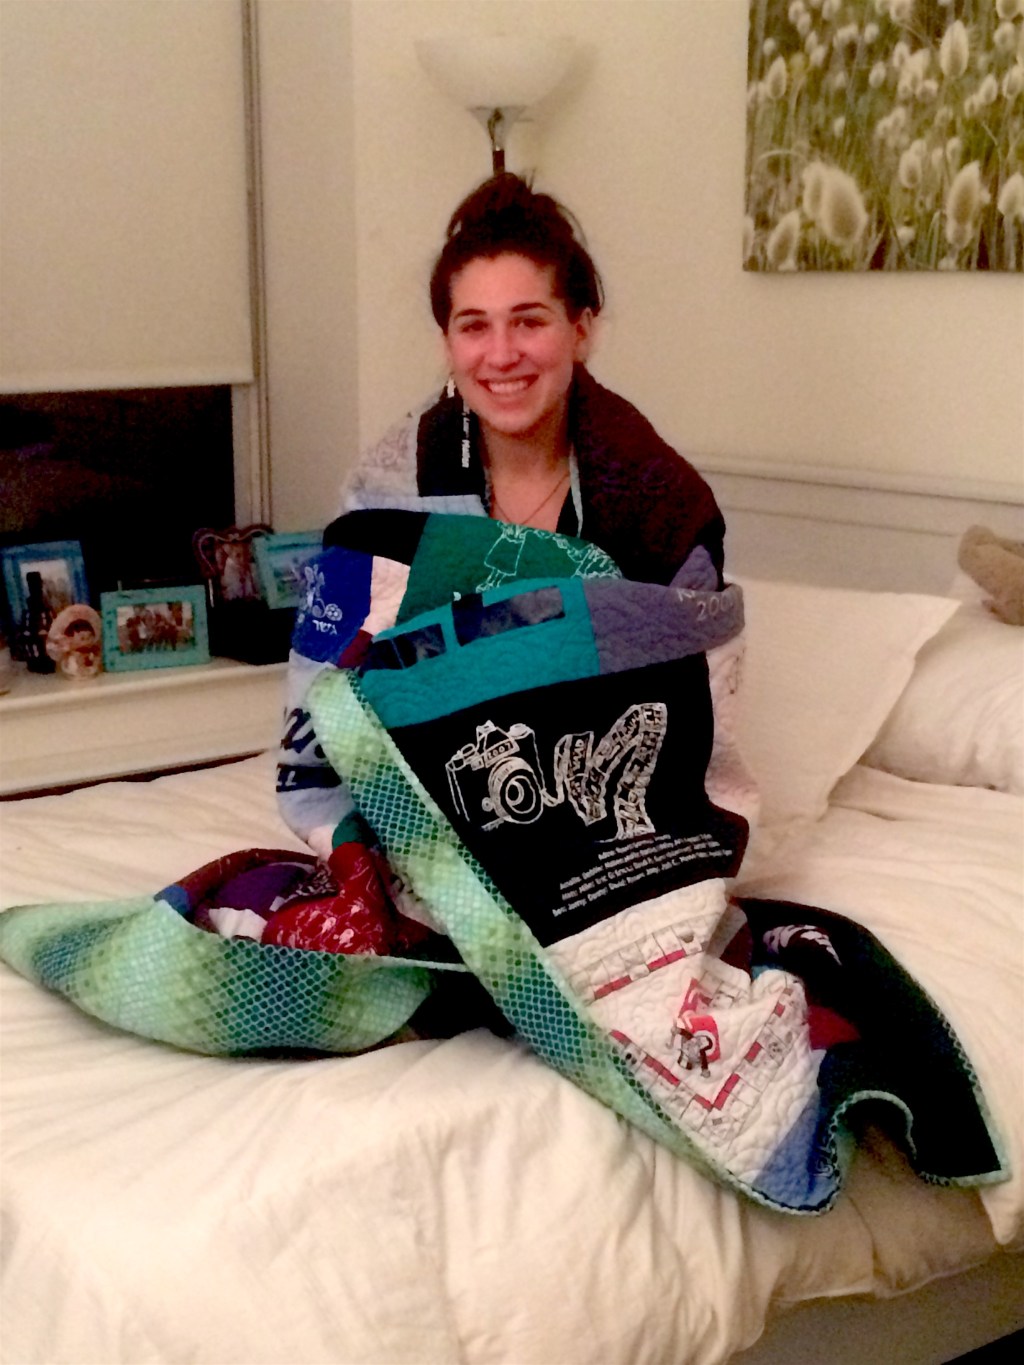
Quilt and owner, finally United!


Leave a comment